|
Over the last decade, Tamiya have produced a number of very good 1/48 scale
kits. Recently, they have taken to reducing their newest designs and producing a
1/72 scale version also. They started this with the F4D Skyray and continued
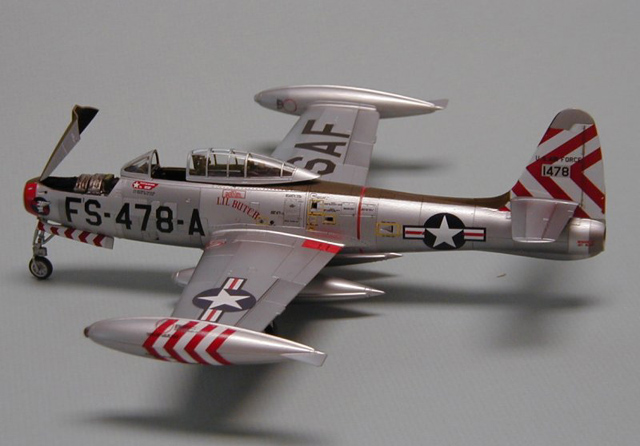
with their F-84G Thunderjet. I have always been impressed with the colorful
schemes of the F-84 so, when an on-line hobby shop offered a special deal, I
added two of the kits to my collection. When I volunteered to demonstrate
natural metal finishing techniques to our local club, the F-84 was a natural.
The Tamiya F-84G kit was recently chosen by readers of Fine Scale Modelers as
the Best 1/72 Aircraft kit for 1999. I agree completely. The kit goes together
very easily and accurately. The only problem that I encountered was a minor warp
in the wing mounting tabs. This would have caused a problem with dihedral but
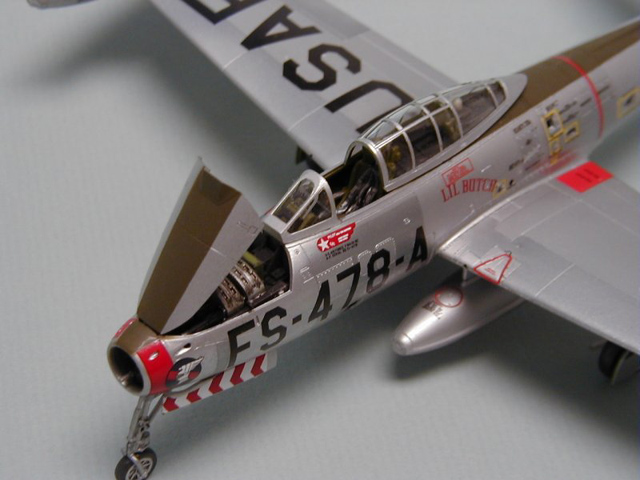
was easy to correct. The kit includes a very good looking cockpit, a detailed
weapons bay and a canopy that can be displayed open or closed. The ejection seat
comprises four separate parts and looks very realistic. Alternative stores of
long range fuel tanks or 500 pound bombs are offered. The decal sheet covers two
very colorful schemes and includes the myriad of data markings so that the model
will be even more realistic. As far as I know, the only difference between the
1/48 scale kit and the 1/72 scale kit is that the latter does not feature flaps
that can be displayed lowered.
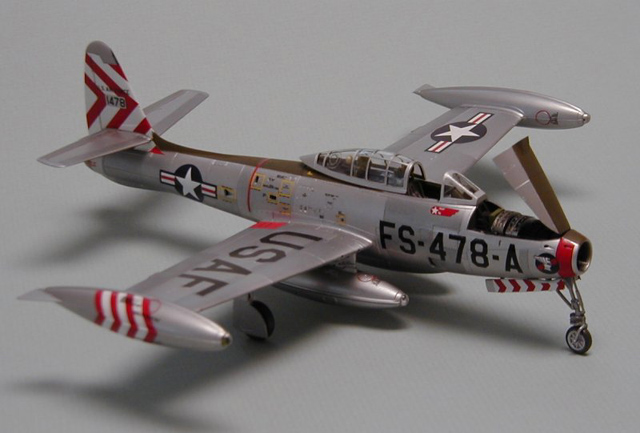
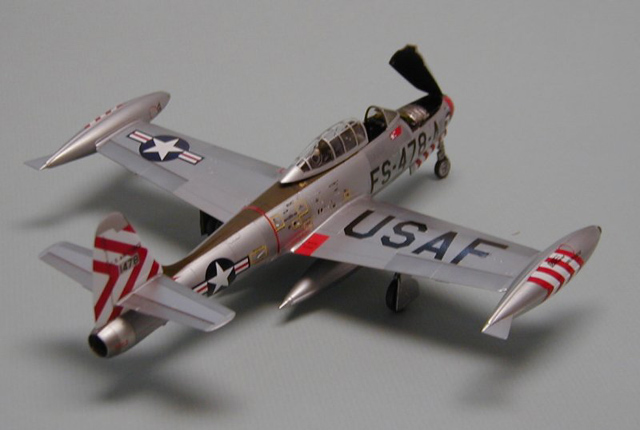
When I decided to build the F-84G, I checked my decal box and found a sheet
from Aeromaster that included the aircraft shown on the cover of Bert Kinzey’s
F-84 Detail and Scale book. The book includes lots of good photos to assist in
defining the natural metal finish panel shading as well as providing colors of
the cockpit, wheel wells etc. Perfect for the modeler.
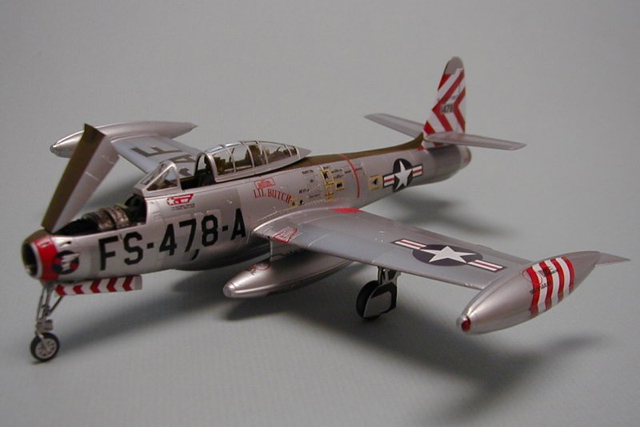
The kit went together easily without major effort or fit problems. The only
tricky area was the decals. They were designed for the Heller kit and did not
fit the Tamiya kit perfectly. This was solved by careful application and some
minor trimming (the rudder decal was too big and the tip tank decals slightly
small). The only other problem encountered was that a number of parts were very
small. A couple of them launched themselves from my tweezers into the far
corners of my workshop and therefore were left off. I challenge the modelers to
find out what parts are missing.
All in all, the kit was a pleasure to build and both the kit and the
aftermarket decals went on well. I used Testors Model Master Metalizer paints to
duplicate the natural metal finish. I started with an overall coat of
non-buffing aluminum and then used steel, stainless steel, magnesium and others
ad needed for proper shading of the various panels. I don’t mean to say that
the real airplane had steel panels, I just used the paint that would give the
proper color difference from the base aluminum. I am pleased with the final
result. I coated the painted model with Future and applied the decals. I then
gave the model a final coat of Floquil flat to seal the decals and to protect
the finish. Well recommended.
Note – Murphy’s law always raises it head when the model is completed. I
belatedly checked the photos in the Kinzey book and found out that the aircraft
on the cover was in fact an F-84E, not a G model. Conned by Aeromaster again!!!
Clare
|