|
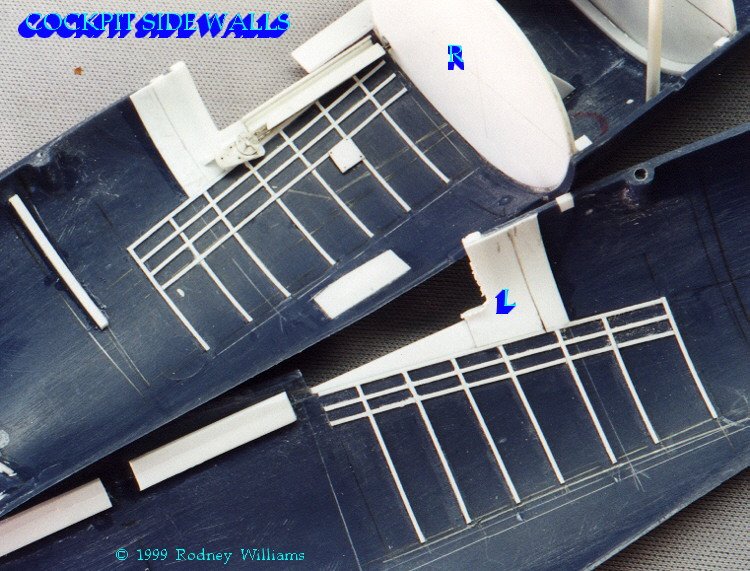
The cockpit side walls were next in line. This was easy to build !
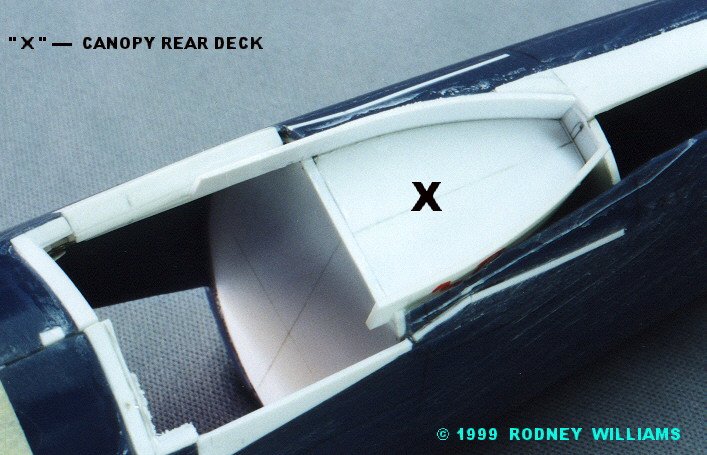
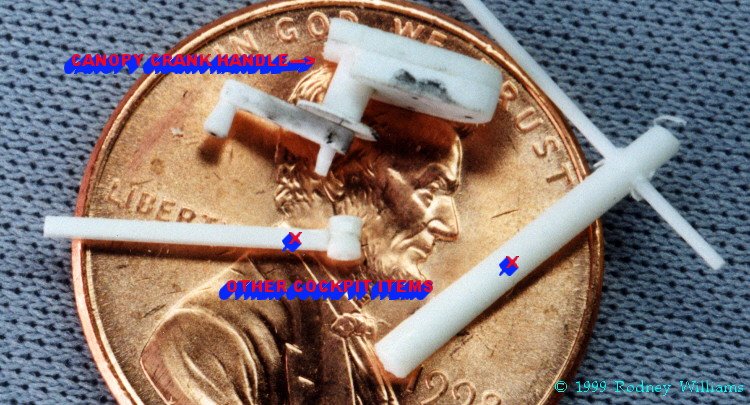
It took
a little more work on the rear canopy deck, where there's a sliding track
rail. A bracket is attached to the rail, and a cross bar, which is attached
to the canopy. When the cranking handle is operated by the pilot, the
canopy slides on the rail equipment.
|
|
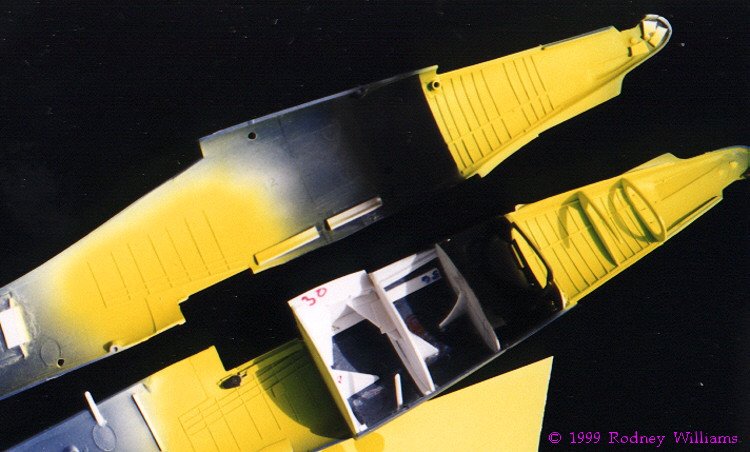
Cockpit
|
Click on photos below to
see larger photos |
 |
|
Click on photo
below to see larger photos |
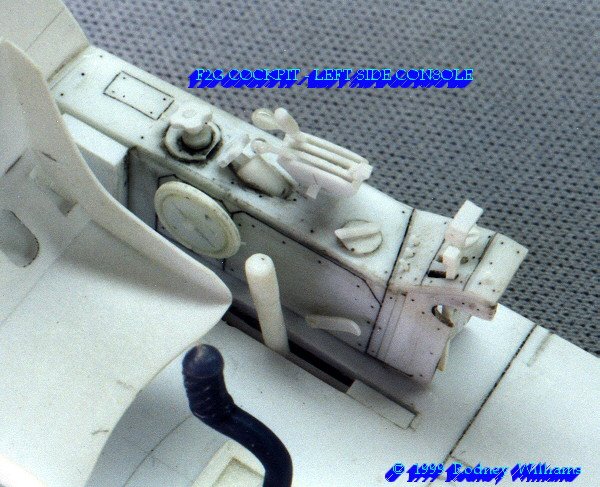
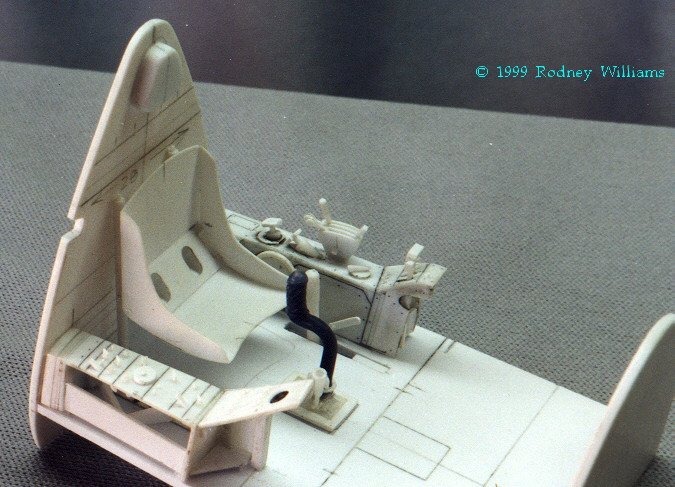
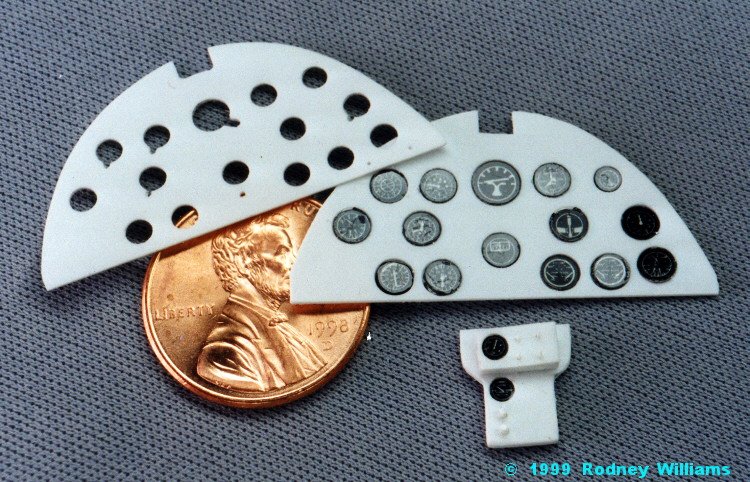
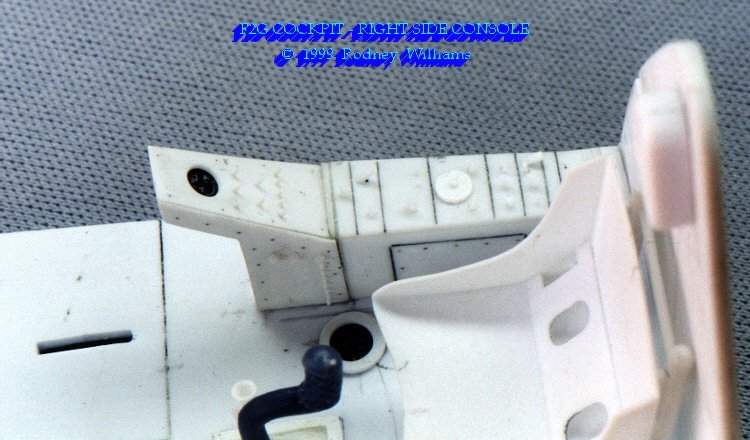
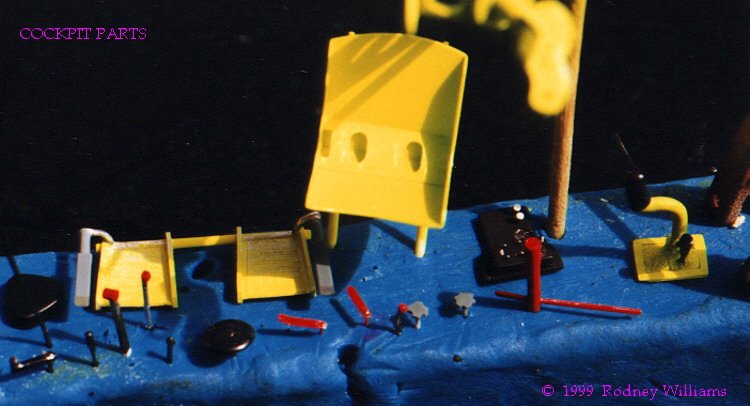
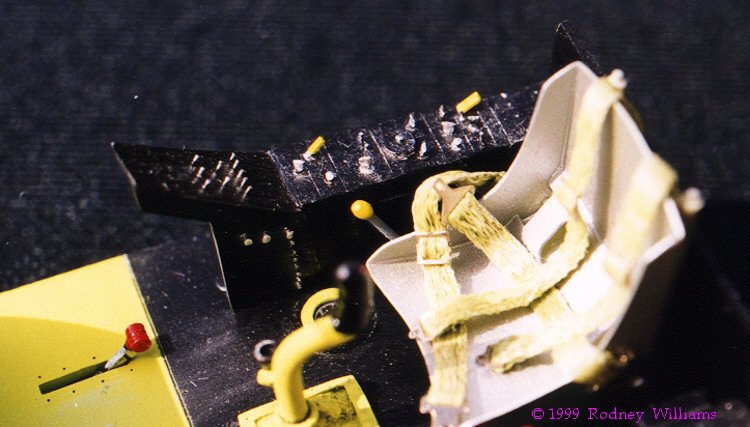
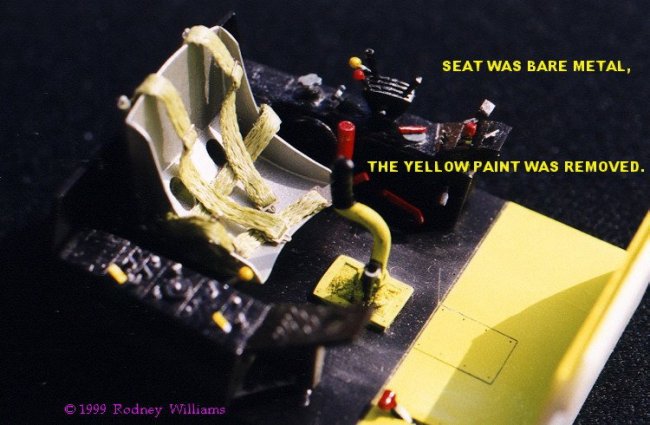
The cockpit master's were used as templates, so I could cut out all the
parts for the cockpit tub, side consuls, armor plate, head-rest, seat, and
several other items. I used Waldron photo-dials. One nice thing
about many
models I build is::::: I have learned how to glue the fuselage together,
correcting all the flaws in the cockpit area, then dry-fitting the cockpit
several times, so it slips up inside the fuselage, like a tailor-made glove.
Once all the painting is finished, the cockpit is put in, then the wings go
on.
You will see the seat painted the lemon-green color. I found out it was
bare-metal, so I removed the paint.
|
|
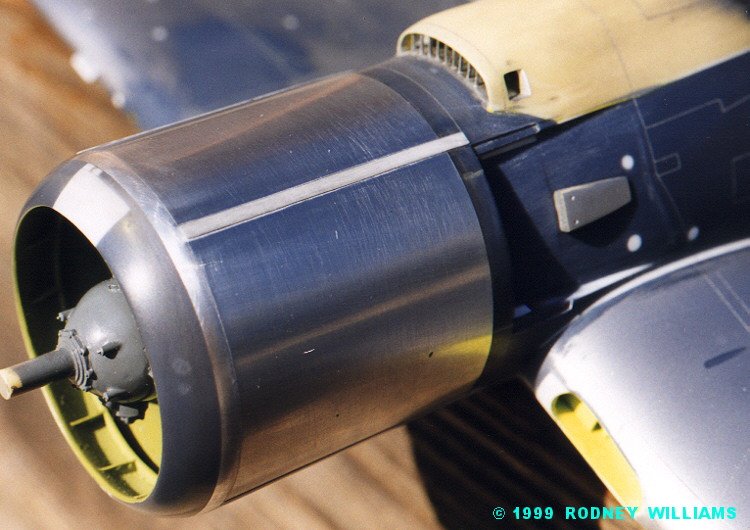
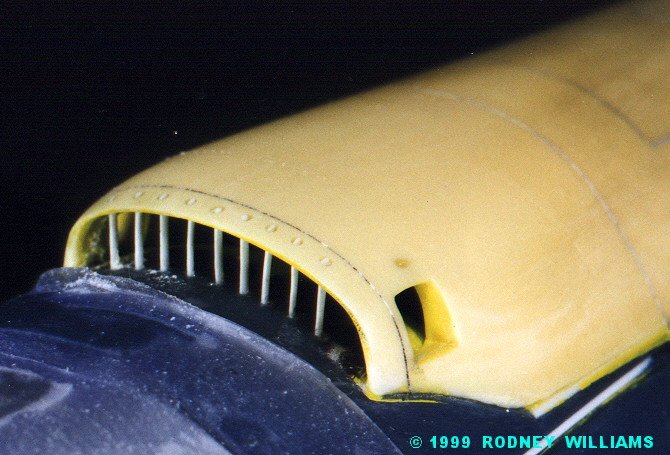
Engine and engine cowling
|
Click on photos below to
see larger photos |
 |
 |
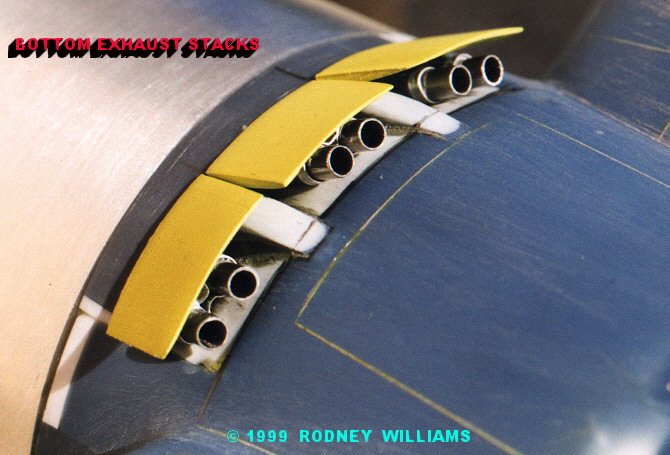
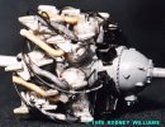
The finished engine is in, and I start adding the additional parts. The
exhaust stacks were temporary attached, so I knew they would fit on final
assembly. I found some aluminum tubing, for the cowling. Since then,
I
have had the cowling cast in one piece.
Rodney
 |
 |
 |
|
" Building a
1/32 scale F4U-1A conversion to a F2G-1D Super Corsair"
Part 1
|
" Building a
1/32 scale F4U-1A conversion to a F2G-1D Super Corsair"
Part 3
|
" Building a
1/32 scale F4U-1A conversion to a F2G-1D Super Corsair"
Part 4
|
| Prop,
wing air intakes, engine and tail wheel |
Wings and canopy |
Finishing touches |
|
|