|
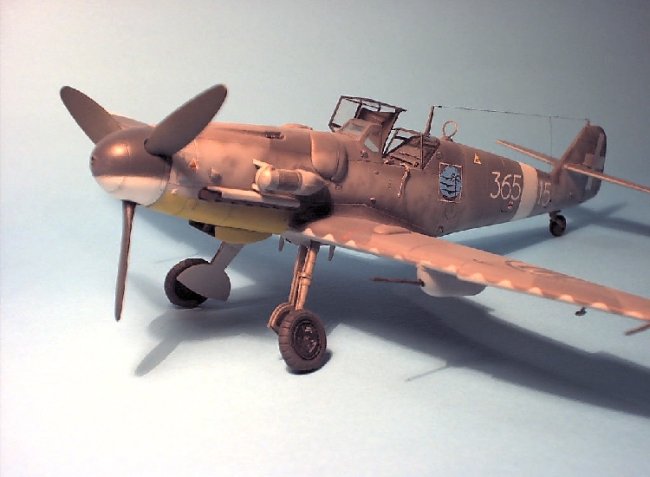
This is Hasegawa's
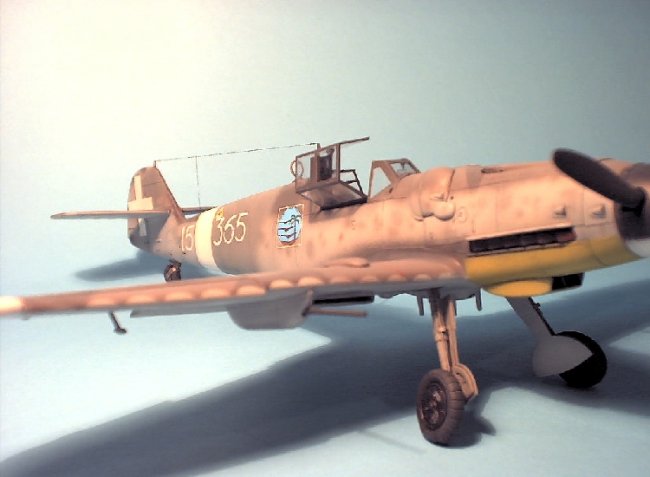
excellent kit of the Me 109G-6 know also as the "Gustav". I
chose to build, paint and decal mine as the plane flown by Lieutenant Giosue
Carillo, of 365 Squadron, 150th Group, based at Sciacca Italy in 1943. I
used the excellent reference materials from the Monogram publication Bf 109's
in Italian Service by D'Amico and Valentini The book covers the
109's from the early models of the G2 to the late models of the K. If you
don't have this book, it is well worth every penny.
Construction
notes: The kit
comes in a finely engraved well fitting grey plastic. Very minimal filler
was needed. I decided from the get go, that I would be adding after market
accessories as well as scratch building some details to try to make the kit a
bit more interesting. I chose the Aires cockpit to upgrade the interior.
I really like Aires details, they have some really nice cockpits and the fit is
pretty much dead on. I also like the fact that they supply a fret of
really nice photo etched parts which add that extra detailing. An acetate
dashboard is also provided as well as a superb Revi gun site. Once the
cockpit was constructed, I painted it RLM 66 and picked out the details. I
also added the lap belts at this stage and painted them light grey. The
interior was dry-brushed with oils to bring out the details. I went ahead
and painted the insides of the fuselage RLM 66 as well, just incase any of it
would be noticeable.
| As for the
construction of the kit, it is pretty much straight forward. The
fit is exceptional and only minor filler is needed on the leading edges
of the wings, the under cowling. An important tip to remember is
not to drill out the holes for the upper wing cannon bulges. It is
best if you leave them shut, because they will show through the landing
gear bays. I drilled them as per the instructions to find
out I had two holes in each landing gear bay that needed filling. |
|
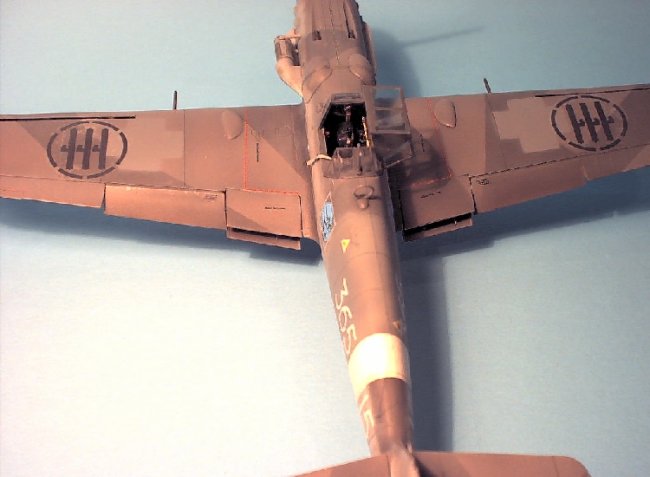
| The
additions I made to the standard kit were, a bit of metal foil to line
the center oil cooler, some small ribs to add detail to the flaps, a few
pieces of sheet plastic for the storage area behind the cockpit and True
Details weighted wheels. Once the basic construction of the kit
was completed, I moved on to masking the cockpit off, and getting things
ready for the painting process. |
|
Painting and
Decals: Using the
references from D'Amico and Valentini's book, I began painting the kit by
pre-shading all of the panel lines with tire black. Once the lines had
dried I painted a majority of the plane with Gunze RLM 76 Light blue. This
color must be sprayed lightly over the panel lines until they are covered but
still showing through. The plane was left to dry over night and when dry
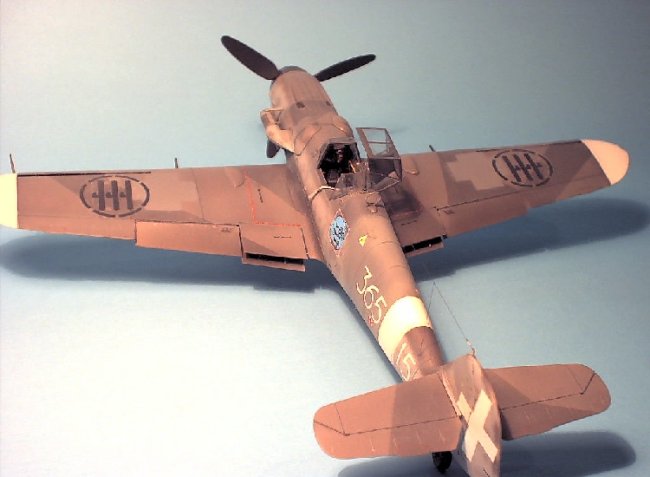
to touch I began painting the RLM 75 and 74 on the wings and fuselage.
The wings were painted with a hard edge splinter pattern and the fuselage the
same with mottling of the same colors.
|
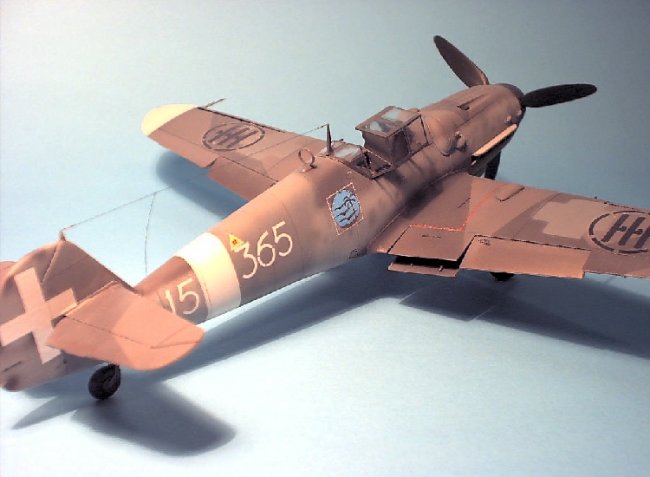
When these
colors had dried, I mixed a shade of grey for the Italian color light
grey which was used to cover the German markings and proceeded to
spray the fuselage and wings. I used the Luftwaffe crosses as
templates and carefully sprayed them with a soft edge. |
|
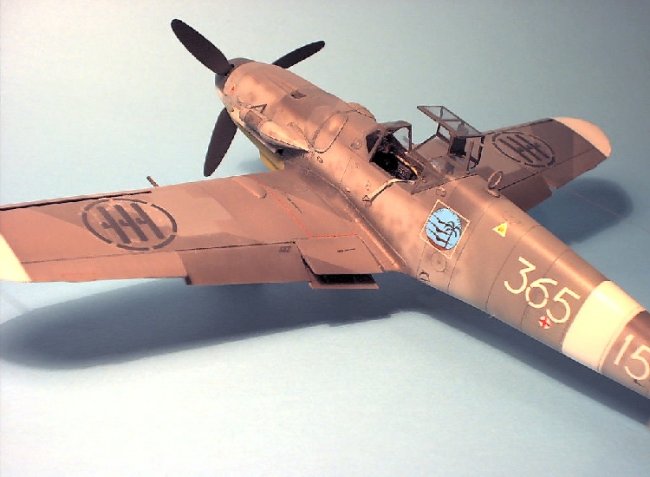
The fuselage
band and wing tips were masked and painted with Gunze flat white and the under
cowling was painted Gunze RLM 04 yellow. With this painted, the plane was
nearly finished with it's paint job and it was allowed to dry. I decided
to dry brush it and apply some chips and oil streaks at this time. When
all was done, I sprayed a few coats of Shine Magic to provide a smooth glossy
surface. When the Shine Magic was dry, I applied the decals which were
from the Sky decal sheet for Italian Bf109's. The only complaint with
these decals was, that they were a bit thick, they did not relax
after multiple coats of Solvaset and Microsol. When the decals were all
on, I went ahead and sealed it once again using Shine Magic. At this point
the model was really starting to look good, I ended up applying the finishing
touches with the construction. I added a antennae wire made from synthetic
hair and insulators made from crystal clear glue. I dry brushed the kit
using oil paints and added paint chips with silver pencil. The prop blades
were painted RLM 70 black green and the spinner was painted black and white with
a soft edge.
|
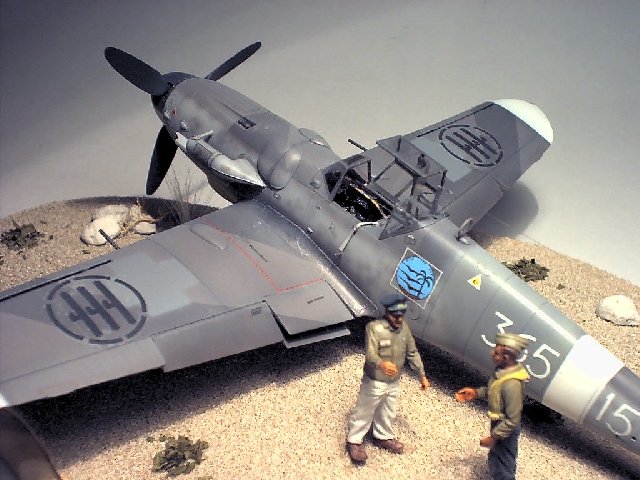
Final
notes: I
chose to mount my kit with some figures on a base. I used the
Verlinden Luftwaffe pilot and crew figures to make them appear as
Italian pilots. Since the Italians used the German flight
coveralls, it was easy to change the pilot to look like an Italian
pilot. The other two figures were painted to appear as to be
wearing linen pants and flight jackets with the 365 Squadron patch.
I really like the Regia planes and plan on doing a couple more of them
with my other Gustav kit and my K4. |
|
Anthony
|
|