 |
1/48 DML / Dragon Ho 229B
'Nachtjager' twin seat night fighter
Model by Bob Gignac
Photos by Steve
Bamford
--------------------
|
Editors note: Please note that the base for this model was completed long before September 11/2001, so don't get any strange ideas.
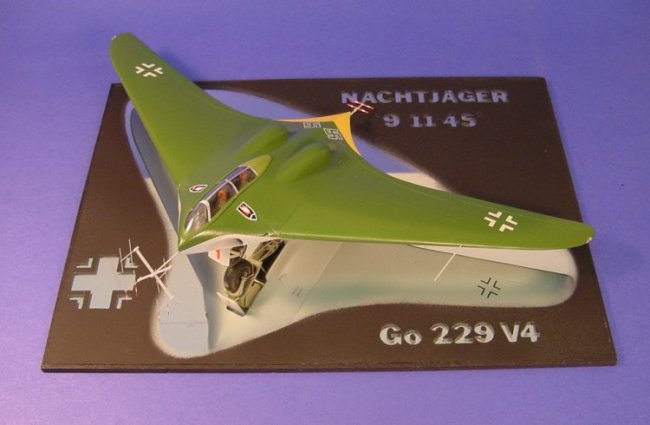
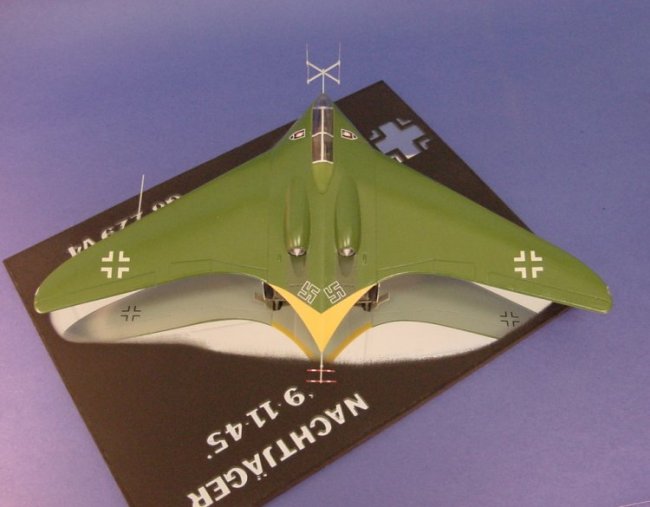
The model: Go 229 'Nachtjager' twin seat night fighter
The scale: 1/48
The manufacturer: Dragon Master Series issued as Ho 229B
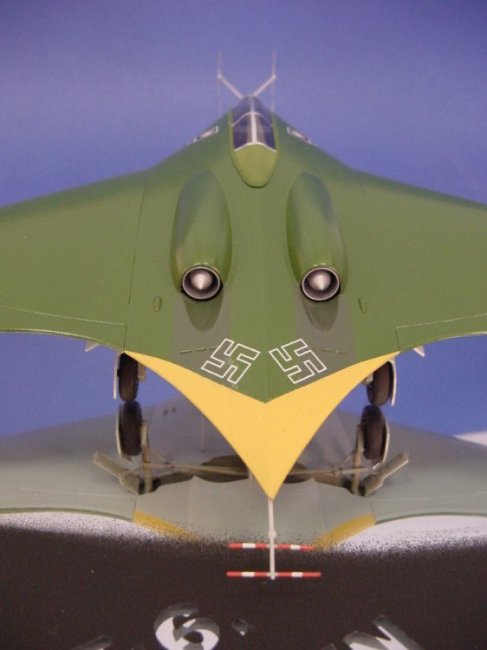
| I decided to represent the Go 229 V4. It could have been V5/V6. None were ever produced although drawings did exist. I chose to depict the twin seat night fighter with Mk108 30mm cannon x 4, Probably the 'A' series. |
|
Second impression: Humm. Sink holes on underside of nose
section, canopy is one piece. No crew, thick trailing edge and numerous ill
fitting parts
Instructions: Overall not too bad although unclear in places.
Assembly Steps:
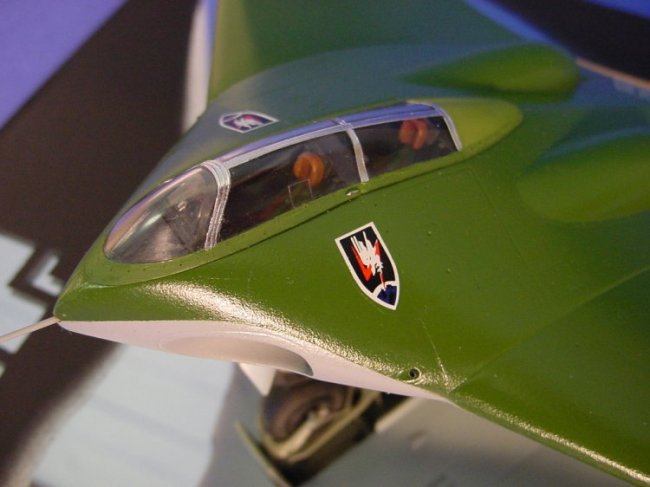
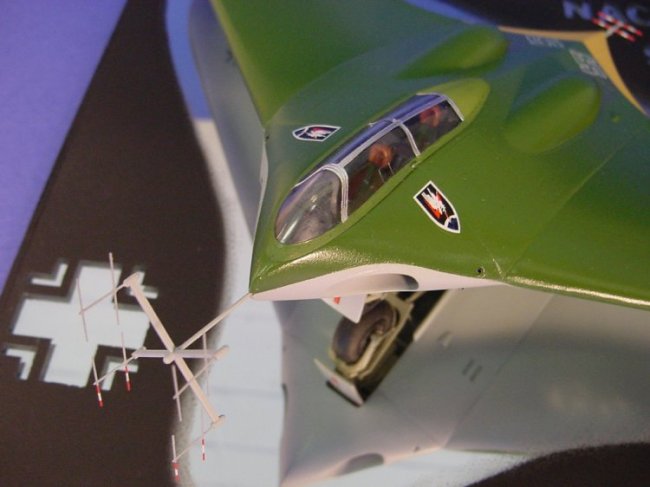
1) Cockpit interior - No seat belts so no sanding necessary to add after-market items. I used vinyl tape and daubs of silver paint as I was leaving canopy closed. To have the canopy open would require a second canopy because of the compound angle cuts needed to display in open (slid back) position.
| You might as well ready cockpit parts now and then set aside. Photo etched part MA1 is a nice touch although you can't see it once completed. Set aside with cockpit parts. I used white glue to enhance the dials. I did not assemble cockpit until model was almost complete. |
|
2) I recommend not assembling cockpit just yet. Unless you want a very difficult masking job to do later do not install parts B7 (2) into A1 upper fuselage half at this time. So basically ignore step 2 until later. Good idea: Align parts A1 and A8. Use some scrap styrene as tabs to help. Don't expect the nose section of the nose wheel well and the lower fuselage part of the wheel well to align 'cause they wont. You will have to sand away just enough to make it look good and also enable part A18 and the nose wheel to fit properly. Use part A2 to assist in alignment, but do not glue. Now completely paint assembled parts A1 and A8 then install painted B7s and B9s. You will note that B7s when added to A1 leave a gap that would be visible on completed model. I used electricians tape on inside of fuselage to cover this gap.
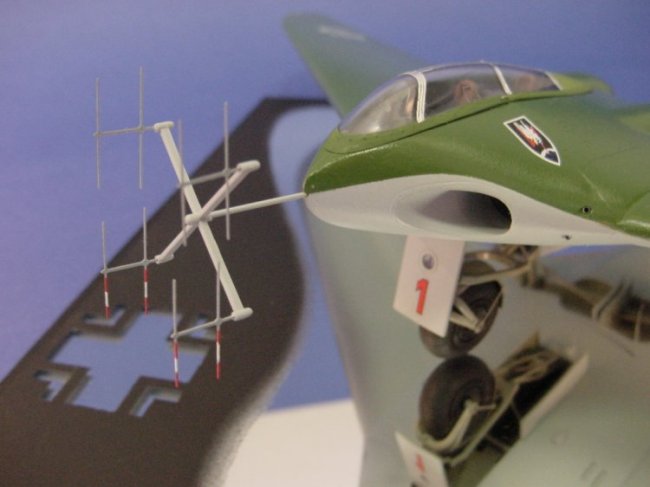
| I added stainless steel tubing to better represent the Mk 108 30mm cannon
barrels to part A8. Now it's OK to assemble part A2 to complete fuselage section |
|
3)
OK. Just try to locate the pinholes! I added styrene sheet to
Part A21 to hide fuselage interior
4)
Now it's OK to assemble part A2 to complete fuselage section.
The trailing edge will not match up so you need to spend some time here. Also
make sure that the wings make a smooth transition to the fuselage (Another
reason for the yellow tail).
5)
Assemble A5, A8 MA3 and put in a safe place as this should be
last piece added to model. I used brass wire to replace part A5.
6)
Assemble E4, E5 and A12 then set aside with other cockpit
parts until later. You can take a break now, get the 'Bare Metal' foil out and
do the canopy. I did not paint the
foil, as I wanted it bright to depict realistic hasty construction. The rear of
the canopy was painted RLM82 and left flat for contrast with the 'gloss cote'
area.
7)
If you want to add the missiles don't forget to drill holes
in lower wing D1. Expect to do some fill and sanding on the leading edges. The
trailing edges are too thick so extra work is needed here. Leave off C2 until
final assembly stage (I used shaped brass wire here as kit tube did not appeal
to me). Be prepared to so a lot of filing and sanding to make the wings fit the
fuselage. If you take care here by adjusting the tab holes in the fuselage to
accept the wing tabs very little filler will be needed.
8)
Missiles? B5 needs to be sanded, as fins are too thick. I
left these items off my 'night fighter' and dropped the 'B' designation.
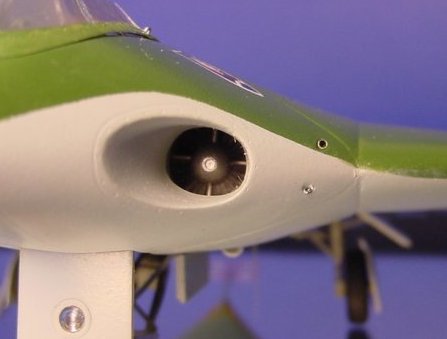
I painted the underside Floquil RLM
76. To get a straight mask and to go around the intakes I used 1/8 vinyl tape to
get a contour edge then low tack masking tape to cover any previously painted
areas. Press hard to stop the bleeding.
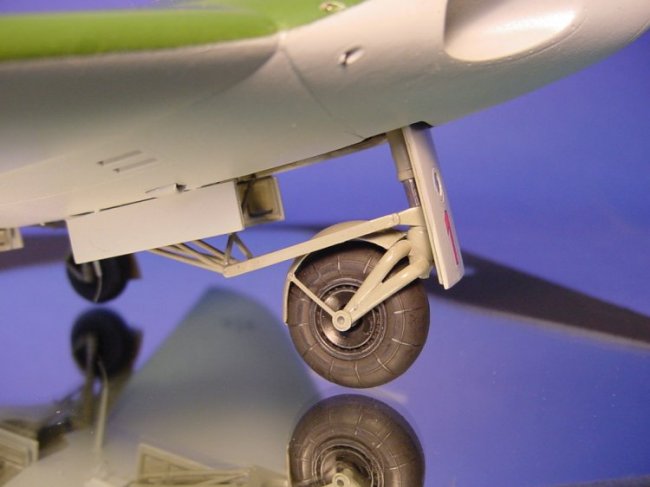
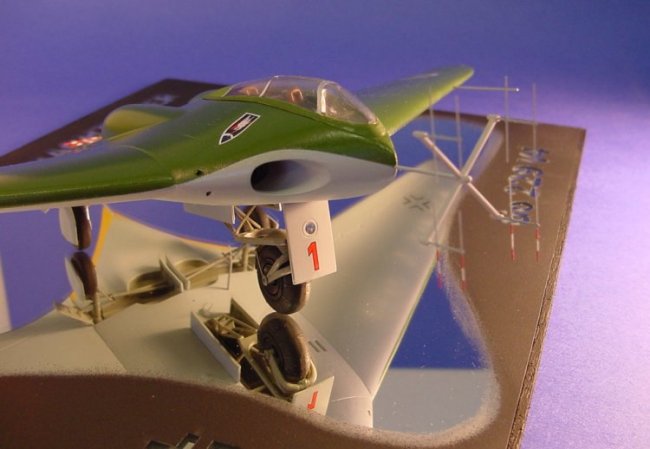
9) Take your time here. Sand the flash ridge out of the nose wheel, being careful with the slight tread and it will look great. I recommend that you do not assemble parts C8, C9 and C10/11 until installing nose wheel on fuselage but do install part A18/E3 (from step 12). Note that there is no tab on part A18 as depicted so just attach it to C33 on nose wheel assembly. " Warning Will Robinson" I had an idea to have the nose wheel turned about 15 degrees for aesthetics.
| The wheel must be kept straight otherwise part C9 won't fit correctly and of course I always use Super Glue. I used buffed 'Humbrol' # 27003 steel for 'shocks' and Testors Model Master RLM02 for the under-carriage and good old Testors flat black for the wheel. Before assembling the wheel I used a cotton swab to buff up the flat black on the brake disks/rims. |
|
|||
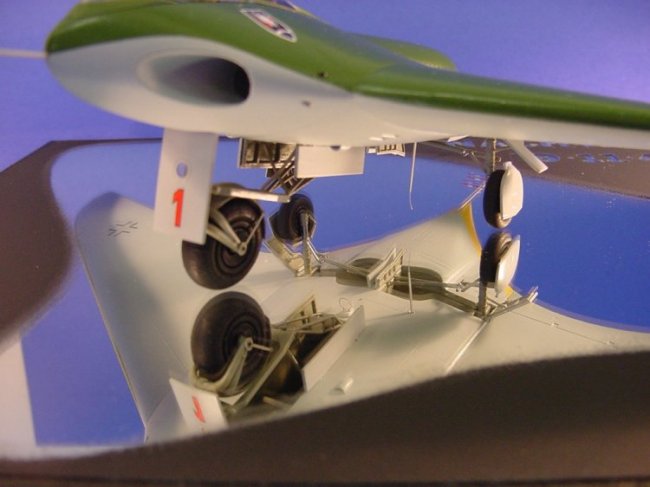
| 10)
Main gear -
instructions vague for attaching C14/15 in wheel well. Install C12/13 onto
fuselage then add C14/15 and wheels. Leave parts A14/15 until step 11 to assist
in aligning with parts C22/23 (main wheel doors). Note C23 designation is given to wheel half and also main wheel door. |
11)
With parts C14/15 attached to fuselage add A14/15, C20s. Take
care with alignment of parts C20x2, C22/23 (main wheel doors) and C12/13. Add
part A14/15 now and align with C22/23 (main wheel doors).
-- OK, now complete the cockpit
assembly and top off with your Bare Metal foil enhanced canopy (don't forget the
'Future')
12)
Now is good time to add antennae and other fragile pieces.
 |
Paint used:
Undercarriage/wheel wells: RLM02 - Testors Acryl, Humbrol
27003
Cockpit: RLM66 - Floquil, Humbrol 54 and 153. Seat belts
RLM82
Underside: RLM76 - Floquil
Top: RLM82 - Floquil. Exhaust area: RLM83 -
Floquil
Wheels: Testors 37038
Tail: RLM04 -
Model Master Enamel
Port Nav Light: Humbrol 153
Antenna Markings: Humbrol 153 and Humbrol 54
Overall: Testors Gloss Cote.
Decals:
| The supplied decals were adequate with Microscale Micro Set.
I added the swastika on the tail from a Revell-Monogram Pro Modeler kit. The
yellow tail and the swastika were figments of my imagination but I'm sure Herr
Goring would have approved. |
|
Painting lessons learned:
As soon as I applied the Testors Gloss Cote my beautiful, clean finish went 'orange peel' and I went nuclear. I ended up stripping off most of the paint and with untold grief masked and repainted. Of coarse I re-applied the gloss cote after a few days and ended up with the same results only this time with thick paint build-up in a few places like leading edges and rivets. Next time it's 'Future'. Man, I see why people do Armour, but heck that's what modeling is all about.
 |
If you can find this kit, give it a try.
Bob G.
|
Click on image below to see larger image |
|
 |
 |
Photos and text © 2001 by Bob Gignac