| I started to build
this F-14 model in 1994.
Any thinking person would ask why my work takes so long and the progress is
so slow. In the meantime I have learned a lot. For example, although I did the cockpit twice
during this time, each time I
realised I could do it even better, because my skills
had increased while I was doing it. As my skills were increasing, so was the time needed to
make other elements. Also a lack of appropriate documentation caused my work to
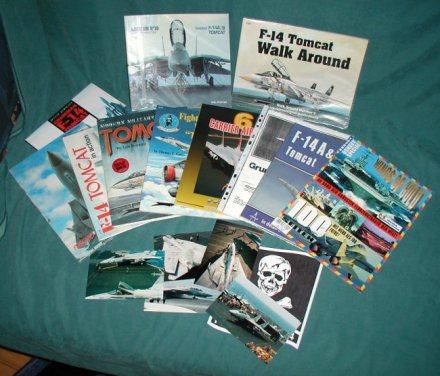
slow down or fuly stop. As I started to build my
model, I had two books and few pics. Now as you see I have many more albums, books and
photos. I also have a lot of drawings (also taken by
myself) and about 3000 pictures from the net including what I found on the ARC site. Gathering these
reference materials also slowed down my work.
|
|
I based my model on the K39 1/72
scale Hasegawa kit.
Today I want to show you the wings I'm working on right now. One of the
engine nozzles I did a couple years ago and which I'll probably decide to do again and some elements of
the fuselage's front
part.
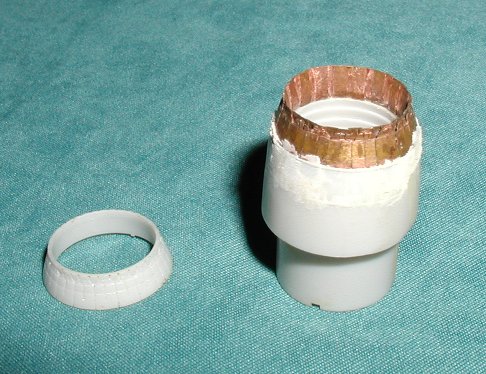
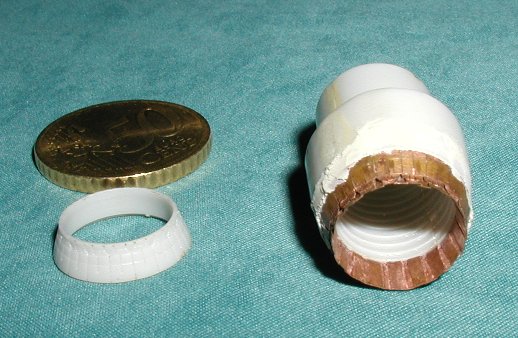
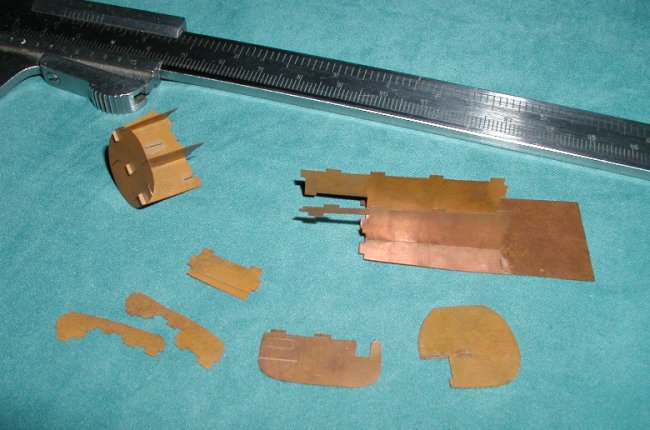
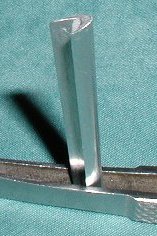
I made the nozzles using some elements of the kit but the last section I made of copper. You can compare the
end part from
the kit with mine. Just like in the real TF-30 engine the ending part of the nozzle (which in reality changes its shape), my nozzles have
72 little copper plates each. As you can see the nozzle is not finished yet. It isn't
sanded and painted, and it doesn't have
all components.
|
Exhaust Nozzles
|
Click on images below to
see larger images |
 |

|
Radar and Avionics
Among the visible elements of the front part of the fuselage's construction is the first frame. I will fasten the AWG-9 radar
antenna and partitions of the avionics' bay to it. You can also
see the next frames and partitions which will create the nose wheel
assembly. The biggest component is the base of the cockpit. On the picture there are also parts which will become
the refuelling probe bay
after assembly. These elements are assembled for these photos and aren't
actually glued together yet. These are of
course only the basic components which will get added detail as my work
progresses.
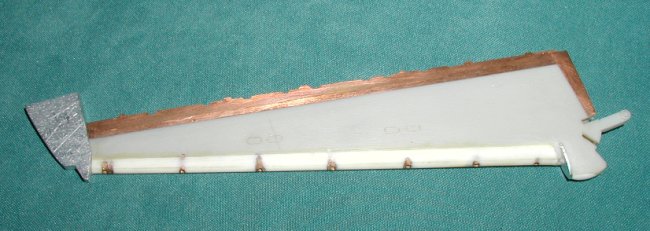
| Wings - Slats
and Flaps
|
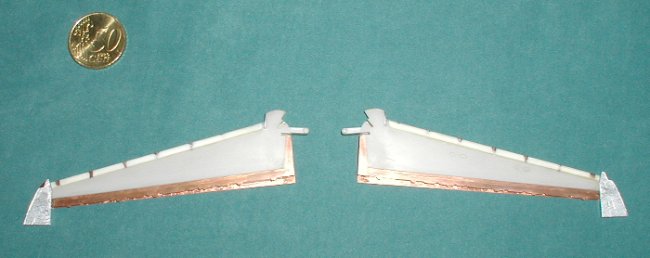
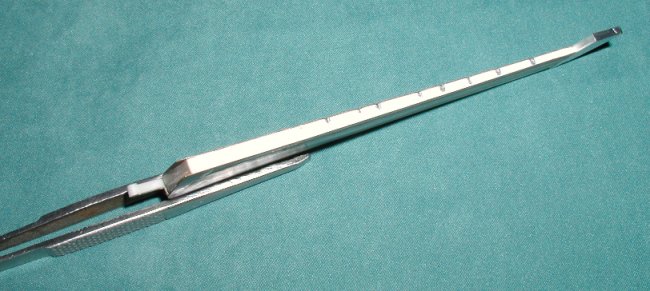
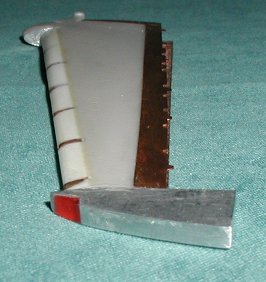
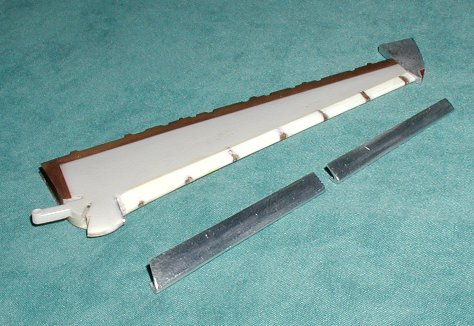
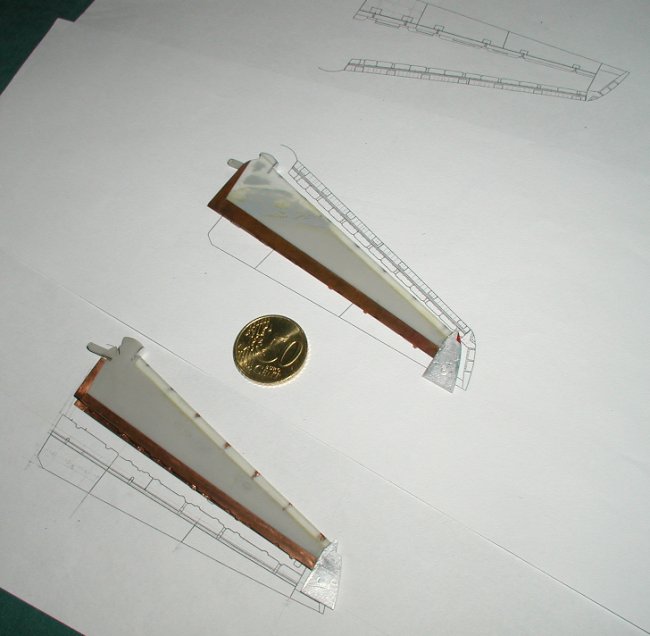
| The wings are totally remade. I left only the middle part,
from what was originally supplied in the kit (the grey part). The front and the rear parts
landed in the waste bin. In the pictures you can also see the way I changed the bottom wings' profile near to the pivot point to make
them higher (when you look at them from the front). Any model and even the drawings show this very important feature. |
|
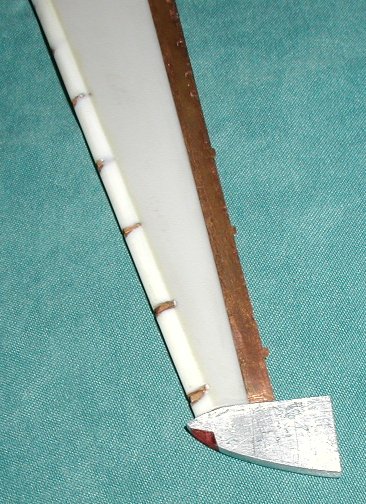
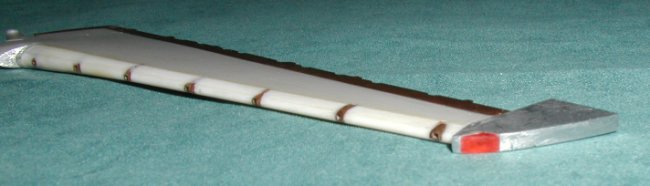
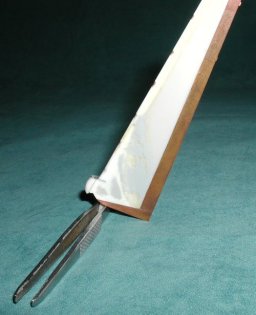
As you see the wing tip is made of aluminium and is glued with the help of the little steel plugs. The wing tip is so strong
that you will be able to lift the whole model while holding it. You can ask why I did it. One of the Polish modellers lost his
Avenger model when the judge picked it up. The only part of the model that was left in his hands were the wing tips
as the rest of
the model had crashed to the floor.
|
Click on images below to
see larger images |
 |
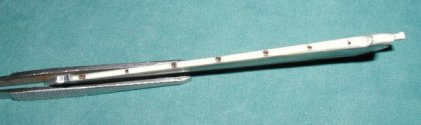 |
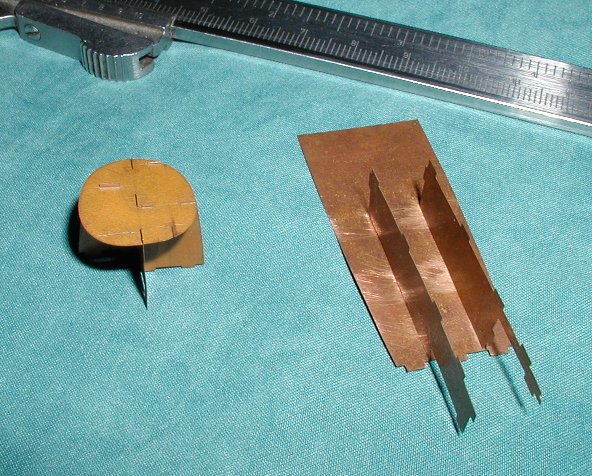
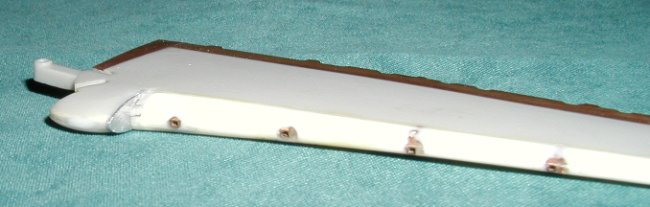
The left wing already has the red position light (which I made only for trial). Believe it or not but there is a small
imitation electric
light. The end has not been correctly profiled yet. I left this step for the very end because of the possibility of damaging the
delicate and thin edges.
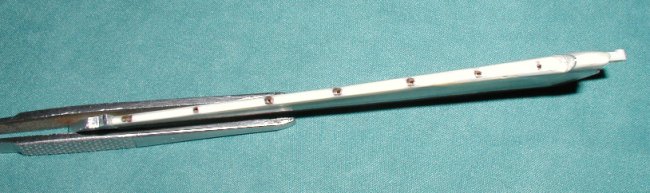
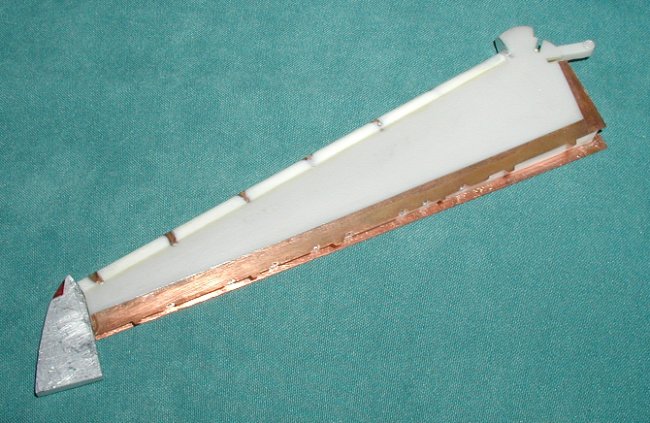
The front part of the wing is made of plastic in which little copper rectangular pipes have been fastened. These pipes will help to
fasten the slats. As you see I have had some troubles with putting them in the right places, but it's
OK now.
The rear part is the vertical plastic partition on which all spoilers' and
the flaps' systems will be added. The shape of
the bottom edge (which is straight) and the upper one that makes the
spoilers' line was possible to make only from the copper plate (0,01 mm thin).
These plates and the plane of the wing created on the surface as well as the
joint between the parts will be invisible after painting.
|
Click on images below to
see larger images |
 |
 |
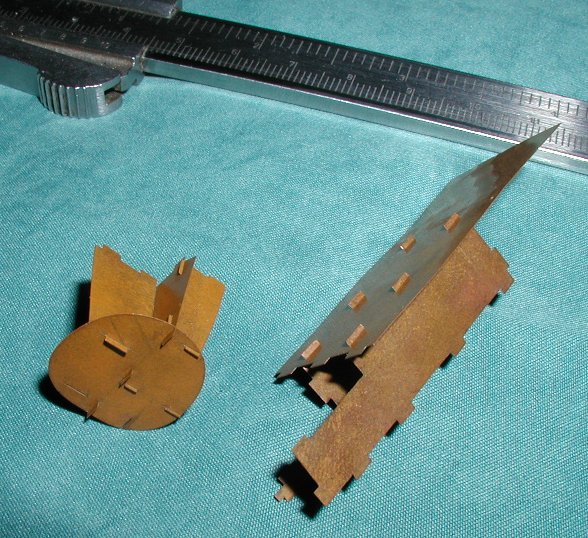
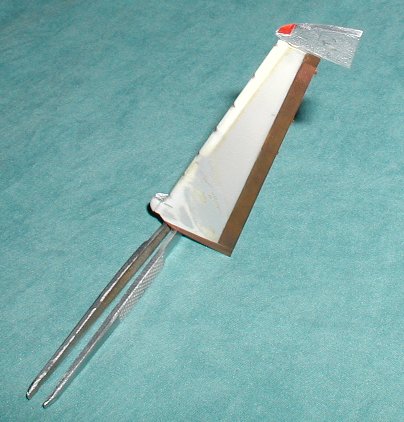
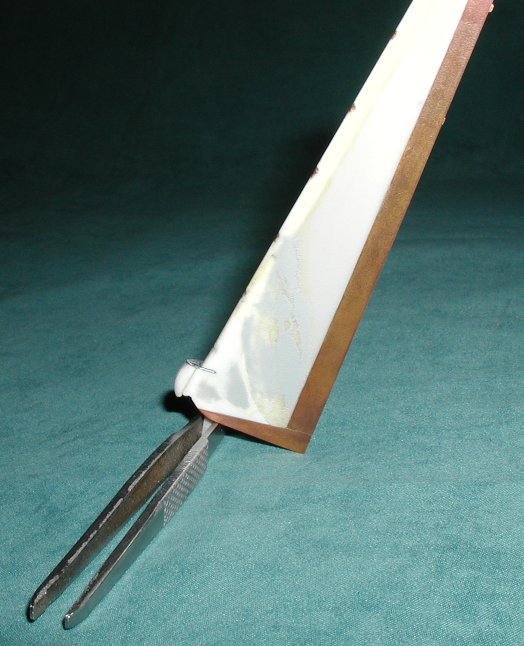
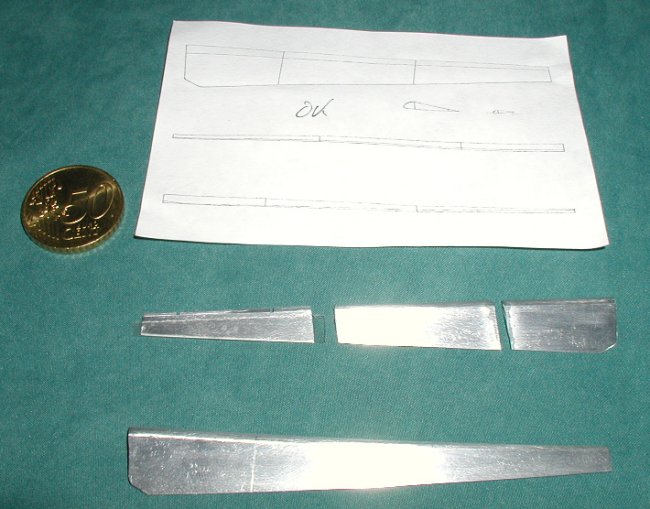
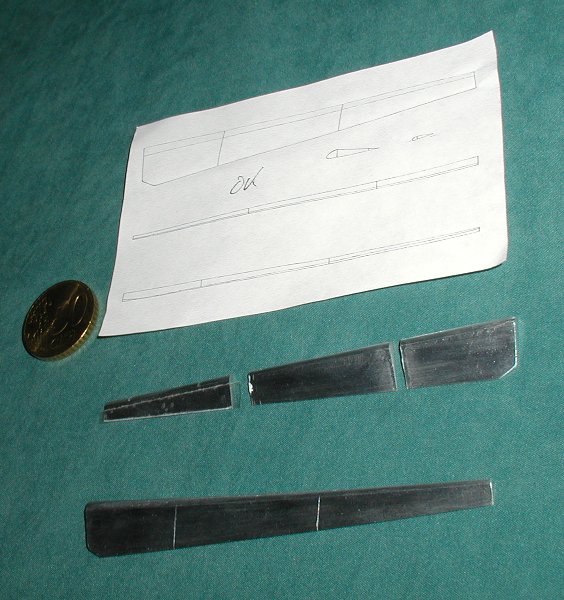
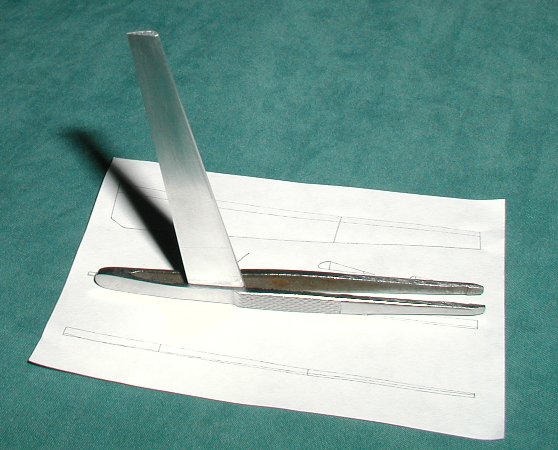
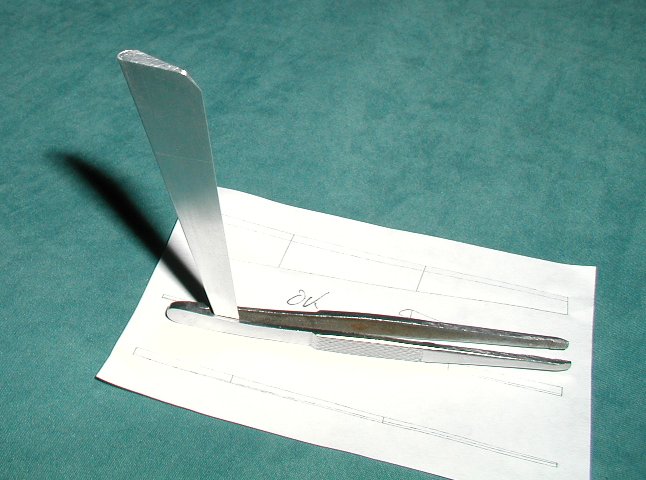
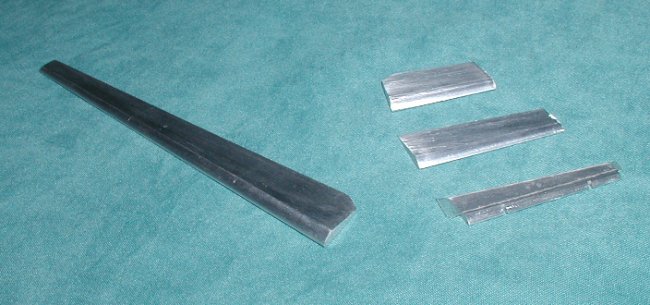
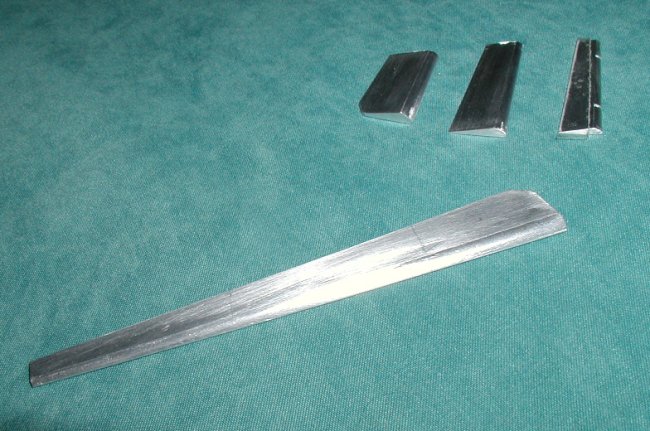
The slots have been made of one solid aluminium piece. The work on it was mainly filing, filing and filing again (as it was with
the flaps). I also have put a lot of attention into the edges which have to be made very sharp and are easy to damage at the same time.
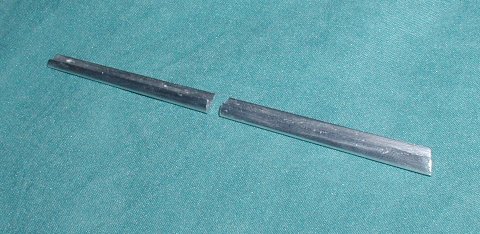
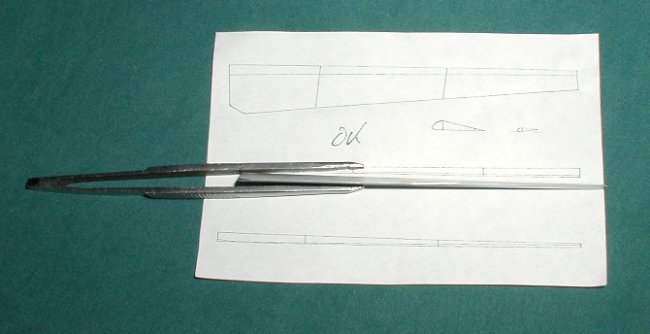
I had to hollow out the inner site of each slat. I have made both of the slats (right and left) as a one
part. Only after I had checked
that the shape and the profile is ok did I divide them at the suitable point, into two sections.
I'm going to make the
flaps in the same way . They are made of
aluminium too. Meantime I'm working on the left flap. The right
flap is still one element and it's waiting to be divided. As you can
see, the outer section on which I'm working right now has the trailing edge secured and the slits for the holding elements. Very important
thing is the flap trailing edge profile which is changing. You can see the wings from the back side in the Walkaround gallery, F-14
Tomcat Bluesplinter on the ARC.
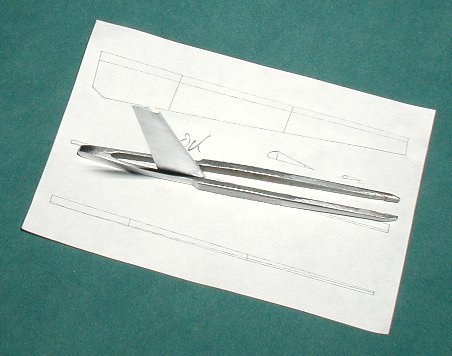
The wings on my Tomcat will not be
positioned in the sweep angle of attack and will instead be positioned in the 20 degrees position. The flaps, the slots
and the spoilers will be in the fully extended position.
As you can see below, to help myself I have made my own scale drawings, because none of the drawings known to me represent all the
shapes of the wing exactly. The flaps and the slots have separate drawings.
It doesn't matter to me how long it takes to finish my model.
The important thing is that it will be the world's best F-14 model in this scale. It will consist of about 10 000 pieces. I'm intent to show a
lot of inner equipment components of the F-14A. If you have any questions or comments please don't hesitate to
e-mail me.
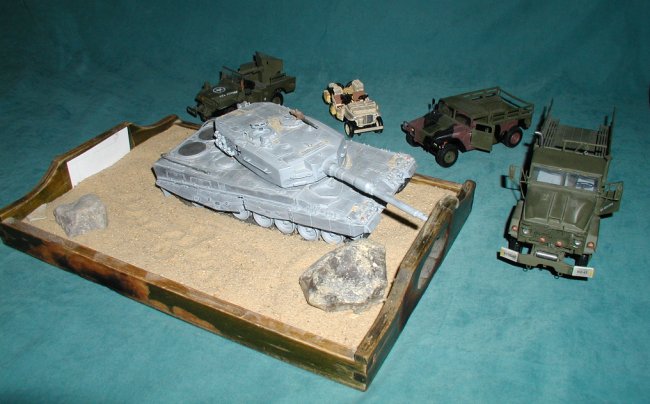
Below is a picture of some of my
completed models.
Marcin
|