|
Background
“Humble
Resting Place” took shape because I had screwed up the original paint job on
my 1/48 Academy Corsair. Instead of scraping the aircraft all together I decided
to try my hand at building a crashed aircraft diorama at the same time trying
out my technique to simulate water.
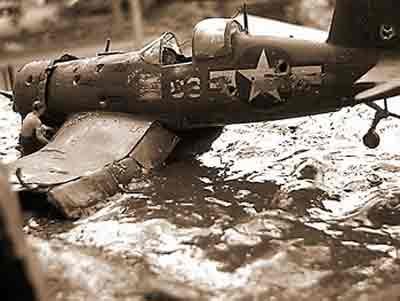
This
diorama is purely based on a “what if” scenario. It is in no way based on a
real event. “Humble resting place” consists of a Corsair from an unnamed
unit/sqn which made a forced landing in the sea somewhere in the vicinity of
Solomon Islands and has been resting there for a good few months.
Aircraft
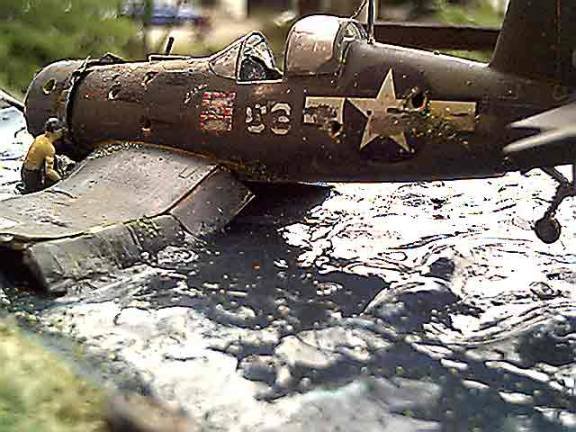
This
kit used is the 1/48 offering from Academy models. After botching the original
scheme, I decided to airbrush it a single color of Navy blue and prepare it for
damage to simulate a crash. I drilled various holes on the fuselage, wings,
windshield and tail to simulate bullet/flak damage. This was achieved by
applying a lot of pressure on an X-Acto knife to cut out the plastic. This
method was used to give the holes a jagged and rough edge. I also cut the wing
and added some various bits to try and simulate the wing ribs and control
cables. This was achieved using small plastic sheets and some copper wire.
Finally the propeller was also bent and cut to simulate its impact with the
water. The fuselage was also exposed to a heated metal rod to try and simulate
metal rips and tears particular in the cowling area. Heat was also applied to
bend the plastic to show dents and etc. Paints chips was achieved by the normal
way by slapping minimal silver paint from a small brush. Finally the aircraft
was applied with various oil and water based colors to simulate the exposure to
various elements over the months of its lying there.
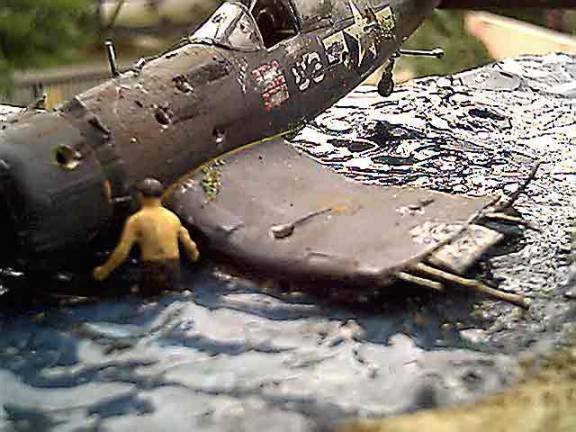
Figure
There
is nothing much to mention about the figure. It was taken from Monogram Black
Widow kit. The only modification done to the figure was that it was cut at the
knees as it was going to be in water. It was then sanded and painted flesh tones
and olive drab for the pants.
Base
The
base was made on a hard cardboard piece. Firstly a plastic cut out taken from an
old square Tupperware was used to simulate the ridge. Following that the entire
base was filled with modeling clay and various imprints and wave prints were
made on the base. Fine sand was then sprinkled on at various places on the earth
part of the base. The next step was to air brush the earth shades. After this
was completed the entire base was left to dry. Following that the earth sections
were roughly masked off and the water shades were airbrushed on. This once again
was left to dry for a good long time.
The
next step was to position the aircraft and the figure in the water section. The
aircraft and figure was super glued down in their positions and after the glue
cured, the entire base was filled with normal transparent paper glue. The first
layer of glue was left to dry for 2 days. Following the 2 days another layer of
paper glue was added onto the base and this was left to dry for another 3 – 4
days. Following that little grass sprinkles were scattered around the earth
portions of the base and this process completed the entire display.
Overall
I am happy with the results obtained from the simulated water finish using this
technique. The only drawback of using this technique is that it does take a lot
of time in letting the glue set and it can get to be very messy and sticky.
Thanks
to Joe Frazier and David Fassett for giving me some 1/48 scaled figures to help
with my current and future diorama building.
S.B
(Brian)
|