|
This is the
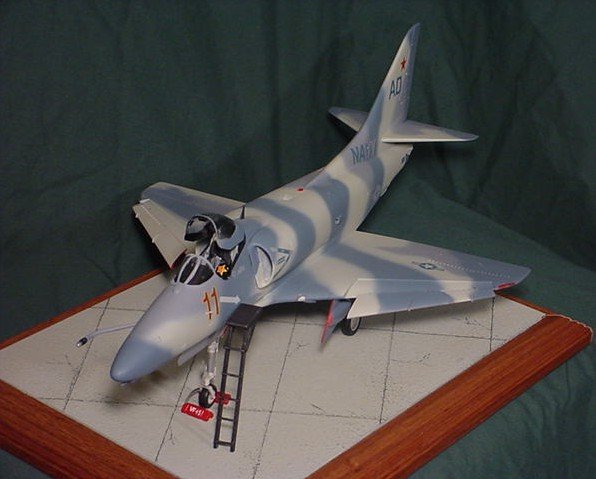
Hasegawa 1/32 scale A-4E Skyhawk "Lady Jessie" kit. I saw this kit
built in these markings a couple of months ago. I already had the kit, so I
picked up the Twobobs "Top Gun
Tinkertoys" sheet and went to work. This is one of the best building kits
that I have ever seen. Test fitting showed that the kit was going to go together
well. The pieces lined up together with virtually no gaps or ledges. There were
a few mold seams to clean up on the parts, but not much flash. The only places
that I used any putty was on the pieces that go on the lower fuselage just
behind the wing join and on the front wing join.
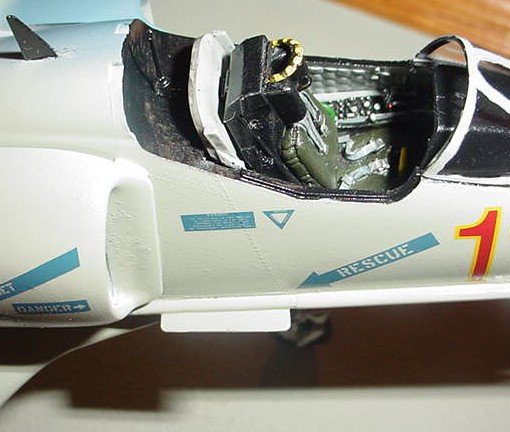
Starting
with the cockpit, I had to use a Cutting Edge seat. The kit seat comes in
several parts, but mine was broken when I opened the box, creating several more!
This would actually turn out to be beneficial later. To use the CE seat, you
have to cut the seat pan on the kit cockpit tub. I put a piece of thin sheet
plastic on the bottom of the tub to have some place to glue the CE seat. The
instructions have you put the nose gear strut on early in assembly, but you
could probably put it in later. I kept worrying that I would break it off while
I was handling the plane. The fuselage halves were joined and sanded. This kit
has pretty fine raised detail, and some of it was lost when I sanded. I
re-scribed some of the lost panels, but mostly just access hatches and stuff.
The intake pieces went on smoothly. These are hard to paint, as they are closed
on the back end.
The
wings were assembled next. I waited until they were done to put on the leading
edge slat guides. This proved to be a major pain, because they were hard to line
up. This particular plane didn't carry guns, and here's one problem with this
kit. There is only ONE wing root plug included. Why, I don't know. Anyway, I
acquired a couple via the net, and forged on. This is one of the few
places where putty was used on the kit. The front join between the wing and the
fuselage showed a little step as well that took some work to smooth out. The
lower fuselage parts were also somewhat difficult, and required some putty. I
left the speedbrakes closed. The fit is ok, but they probably would look better
open. They seem to be a bit thicker than the surrounding fuselage area.
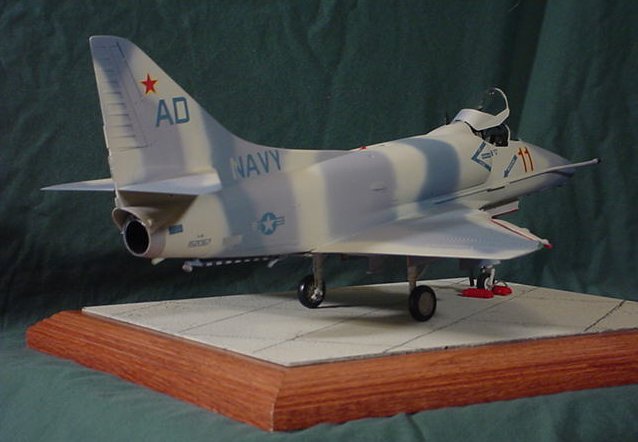
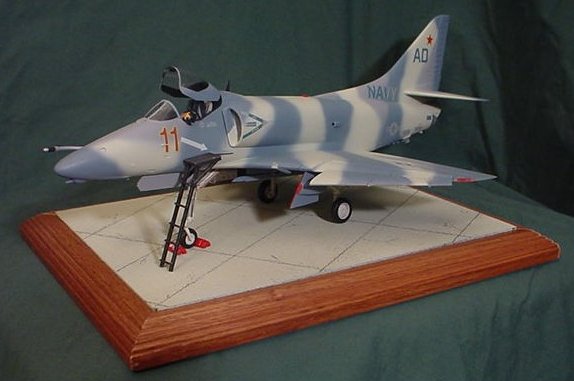
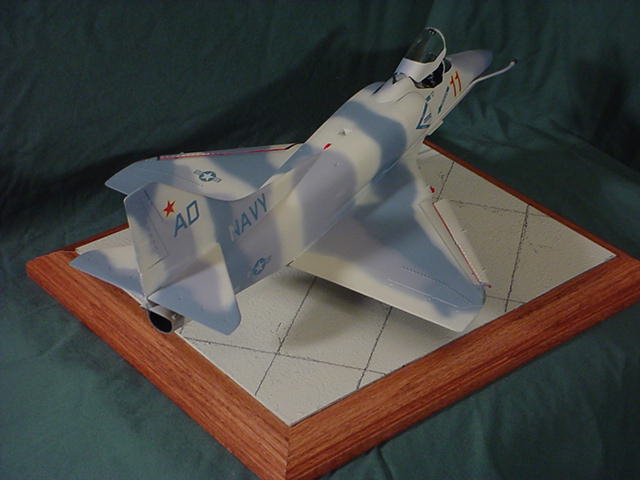
Once
everything was masked off, I sprayed the pattern on using Model Master Acryl
straight from the bottle. The blue I used wasn't quite the right color, being a
little grayer, but the right color doesn't exist in the Acryl line, that I could
find. The Twobobs decals went on without any
problems. This is the first scheme that I have done with markings done
"positive/negative", and I was surprised I was able to get the pattern
to match up with the markings as well as I did.
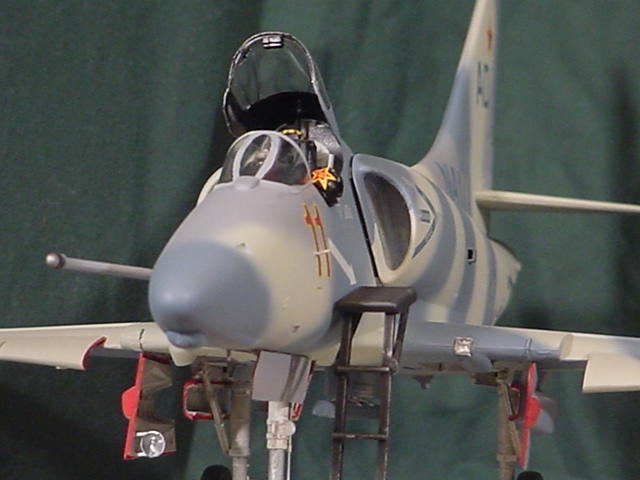
When putting
on the clear parts I ran into the only problem that I really had with the
construction. The support rod for the main canopy is just a hair too short in my
opinion, so the canopy didn't sit as high as I would have liked. I tried to put
a little glue in there to help hold it up, and when I was pulling the little
metal tube for the glue bottle out. it touched the inside of the canopy, which,
of course, was already glued on the kit. We all know what glue does to clear
parts. Luckily it was just in the corner. I tried to sand it and clean it up,
but you can see it. If I had it to do over, I would make a new one out of a
piece of rod using the kit piece as a guide and making the new part just a hair
longer.
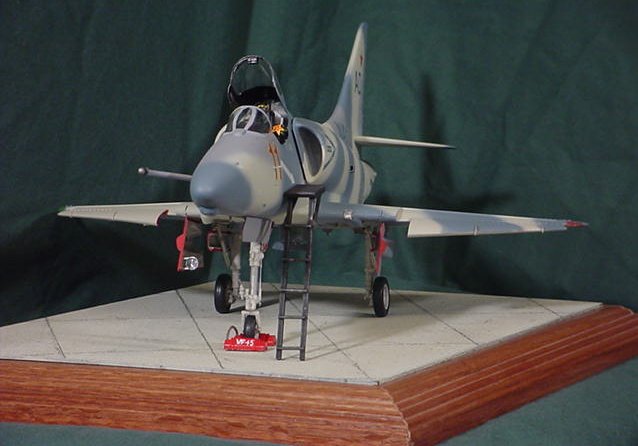
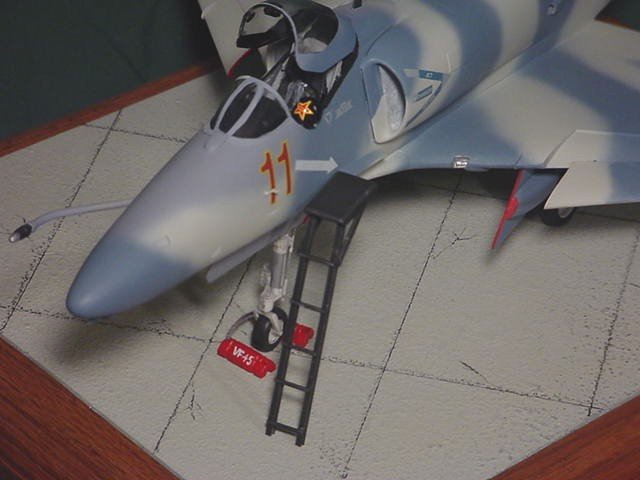
I added a
Sidewinder missile rail from the spares box on the centerline. The kit looked
like it needed something though, like a boarding ladder. I didn't have one, but
the ones I had seen before looked pretty simple, so I decided to make one. I had
some pieces of plastic rod, so I cut a few pieces for the sides, rungs and
supports. The platform for the ladder is the seat back piece from the kit piece!
( I told you using the CE seat had an extra benefit!) I took about 15 minutes.
The chocks and the helmet on the canopy rail came from the spares box too.
Overall, I
spent about 30 hours on this kit, most of that painting the camo pattern on it.
It was a joy to build. If you want a Scooter on your shelf, I would suggest this
one!
Mike
|
|