|
As part of my IMPS chapter's ongoing A-4 Skyhawk group build, I had to build a
TA-4J in 1/48th, problem is there is no current kit or decals of this plane
which means I was going to have to do some kitbashing.
Because
of it's excellent detail and accuracy my IMPS chapter (in Denver CO) has chosen
the Hasegawa A-4 kits as our basis for the project. Given that, I decided to
also use a Monogram OA-4M kit I picked up at a kit swap (just re-released though
in Japan under Hasegawa boxing) to provide the parts for a two seater
(especially the canopy). I did look for the old Fujimi TA-4J kit but it has long
since been discontinued. To help me with the conversion I also picked up the
Missing link TA-4J conversion set designed for the Monogram kit (from Roll
Models) and the Eduard PE set for the old Fujimi kit. Both of these sets ended
up not being used for very much, but still provided important parts that would
have been hard to scratchbuild. After collecting all the right parts I sat
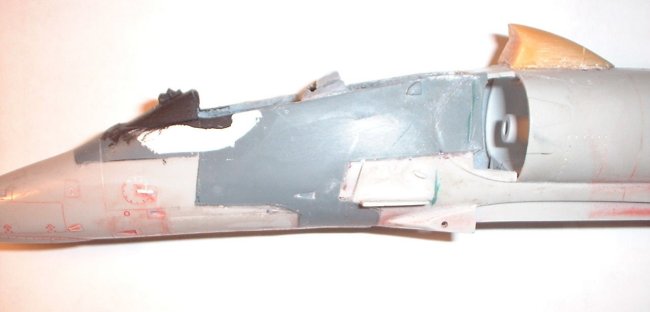
down to cut and build. In order to use as much of the Hasegawa kit as
possible I cut the fuselage just forward of the intake hole (where the intake
kit part goes) and just behind the front cockpit hood (which would prove wrong,
but more on that latter). And then I layed parts on top of the Monogram fuselage
and drew an outline of the area that I would be inserting in between the
Hasegawa parts.
Next
came a lot of super glue and sanding, constantly checking that the two halves
matched and bracing the back sides of the parts. One area that was difficult was
the pipe that runs along the right hand side from the IFR probe back, when I put
the Monogram part in place, the pipe size did not match up at all. I sanded the
Monogram pipe off and then using plasticard (the flat raised area under it) and
plastic tubing (both evergreen stock) built up a new pipe that better matched
the Hasegawa pipe (some filling/sanding was needed at the join). I also began to
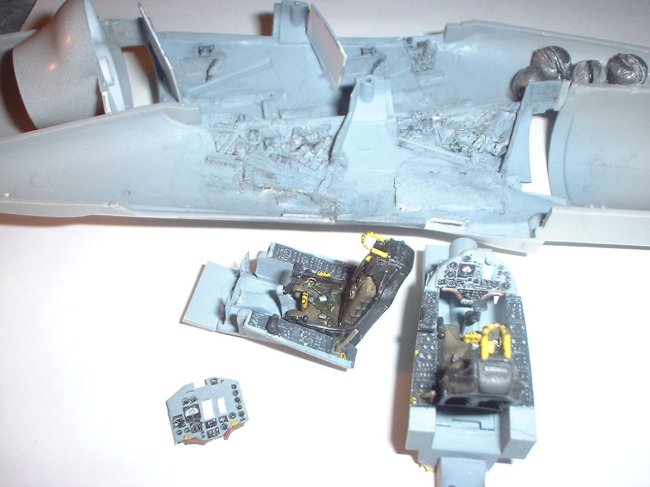
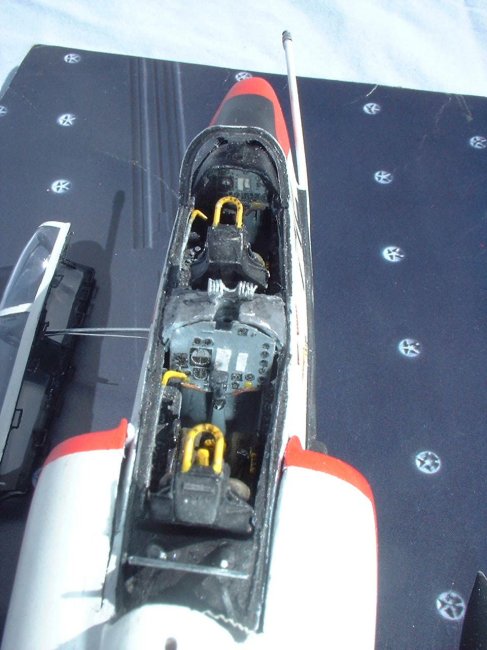
look at the cockpit parts. I had originally bought the Eduard PE set because it
contained a full cockpit (the Fujimi kit had decals for the cockpit I believe),
but after looking at them versus the kit parts I decided that plastic would be
the way to go, because the raised details on the side counsels looked better. I
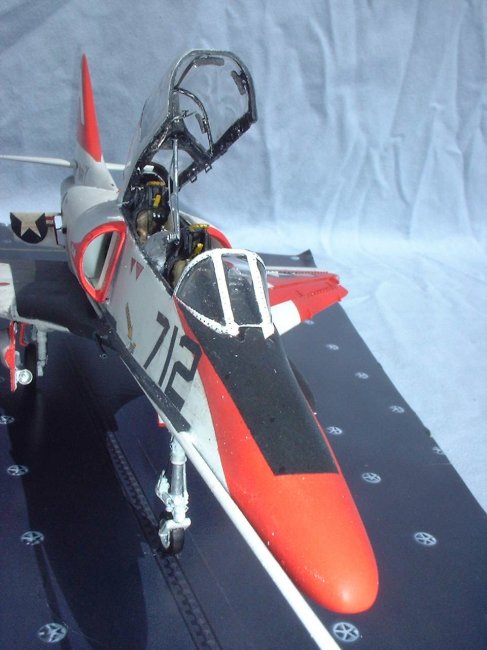
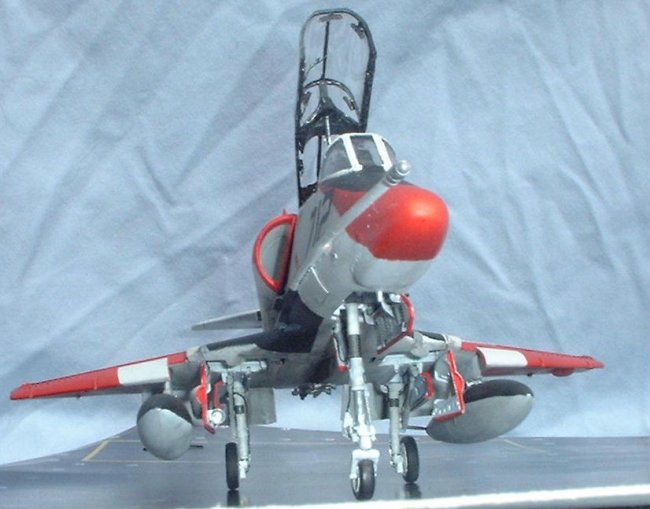
also had to use the Hasegawa Tub for the front cockpit because it has the nose
wheel well attached to it (again more detailed than the Monogram part). I added
detail to the side wall on the right hand side in the form of tin foil to
represent the cloth map holders on the real thing. I did plan on using the PE
instrument panels but I soon found that the front seat panel was too big to fit
under the instrument hood (both Hasegawa and Monogram) because it was designed
for a different kit, so I ended up using the Hasegawa part (close enough to the
TA-4J, only a few dials that were different). Also used in the cockpit were the
excellent True Details resin ESCAPAC seats, a real bargain at $3-4 a set, a must
have for any A-4 kit.
|
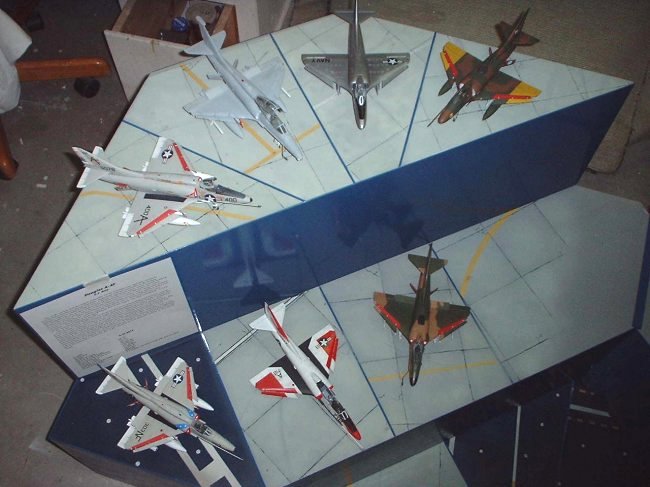
Click on images below to
see larger images |
 |
 |
After
the cockpit was done I joined the halves and then filled in the rear deck and
added the resin piece from missing link that is for the hump at the rear of the
canopy, the only part I used from the set (the vacuformed canopy was the other
part).
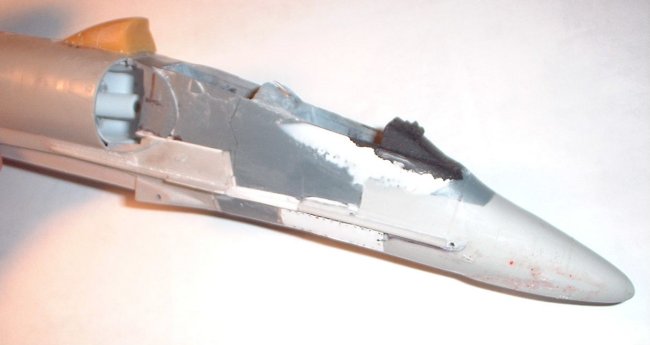
Before
I finished off the fuselage I checked the fit of the front canopy and realized I
had made a huge mistake, it didn't fit at all. I don't know why I didn't realize
this earlier, I was thinking about preserving the Hasegawa detail and somehow
forgot that the canopy was a different shape and width than the A-4F canopy.
Live and learn. I at first tried to build up the area of the Hasegawa nose to
match the canopy, this proved very difficult to get right so on to plan B.
Next
I cut the area of the Hasegawa part out just behind the nose cone and then
matched and cut the corresponding area on my left over Monogram nose (never
throw anything away!) and glued into place. I was happy to see the canopy fit
correctly but I had to now fill and sand the new seams, which led to another
problem. After I had a nice smooth seam from a lot of sanding I went to fit the
canopy and found that now it did not fit because I had sanded too much off the
sides and it was too narrow! Can I ever get a break?
So
now I had to build the sides up again to met the canopy. I managed to get it the
correct width after several hours of applying super glue and sanding (although I
still had some small imperfections) so time to move on. The rest of the kit went
together just like any other A-4F kit would, except that it only had one gun
(the right side) as all TA-4J's had (or no gun at all). I also detailed the
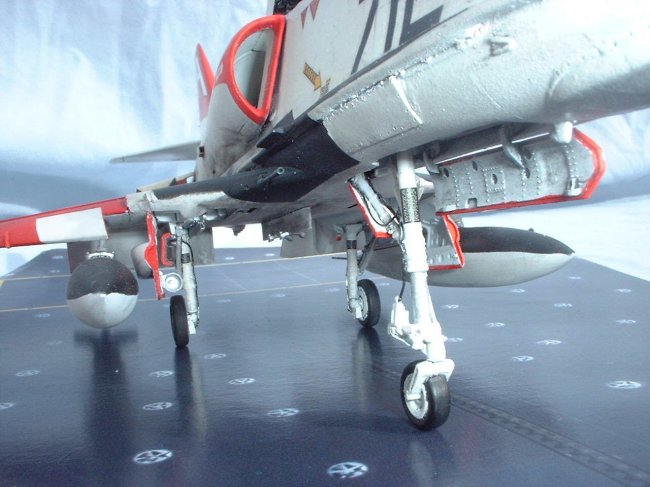
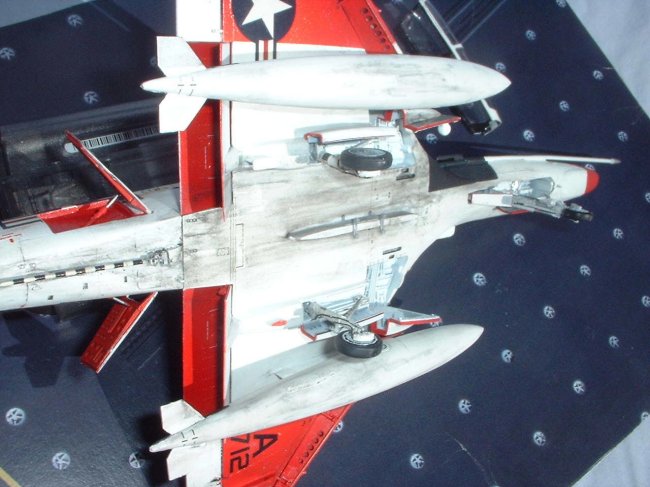
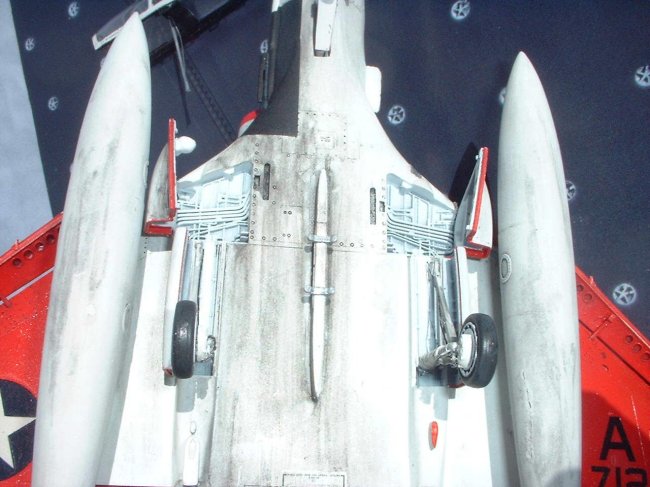
landing gear using electronic and Florist wire.
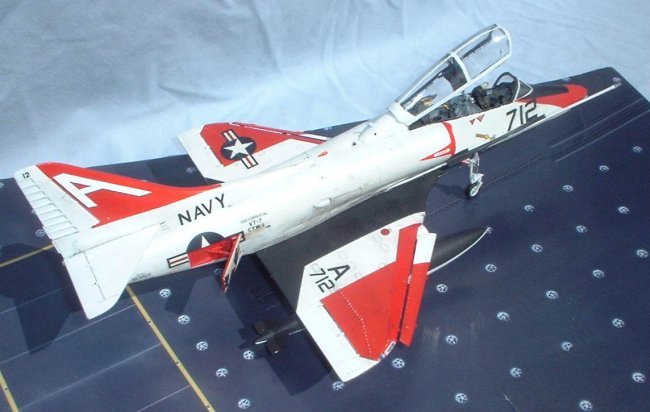
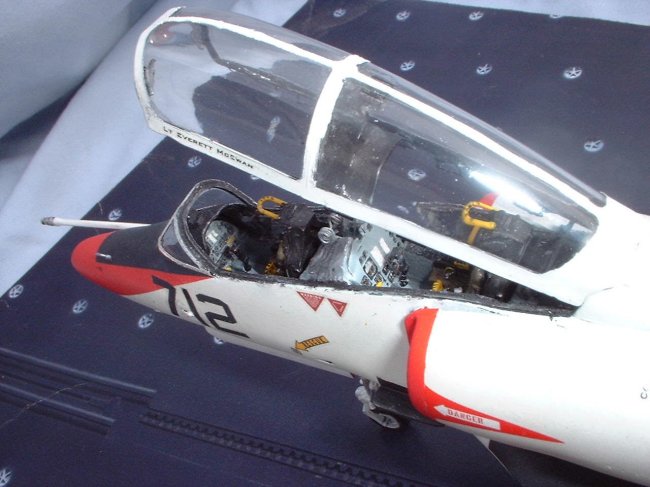
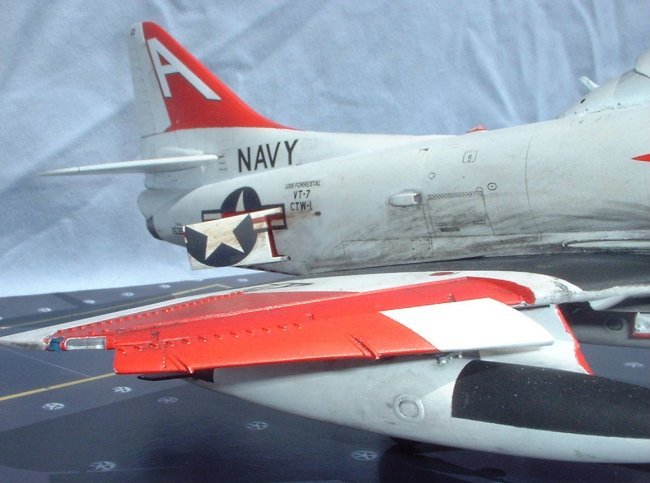
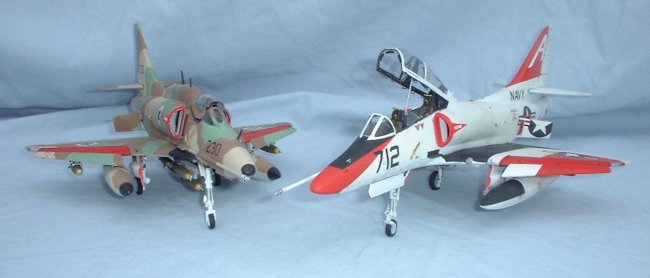
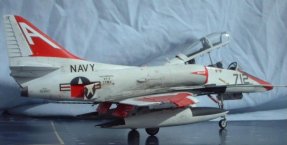
Now
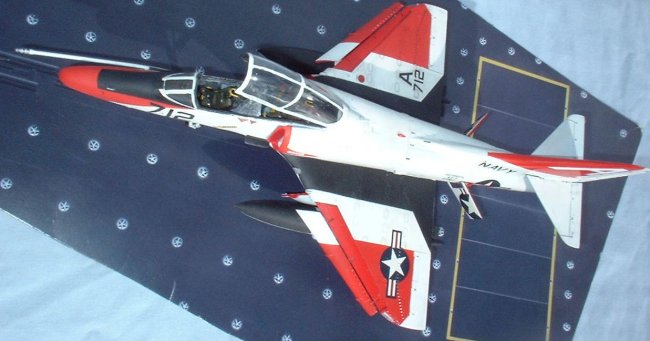
for the painting and decals, also something that was non-standard. Because this
kit was going to be in a group display of 22-24 planes that is supposed to
represent all of the different types of A-4s, I wanted my paint scheme to be for
the most typical TA-4J user, Naval training command. All Naval aviators in the
last 25 years or so made their first carrier traps in the TA-4J, so it is a type
that is fondly remembered by Naval aviators as giving them their gold wings. As
such I did not want to do a aggressor or special scheme (the only decals I could
find in 1/48th) instead I felt it important that it be in the scheme that is
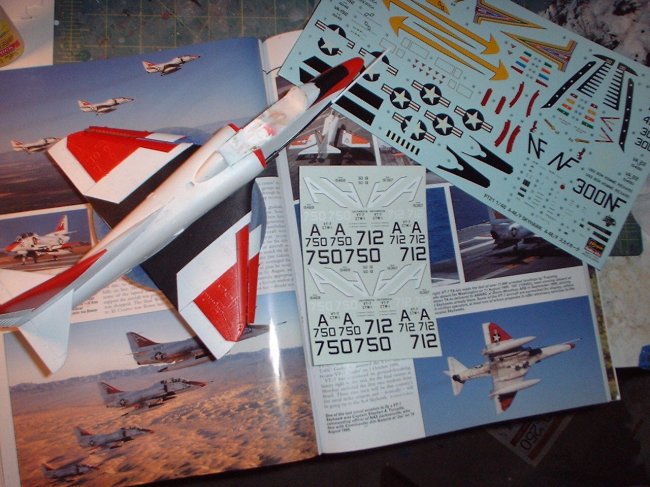
most remembered. But nobody makes any decals of the VT-7 birds that I could
find, so I kept posting a plea on Hyperscale's plane talking, and finally my
friend David Aungst came to my rescue. For those of you who don't know of David
and his amazing work, he is a incredible talent and a great contributor to our
hobby. For example he is the driving force and reference source of the great new
Cutting Edge A-4M conversions (which I am using on my next A-4s). David offered
to make custom decals for VT-7 to fulfill my needs (he wants to do a TA-4J
someday also) and since it was mostly black stencils and a White A for the tail
(and white numbers for the flaps) it was a relatively easy decal job to do. The
other decals were provided in the kit decals (such as stars and bars and warning
stencils). For those of you who may want to do this jet, David will gladly sell
small quantities of the decals (with in reason) if you want to contact him or
me. Without his help this project would not have been possible, thanks again
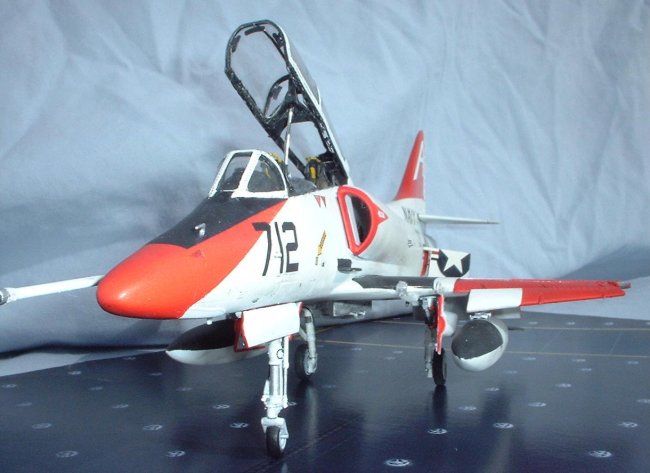
David! The paint job was a simply affair of Testor's Model Masters white and a
custom mixed red for the wings nose and tail, I gloss coated with Future and
finished with Testor's Semi-gloss. I did get the plane a bit dirty using the
great photos in World Air Power Journal as a guide, they seem to have collected
a good amount of staining on the one side due to the gun gases. Some may argue
that these planes were kept very clean, but most of the photos I saw showed them
as the well used jets they were. Weathering was done with my usual chalk pastel
sludge method.
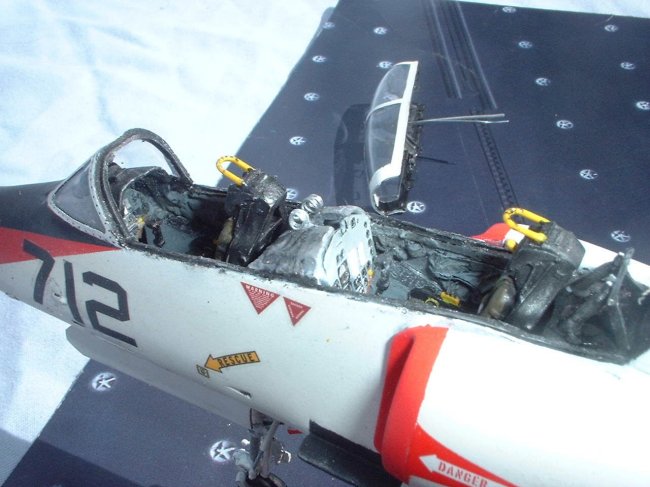
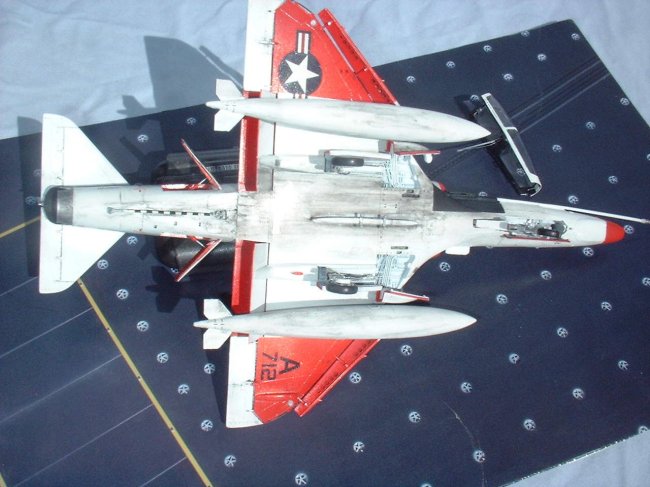
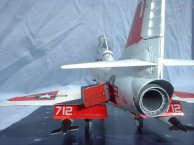
Now came all the fidely bits, the gear was detailed with some wiring and put on
as normal for any other A-4. I decided to add some detail to the canopy after
seeing my friend Earl's great OA-4M detailed in this manner. He gave me some PE
railing left over from a battleship he built that I used for the canopy latches.
I removed the one piece rod from the kit canopy actuator and made the correct
two separate pistons from a paper clip and florist wire. I realized that if I
drilled two holes behind the rear instrument panel (I had built up a support
there) and added a piece of wire at the rear of the canopy and a corresponding
hole on the hump, I could make a strong but removable canopy (helpful for
transporting). Also added were PE mirrors and some wiring. For the wings I
mounted the two fuel tanks (which seem to be standard for the TA-4J) and the
Pitot tube to the nose. I found out through David that TA-4J's had a varied fit
of Pitot tubes, either on the nose or tail, his decals were for both versions, I
chose this one because of the "USS Forrestal" titles.
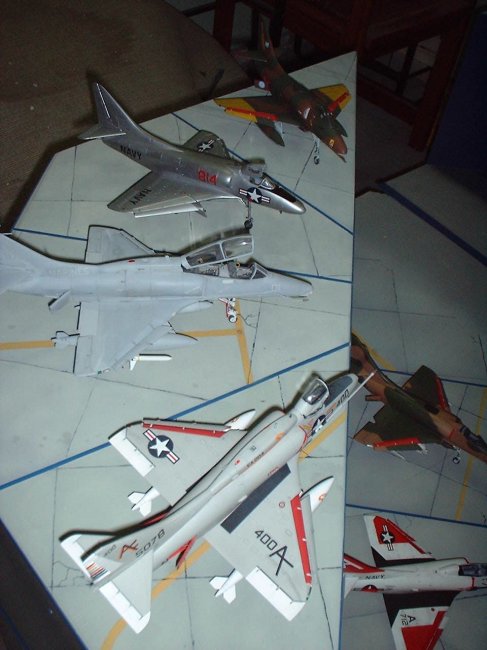
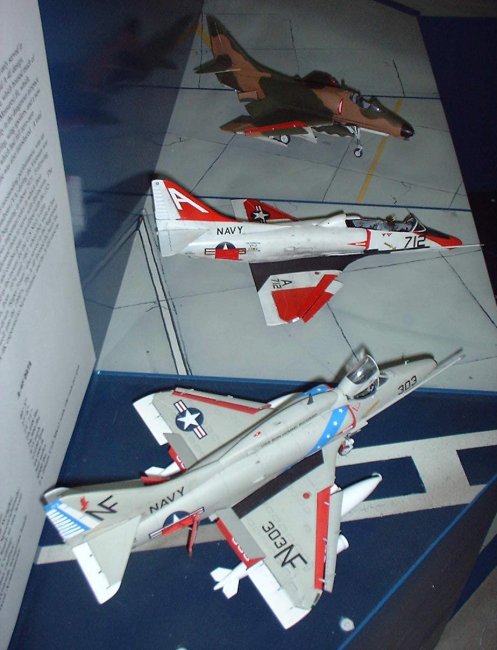
| Click on images below to
see larger images |
 |
 |
 |
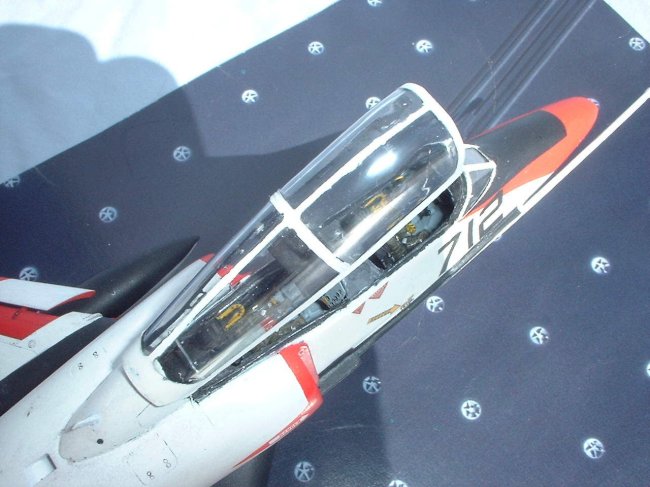
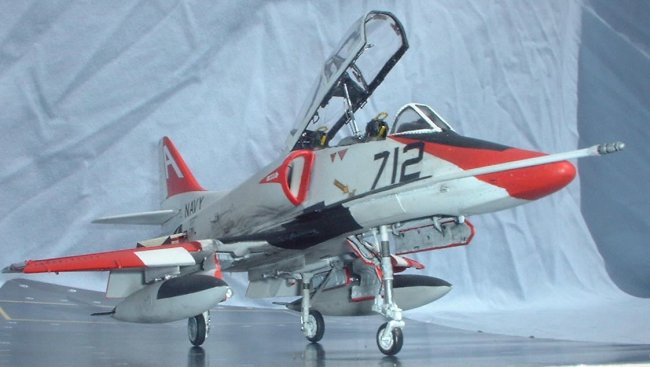
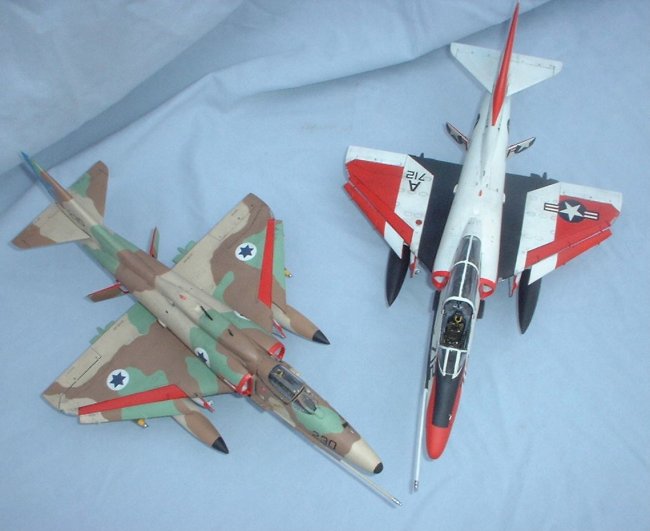
All
in all this was a nice kit to build, the most time consuming thing being the
merger of the forward fuselage, otherwise it built up just like a normal
Hasegawa A-4. Until Hasegawa gets around to releasing a TA-4J as the parts trees
suggest (there are two control sticks on the sprues for example) this is the
only way to build a TA-4J, but not for the faint of heart.
Happy
modeling :)
Everett
|