|
Introduction
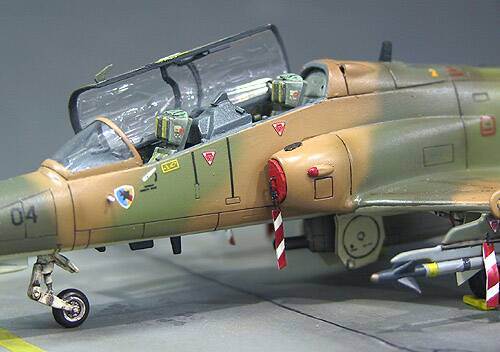
I came across the italeri 1/72 hawk 100 kit in my local shop and was attracted to the clean slick lines. When I turned it over, I made up my mind to finish it in the RAAF Hawk 127 LIF as I liked the colour scheme. What was supposed to be a straight forward OOB affair turned out otherwise. I found out half way through the project that there were inaccuracies to make it into the Hawk 127. Fortunely, a new found friend, Alex Sidharta, whom I met right here at ARC, help provided information for me to change track and finish it into a Indonesia Hawk 109.
Construction
If you read all the avialable review on this kit (which I did not do in the first place :-p), almost all them will have the word fiddly (or something similiar) featured somewhere in the text to describe it. After having encountering it first hand, they are right most of the time ! However the main gripe I have is not with the parts being small but the fact that the parts either have no proper attachment points or the holes provided is always bigger than the locating pin ! But other then those points, most of the parts do have very nice details on them and not oversized or featureless, something that put me off 1/72 long ago. Incidently this is my first 1/72 kit after my last encounter with them about 5 or 6 years ago that made me stick to 1/48 ! They do have come a long way though.
Cockpit
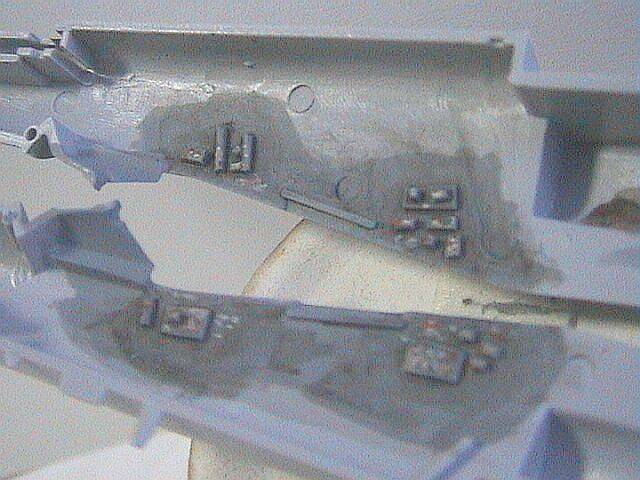
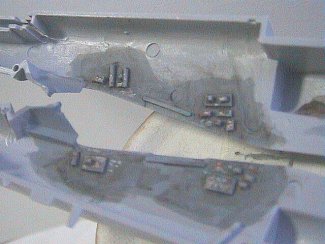
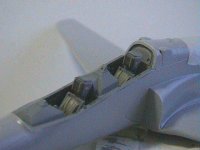
One of the weak area of the kit is the cockpit as it is just a random arrangement of dials and squares (as I found out later in my "late" research). They may be inaccurate, but I figure after the painting is done they should look alright and I left it as it is and since its suppose to be a OOB affair, I did not do any major work here other then to add in some random details to the cockpit side walls to make it look more lively.
|
Click on images below to
see larger images |
 |
 |
Since the details are raised, some dry-brushing, after the base colour of light gray is applied, brings out the details nicely.
|
Click on images below to
see larger images |
 |
 |
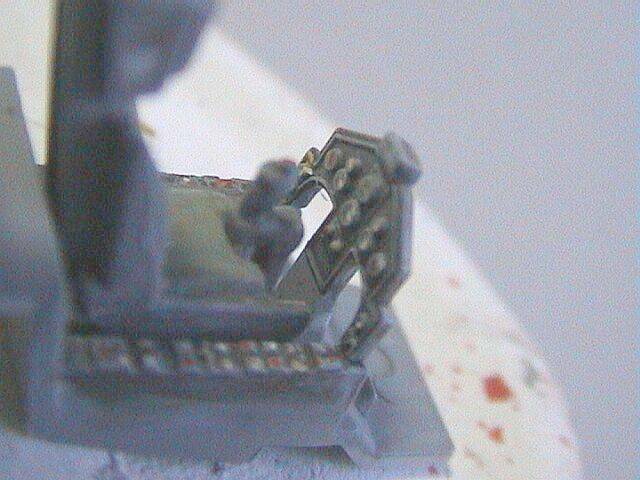
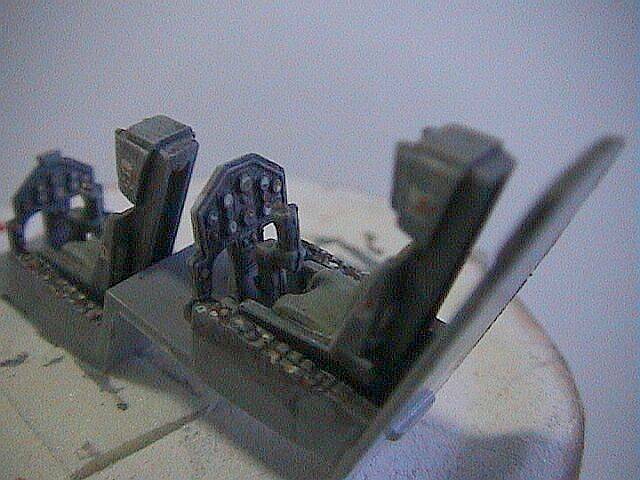
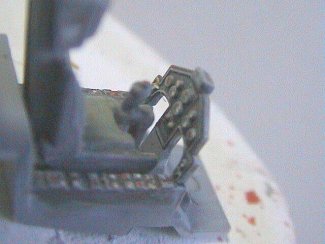
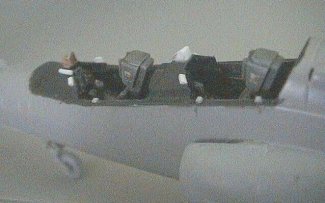
I applied a small amount of squadron putty on the top of the seat and scribed out some creases to simulate the chute packing as per the real thing. The seat then gets a base colour of medium grey. After some light wash and painting the various details, dry brush was done to bring out the details.
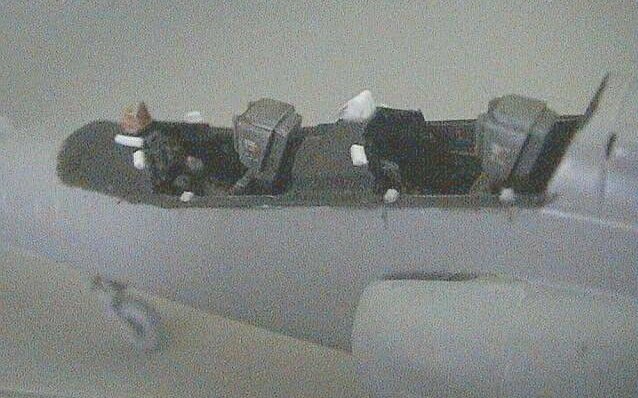
| The next step was to install the cockpit tub into the fuselage. Be careful when fixing the back seater bulkhead part 6B on the tub. Make sure you line them up to the fuselage to minimise the gap between it and the fuselage. |
| Click
on image below to see larger image |
 |
|
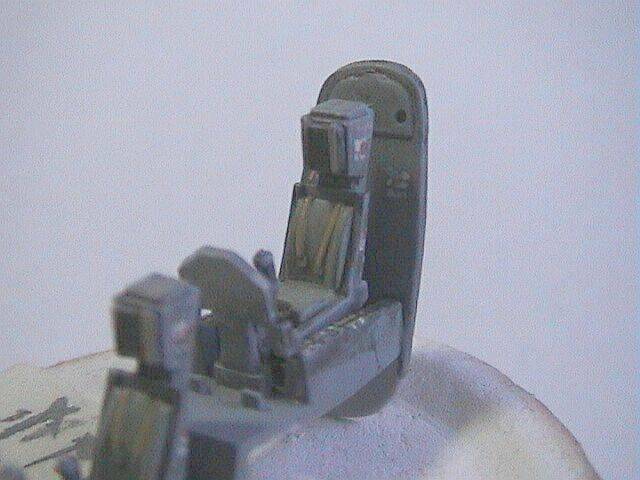
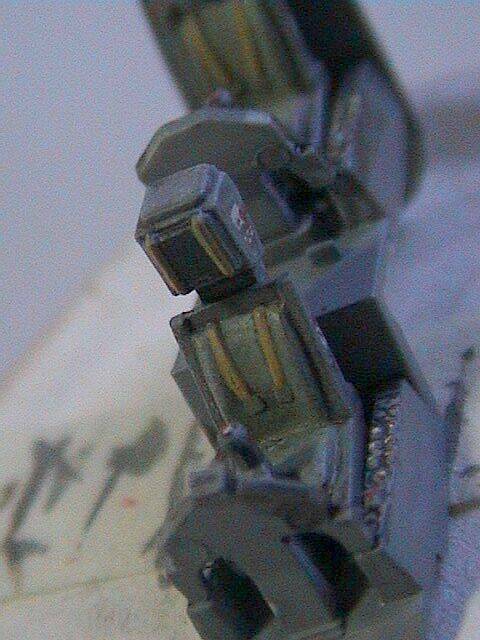
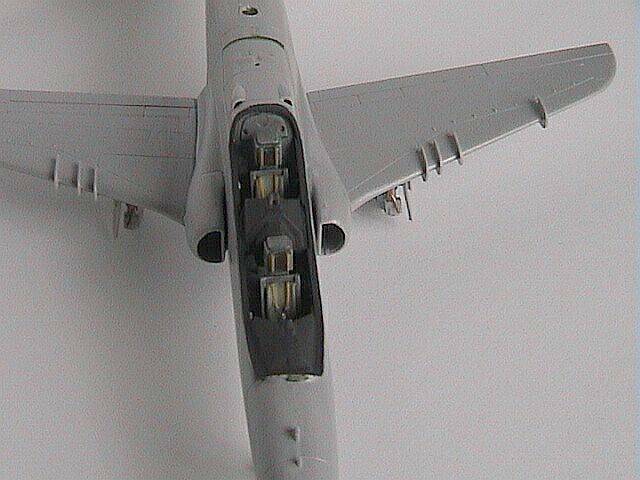
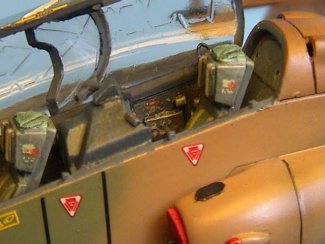
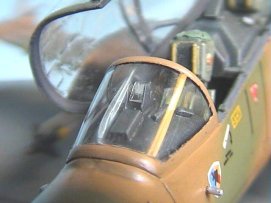
At this point in the construction, I have managed to find additional reference material on the Hawk. And by this time, the Asian Aerospace 2002 was on and I manage to shoot some detail shots of the Hawk demostrator ZJ100. (I have since send Steve some walk around pictures of the Hawk ZJ100 and the mock up airframe that BAE brought in for the Asian Aerospace 2002 show. I thinks its still on Steve's update queue).
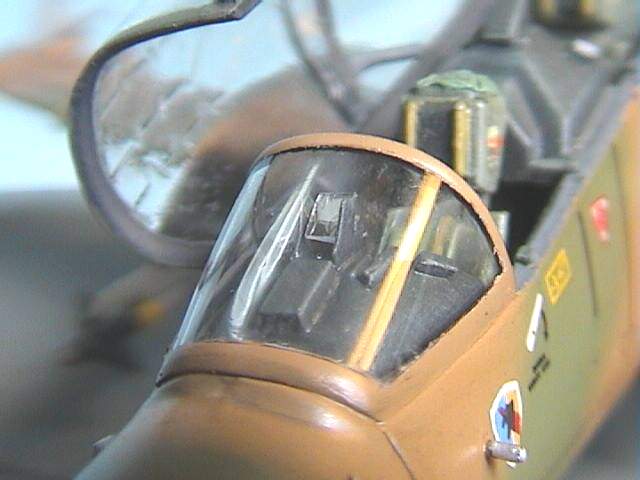
Using the shots I have taken in AA2002, I sprue up the cockpit area a bit with bits of plastic and copper wire. Among the things I "simulated" is the HUD repeater for the backseater and the HUD for the front seat using thin copper sheet, styrene, acetate sheet after sanding off the kit provided part.
|
Click on images below to
see larger images |
 |
 |
Fuselage
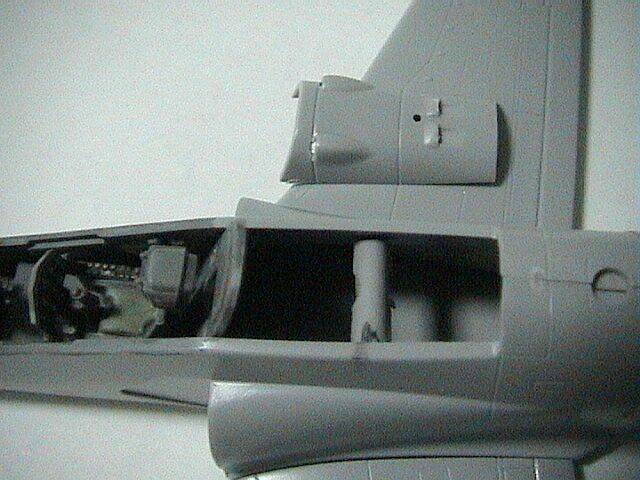
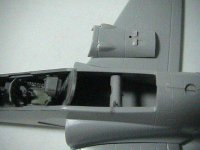
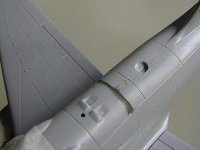
| The fuselage poses no major problem except that I strengthened the area behind the cockpit using a portion of the tree part. This is to provide a strong and stable mating surface for the engine cowling panel part 20B when installed. Also I tend to hold on to the kit using this part a lot during construction so this gives the additional support needed.
After the cowling panel is installed, it leaves a gap that needs to be filled.
|
| Click
on image below to see larger image |
 |
 |
|
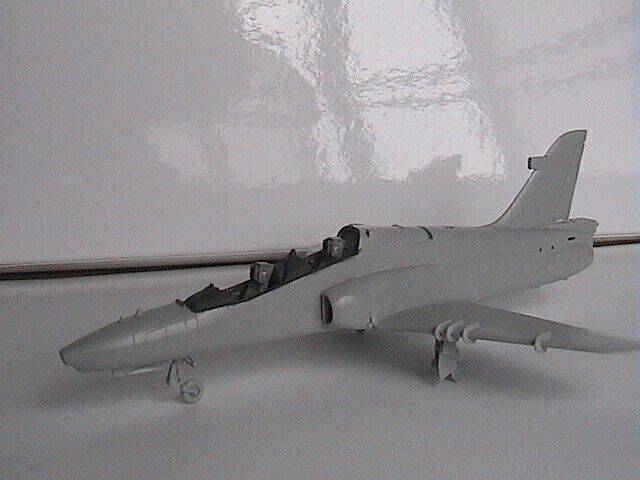
I left the small parts like the horizontal stab, the smurfs, antennas and the under belly strakes etc off to be installed at a later stage to prevent damage during handling.
Wings
I next proceeded on to the wings which again poses no major problem in terms of fit. It mated to the fuselage without any fuss. There was a seam line on the wing root where it joined the fuselage. However a quick filling of squadron putty using the no pains, no sandpaper fill-n-wipe method found on ARC Tool's n Tips section ensured a clean putty job at the wing root with the surface details intact.
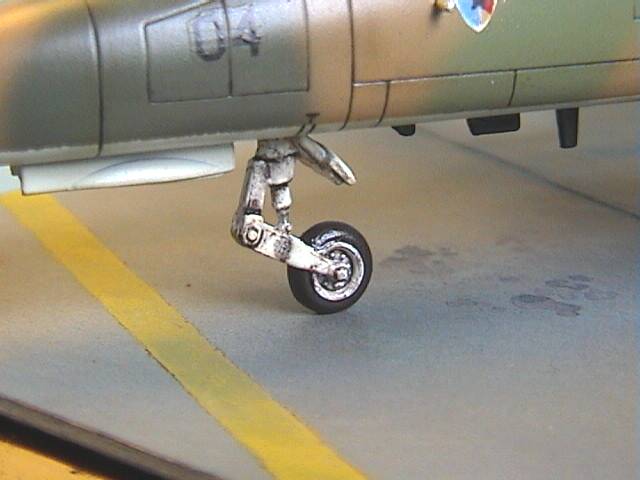
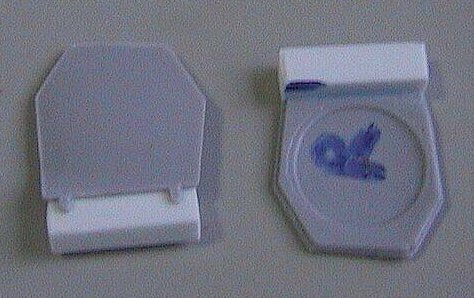
I next proceeded to install and test fit the other bits for the wings like the actuators, landing gears and doors. As I mentioned before, some of the parts does not have proper attachments. The landing gear doors are an example. All they had was tiny tabs that is expected to be used to glue to the main body. So for the main landing gear door, I glued the side doors to the main body and glue the smaller main door to the back of the landing gear instead of the fueslage as instructed in the manual. On the real thing it is hinged to the main body and closes together with the side door when the gear is pulled up. On 1/72 it looks about right. I think if it looks right a foot away, its ok :p
|
Click on images below to
see larger images |
 |
 |
| To tackle the same problem on the main landing gear doors, I glued a suitably sized bit of square rod to the doors so that I can attach them much later to prevent breaking them off during construction. The square rod also provides a stronger surface that I can glue to the main body.
|
| Click
on image below to see larger image |
 |
|
I next turn my attention to the flap actuators. Some slight problem due to the big-hole-small-peg situation. After installing all of them, I filled up the visible sides of the holes using the ARC fill-n-wipe puttying method.
|
Click on images below to
see larger images |
 |
 |
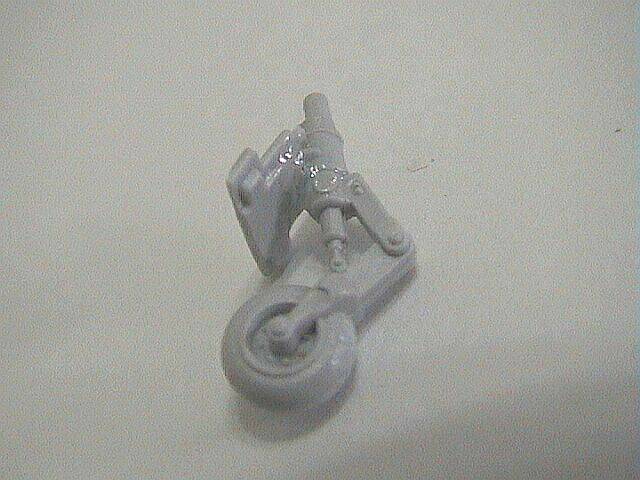
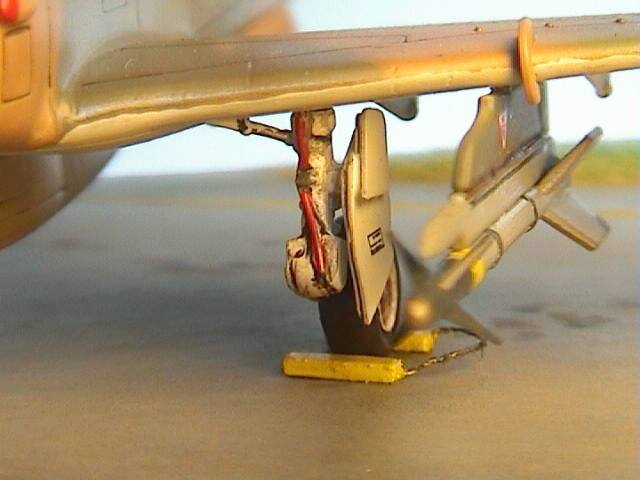
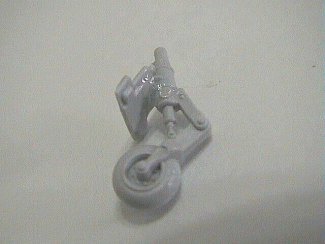
The main gears was then test fitted and cleaned up. Plumbing was added using copper wire. It was then stored away for installation later on.
|
Click on images below to
see larger images |
 |
 |
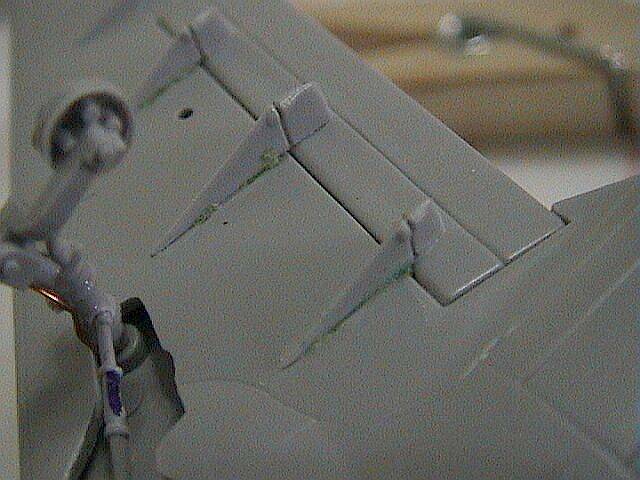
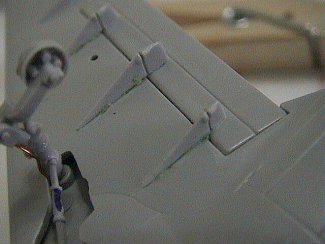
The wing fences then went on the wing leading edge as per the instruction after I have sanded them down slightly to scale thickness. At this point the kit looked pretty decent already.
But things were not to be. By this time I have done enough reference to deduce that the kit if build OOB was not gonna be a RAAF Hawk 127 without some additional work. Darren Mottram has got a excellent walkaround for the RAAF Hawk 127 LIF at <http://www.clubhyper.com/referenc.htm>
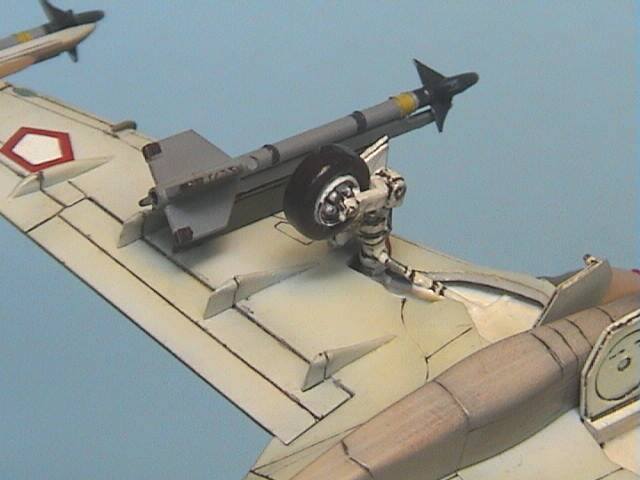
Other then the instructment panels etc, one major error is the base of the tail. The Hawk 127's tail is suppose to look like the MK 50s/60s, with a tapered shape. Another point is with regards to the wing fences. The Hawk 127 has only 4 wing fences( 2 big, 2 small) attached.
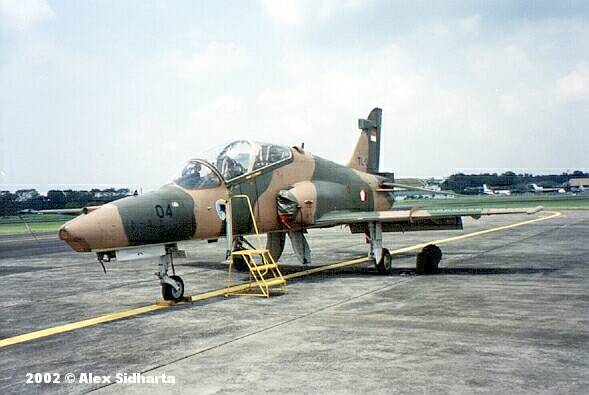
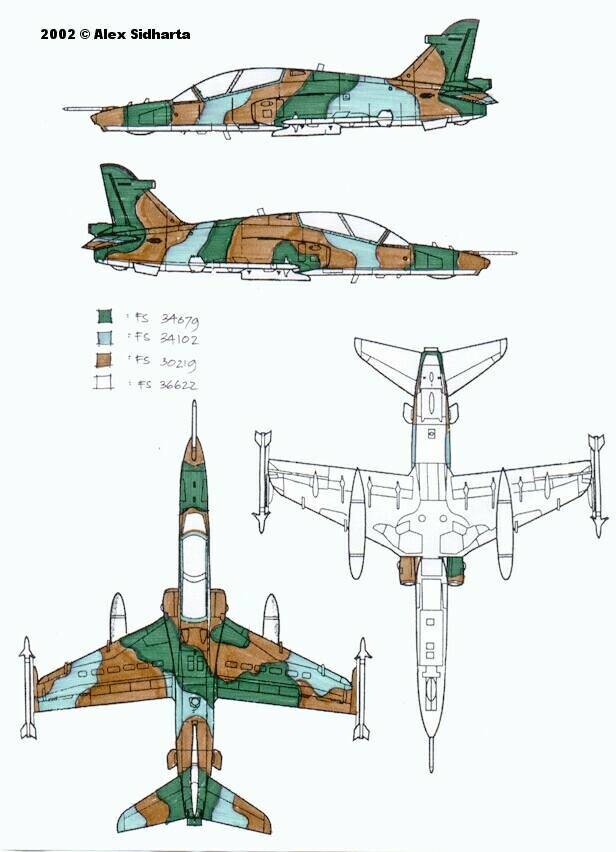
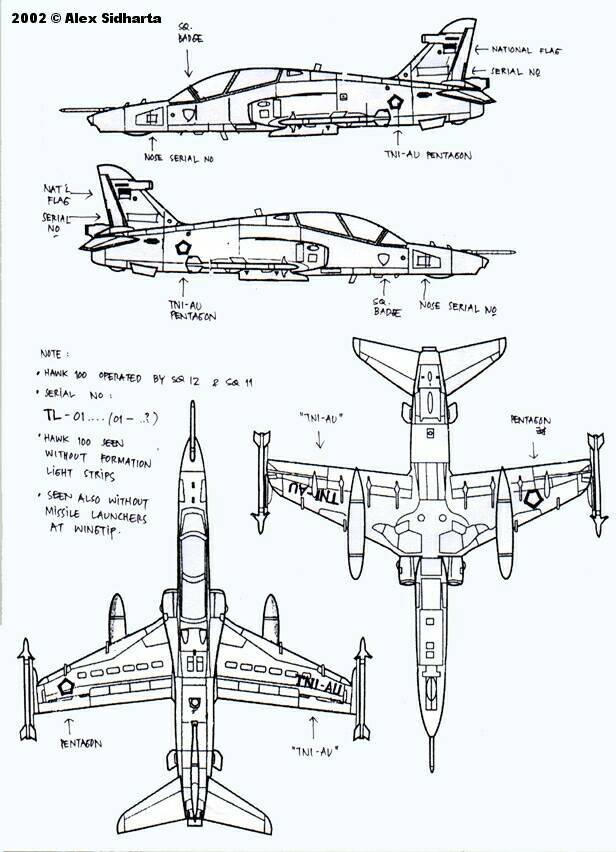
I was contemplating at this point to either do some major surgery or wing it and hope no one will notice the glaring errors ! :-P At this time Alex came to my rescue. I met Alex Sidharta on ARC while searching for information for the Hawk. He has agreed to help me on the project and provided pictures for the Indonesia Air Force (TNI-AU) Hawk 109. The particular bird hails from sqn 12 based at Pekanbaru, Sumatra.
Alex has also provided the camo pattern, squadron and marking information for the
TNI-AU.
|