|
In
September 1981 an article was printed in Scale models magazine about the new
Monogram B-36 and converting it into the Ficon. I really wanted to do it but I
was only 16, lived with Mom and Dad
had no money to buy it or space to put it. I bought the magazine anyway, as you
do, and kept it for 21 years. Then one day I was in a hobby shop and there was
the B-36 kit for $68. How could I resist? I got the F-84 and the Alclad and the
rest is history. So after nearly a years work and more money on paint than the 2
kits combined and here it is.
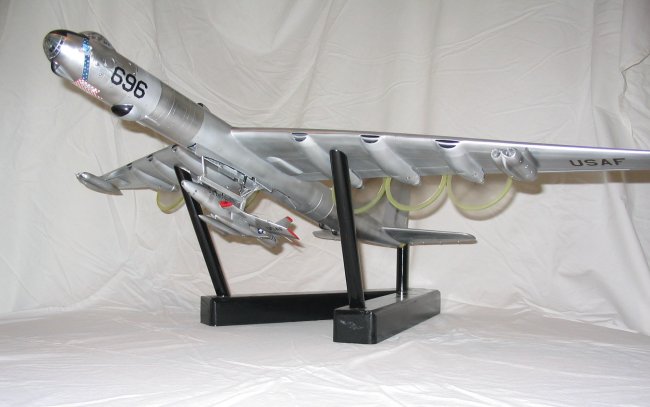
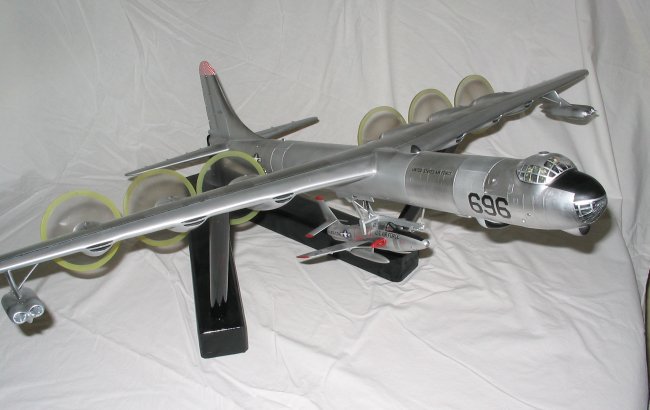
The
model is made from 2 kits, the Monogram RB-36H and the Italeri RF-84. The bomber
was built as per the instructions but with detail changes and work done on the
bomb bay. I didn’t want to rescribe the whole plane so I limited the amount of
damage I was going to do to the raised panel lines which looked otherwise OK.
|
Click on
images below to see larger images
|
|

|
 |

|
Starting
in the cockpit the 2nd flight engineer was deleted as the D version only had a 3
man cockpit. The planes had the featherweight conversion so the nose turret and
the gun sight blister windows for all but the lower rear were flared over. On
the real plane this was a pretty rough job so I made the model with a glob of
Milliput from the inside, smoothed over and an indentation made in the middle
from a piece of squared sprue. After painting the indent was filled with Future
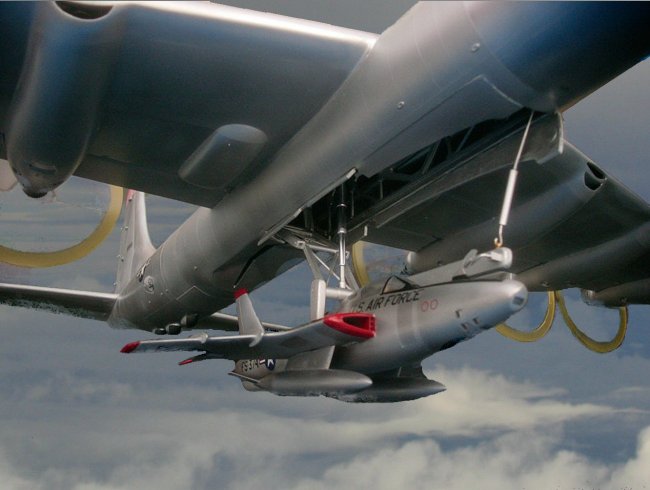
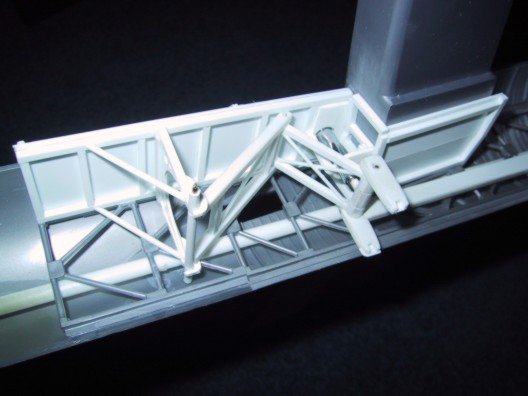
and there you have a window. The rear bomb bay bulk head was moved back and the
side wall structure extended using part left over from another kit made by Peter
Vanderschaff many years ago. The main spar was fitted and a radio aerial
purchased from an electronics store was mounted on the back of the main spar to
act as the main jack. The rest of the trapeze mechanism was then built from by
Peter Vanderschaff from brass, plastic rod and card to work in conjunction with
the main jack. The rear of the front bulkhead was detailed with a window and the
access trunk from front to rear of the plane was made from a piece of tube, the
kit part now being too short. The D model also had a smaller tail warning radar
and this was made by first removing the rudder then filing away the old
fairings. A new cone was made from an old bomb and this was then faired in with
Milliput before reattaching the rudder. I removed the rudder to prevent damage
from the major surgery on the tail from damaging the raised detail.
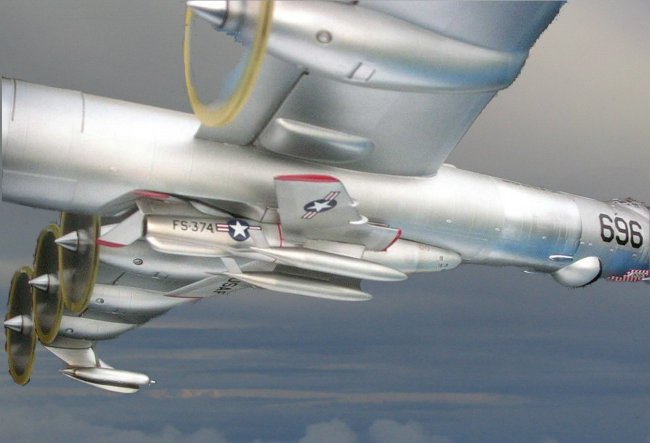
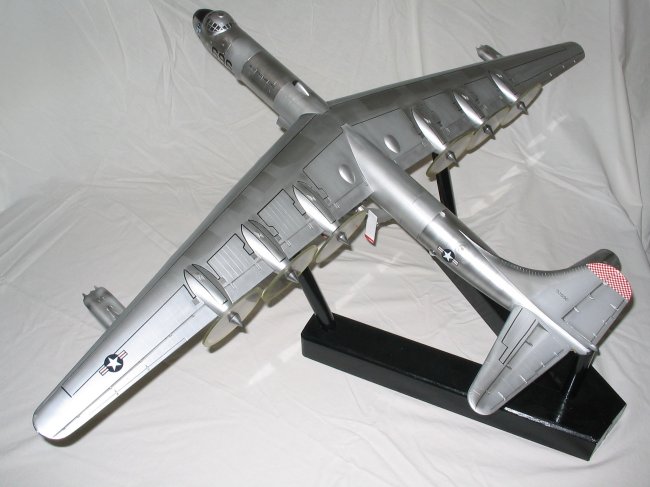
The
kit bombay doors were smoothed with Milliput and then cut to suit the shape of
the F-84. I noted that one of the doors was only part length and the other full
length. The fixed part was made from half a door and the short one was made from
plastic card. The longer door was made of the 2 original doors. Both doors had a
length of brass rod glued to the outer edge which formed the hinge mechanism.
The fairing around the tail of the F-84 was done with plasticard and Milliput.
Once complete and painted the fuselage was joined and the kit finished as usual.
Other modifications to the fuselage included the homing beacon on the top of the
fuselage and moving the 3 rear ECM fairings backwards.
With
the fuselage completed I built the wings from the box but omitted the
propellers. I blanked off the centre wings to prevent the see through look but
otherwise they are stock. All seams were filled and polished before the Wing and
fuselage were joined. When they were fitted
you realise how big this kit is. I had to clear the whole bench to have
space to work.
Normal
filling and assembly continued as usual only bigger. Windows and glazed areas
were masked and the whole model was then sprayed with black lacquer. Once this
had a good finish I masked off the walkway on the upper wing and the areas
around the crew stations and then painted the rest with Nissan Silver. The
various shades of Alclad were then used to give the right panel tones over the
silver paint. For the polished areas I used a mix of ‘polished Al’ and
‘normal Al’ as the polished look was too shiny. Once pleased I removed the
masking from the windows and walkways and it looked like a B-36.
Next
step was the propellers. I had some 3mm acrylic sheet with a protective paper on
both sides. I decided this was just the job so I marked a circle with dividers
and cut out 8 discs on a band saw. I then drilled a centre hole and bolted them
all together. I inserted the bolt end into a lathe chuck and spun it up at low
speed which allowed me to use a file to get all the discs the same diameter and
round! This was all very easy and only took a couple of hours. I then used an
Olfa cutter to scribe a circle and remove the outer 5mm of the paper cover to
clear the trace of the yellow tip. These were then sprayed lightly with Yellow.
Once dry the rest of the mask was removed and the whole discs sprayed even more
lightly with dark grey. The best 6 then made it onto the plane. I’ve never
seen a truly good job of plastic discs representing propellers but I think these
are as good as any other idea.
|
Click on
images below to see larger images
|
|
|
|
|
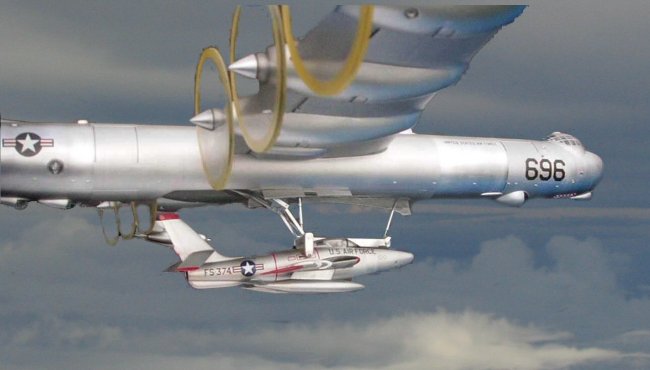
I
built the F-84 about halfway through the B-36. This was ‘from the box’ but
with a pilot figure in the seat and a brass hook added through the top of the
nose before the fuselage halves were joined. During construction I drilled a
hole through the fuselage and inserted a brass tube. This allows a pin to be
passed through the F-84 to connect with holes in each side of the main trapeze
mechanism. The only other change was to angle the tail planes down to suit the
new aft bomb bay contours. The F-84 was painted in the same way as the B-36 but
used as a prototype for the (new to me) paint process.
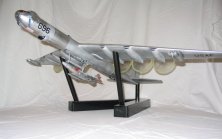
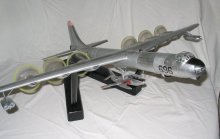
Due
to the nature of the propellers and the fighter, it is impossible to put the
thing down other then propped against a wall. (it is that big) so I built a
small tripod to sit under it, supporting the bomber under each wing and
enclosing the tail turret.
The
kit decals were used for national insignia and titles. The numbers and codes
were printed on my home inkjet printer
onto clear film. The chequers on the fin and nose bay were again printed
on the inkjet onto white decal film.
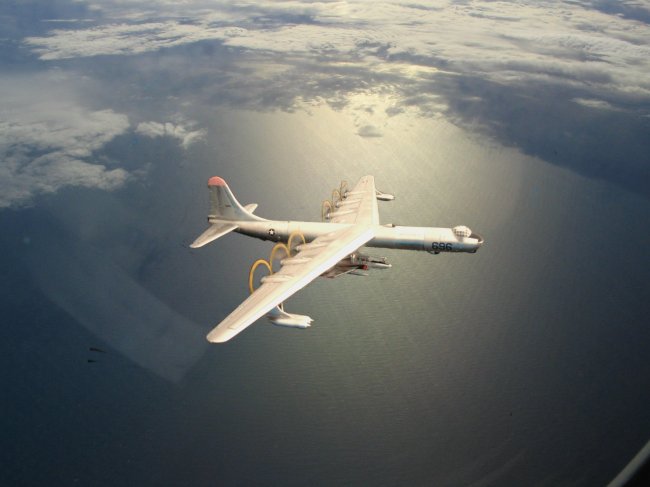
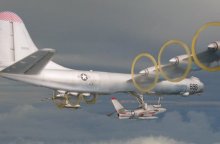
The
inflight pics were montages done with Paintshop Pro and picture the combination
in flight over New Zealand.
Thanks
to Peter Vanderschaff for the trapeze
mechanism. My soldering skills were never good enough to build that fine detail
with enough strength. Also thanks to KE Duffey whose article in September 1981
Scale models inspired me to start this
project those many years ago. http://www.flankerman.fsnet.co.uk/ficon_modl.htm
Colin
|
Click on
images below to see larger images
|
|

|

|
|