|
A brief history :
Designed by Georges Ricard
in 1936, the airplane was initially build as a 3-
crew
member fighter (C3 in French as fighter translation is Chasseur). The first
aircraft,
Breguet 690-01, build with Breguet funds made his maiden flight on April 23
1938 (pilote Maurice Claisse, technical Georges Evrard). The first evolution of the
concept was the breguet 691, the serial production of the prototype but build in the
ground attack version AB² (for Assaut Bombardement 2 seater). The next development
was the breguet 693 which is born with the engine changing (new Gnôme et Rhône
14 Mars 6/7) and the “twin wasp” motorised airplane received the Breguet 695
designation. There were no more evolution of the concept due to German
occupation. At the end of the war there was no aircraft remaining and the main parts of pictures, plans
and documents loosed.
The Breguet 693 official flight characteristics are:
Maximum speed at ground level : 360 km/h
Speed at 4000m : 460 (495) km/h (with propelling exhaust system)
Speed at 5000m : 480 km/h
Time of climbing to 4000m : 8’30 sec Maximum altitude : 9500m
Construction:
The kit included:
Injected plastic parts for fuselage, wings, engine compartment, tail and some
internal structure
Vacformed clear parts for the lateral window, the moving “canopy” of rear
gunner, the pilot “canopy” and the landing light glass. Resin part
for the cockpit tub, engines, wings control surfaces, wheels
White metal parts for landing gears, guns and propeller A nicely done photoetch set for the interior detailing, exhaust system and
some other small parts.
A small decal sheet containing lot of possible schemes. Those are easy to use
decals, reacting very well to softening solution.
|
Click on
images below to see larger images
|
|

|
 |
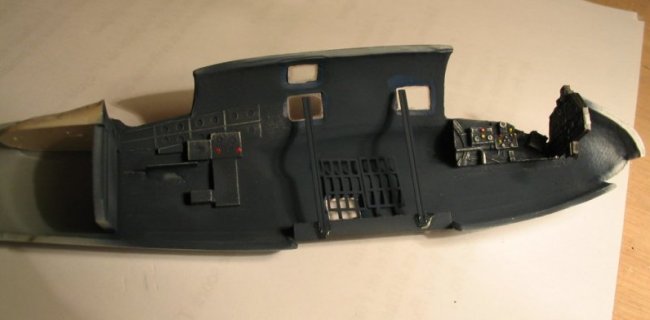
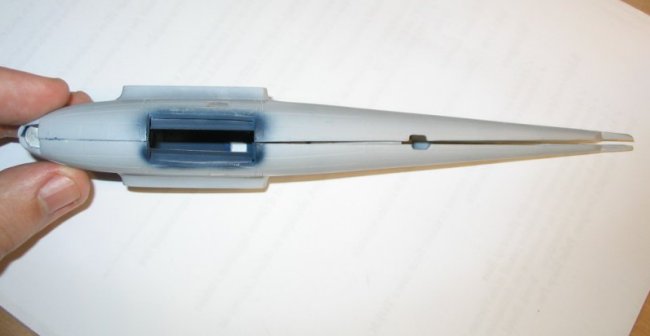
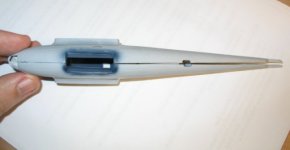
Construction begin
with the fuse lage interior. You can easily scratch build all the central internal structure but as when fuselage will be closed nothing will be visible
I don’t do this on this one. I choose to scratch build the lateral
window, as on my kit vacformed part there was lots of scratches and bubbles, using some cotton swab clear
boxes. A little bit of sanding, puttying and polishing and all seems OK. Then follow
the instruction
sheet to complete the interior except the rear station where I don’t put the
seat, ammunition boxes and guns (this way you don’t broke part in
later masking during camo painting). Apply a coat of dark blue, some drybrushing and some colours for the commands in cockpit.
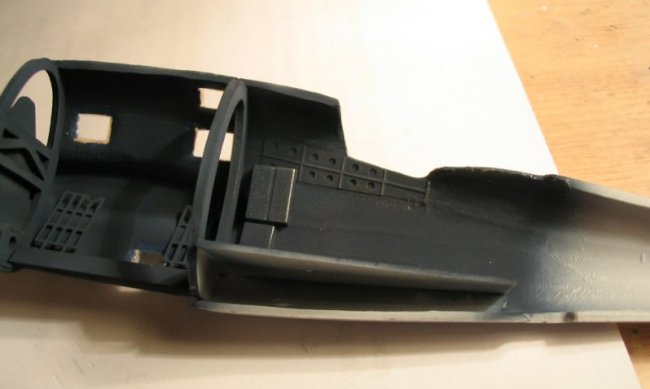
When you closed
the fuselage your first impression will be confirmed: you’ll need lots of
putty and sanding stuff.
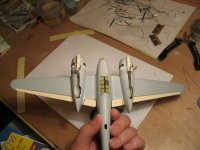
Next steps are
wing halves assembly, then wings to fuse, engine to wings - note that wings have a 5° dihedral angle – and finally tail assembly. You’ll here
again need lots of putty and take lots of time for sanding. Don’t
forget to glue wings to fuselage before gluing engine to wings as with
the dihedral 5°, beginning with gluing engine perpendicularly to wings will cause landing gear doing a 5° angle to vertical
and having an aircraft with some very strange landing gear.
Then you mask the
pilot canopy and glue it to fuselage. Beware you’ll have to make lots of
dry fitting before gluing the part. You’ll encountered the same problems
with the clear lower door (bombs compartment) and landing light glass.
Glue the resin control surfaces, the landing legs, the tail gear. Put some wet paper in engine
compartment and rear gunner station and you model will be ready for paint.
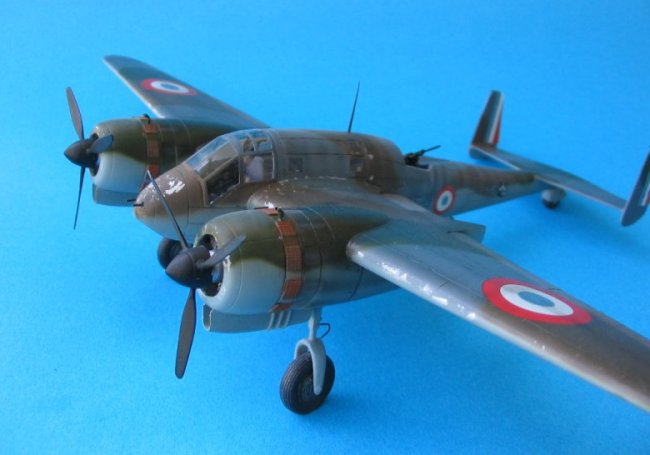
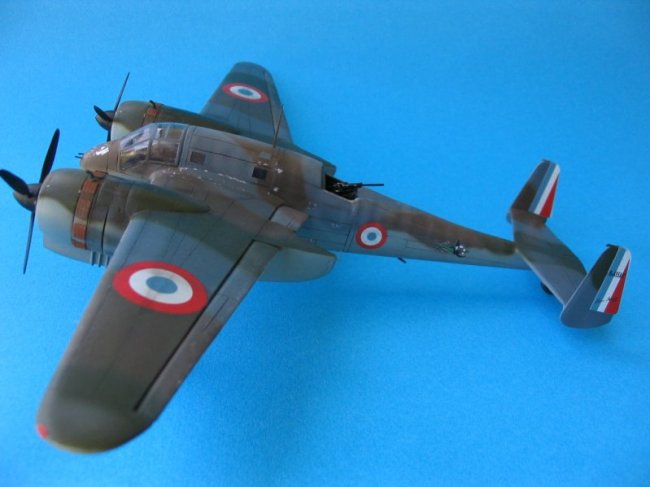
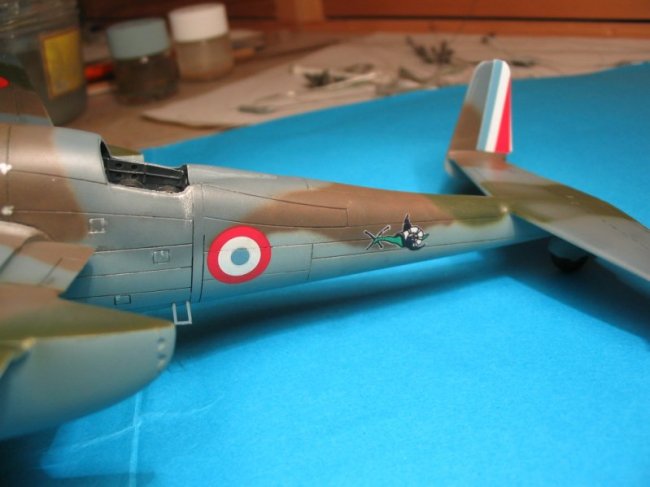
Painting and
markings.
After puttying/sanding come a funnier part of the building. Apply first a coat
of metallic luminium then some clear blue grey, blue grey, khaki and chocolate brown by
hand with your favourite airbrush, a gloss coat, decals, another gloss coat and
then the
weathering job. I applied an oil wash, I highlighted the panel line with some
Tamiya smoke, sprayed light coats of diluted grey, reproduced the exhaust stains. A
coat of matt varnish some pastel chalks, mig rust pigment on the exhaust and the model
is nearly finished.
Glue the
propeller, wheels, the rear gunner station equipment and the remaining small parts and your model is finished.
This model is build as an aircraft of GBA II/54 third escadrille, the one with
the flying snail insignia. This group did the last war mission on June 20 1940, even if a
note from June 18 1940 says that all night or day bombing mission over France were
forbidden.
The two mission of this day take place near Poitiers, where I actually live.
As there was no flying snail decals available a friend of mine print them for me.
Conclusion
This is not an easy to build kit but I have had lot of fun building it. I do
know that some of you have this kit in their shelves and I want to say them it’s possible
to obtain a good representation of the Breguet 690 family. This Breguet
693 will never be a contest winner – and that was not the purpose of this built - but due to his
particular looking (sex appeal?) it’s a model people will see on
display table and forget the flaws and scratches here and there.
I would recommend this kit to anyone who want to have this model in his
collection.
When you can build a Tamiya kit you can build a Fonderie Miniature kit,
you’ll only need more time and dry fitting test.
You will find a more detailed french version of this build here:
http://www.master194.com/maquettes/fmartin/br-693.htm
Franck
|
Click on
images below to see larger images
|
|
|
|

|
|
|