|
Though some may argue, you're
looking at the representation of the most powerful aircraft in SAC's arsenal.
What does it fire you may ask? Well, only about 500+ Minuteman III and 50
Peacekeeper ICBMs. "Looking Glass" was the code word was
taken from Lewis Carroll's "Through the Looking Glass" for Strategic
Air Command's Airborne Command Post. The designation was to show that
aboard the EC-135 was a mirror representation of SAC Headquarters and was able
to perform and relay all message traffic during times of a national emergency.
Besides having quintuple-redundant
communications, the ALCS (Airborne Launch Control Center) as it was better known
to SAC Missile Crew members, was able to provide follow-on launch capability for
America's ICBM fleet should anything prevent launch commands transmitted
from the underground LCCs (Launch Control Centers) located across the
American Mid-West and Great Plains. The aircraft carried the same
(basically) launch equipment as the
capsules, but carried two sets of launch codes to ensure that missiles were
launched when the Airborne Launch Crews "turned keys".
The commands were transmitted via a "brute-force" transmitter on board designed
to penetrate the static and interference expected during and after a
nuclear attack. The "Glass" performed its duties faithfully from
1961, 7 days a week, 24 hours a day, 365
days a year, until the tensions between the Former Soviet Union and the United
States subsided with the fall of the Communist government in 1991. The aircraft
continued its mission in modified shifts (no longer round the clock) through
1998, when United States Strategic Command, the successor to SAC, replaced
it with the US Navy's E-6B Mercury or "TACAMO"
(another 707/KC-135 airframe, with TACAMO standing for "Take Charge and
Move Out" on behalf of our Marine Corps brethren's retired
EC-130 Strategic Relay
Aircraft.) Though the TACAMO is
manned entirely by a USN flight
crew, the battle staff and launch officers are still U.S. Air Force personnel.
|
Click on
images below to see larger images
|
|
|
 |
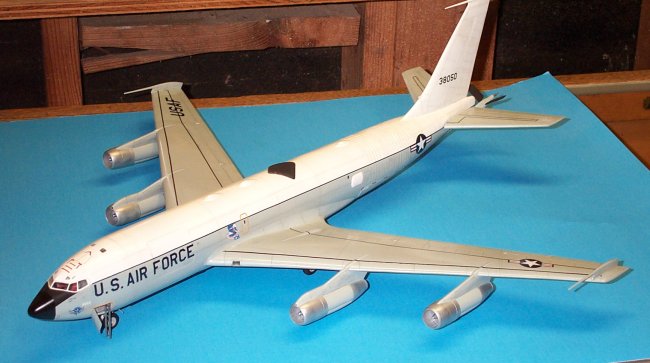
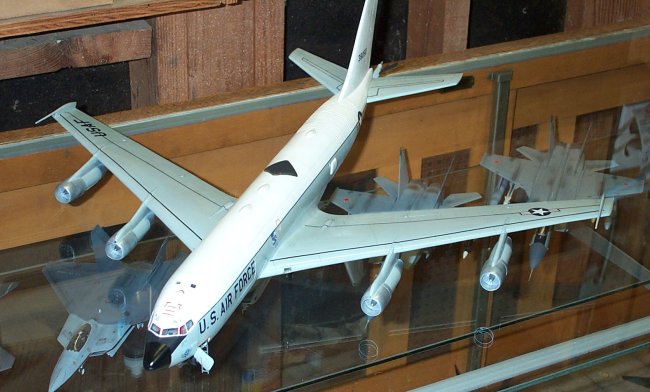
The kit is from AMT/ERTL,
and like most of it's line, it becomes
a great product only after a tremendous amount of sanding and gap filling
superglue. Unfortunately, this particularly kit was warped and the entire
nose had a patch of superglue to fill a 3 mm
gap and required a complete rebuilding
of the nose. The fuselage was the hardest fit and required about 12
to 14 hours of dry fitting, sanding, and more dry fitting and more
sanding. The panel lines are recessed,
so I was able to re-scribe them very
easily, using a Verlinden scribing template. I used Testors'
White for the upper section of the A/C, with the remainder of the aircraft was
painted Testors' Aircraft Gray. I sprayed the white first, being the
lighter of the two colors.
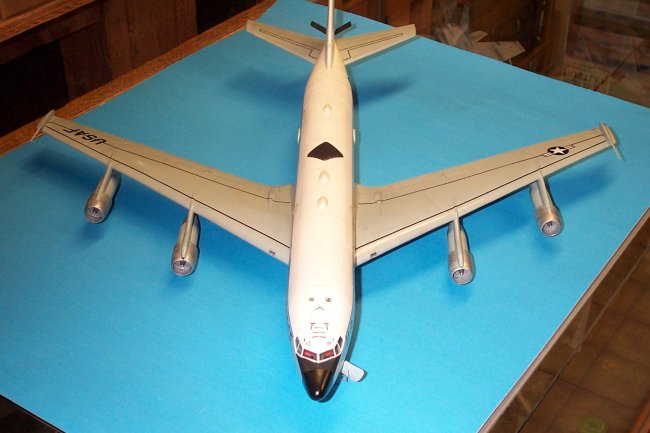
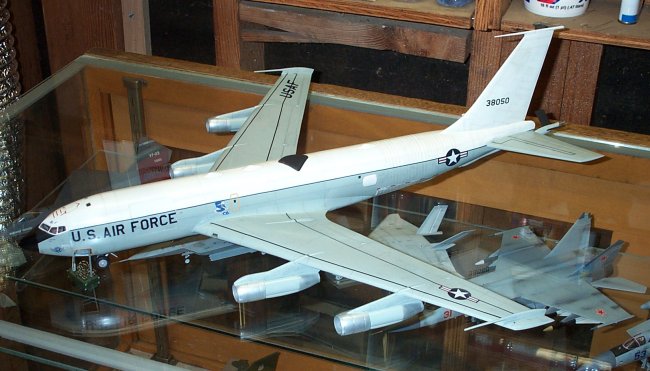
Following the painting of the base colors, I highlighted all the panel
lines in the gray painted areas with
a sharp #2 pencil to provide the right amount of depth to the kit.
However, the white areas
only received a delicate brushing of my lightest gray pastel dust
applied with a sharply-trimmed
paint brush. The toughest part of painting was masking the
demarcation line between the white and gray along the fuselage, which I did with
Pactra 1/16" masking tape to
ensure a straight and accurate line. Regular
masking tape was then used to mask off the white portions before applying the
second color. This demarcation
line is later covered
using the black striping from the kit's
decal sheet, but bear in mind that the black lines provided
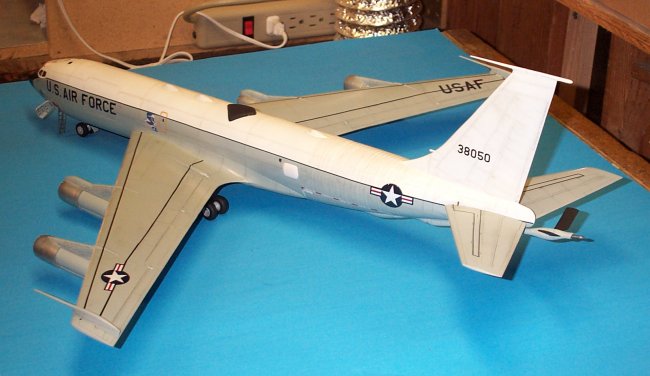
are only enough for the fuselage itself. And naturally, I sprayed
the entire kit in Future Floor Wax and allowed it to cure for 48 hours before
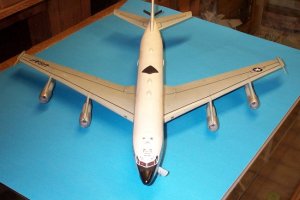
applying any decals. You'll have to construct the wing walkways using
aftermarket sheets, such as Pacific Aeropress's wonderful line of black
stripes, which is my recommendation. One
decal that I had to cannibalize was the refueling receptacle marking that AMT/ERTL
conspicuously left off. This was obtained from an old AMT/ERTL RC-135V
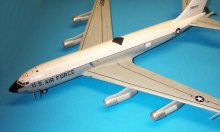
RIVET JOINT decal sheet. After completing
the decal application, I let them dry for
24 hours, then sealed them with a
few thin coats of Future
Floorwax. No flat coat was
applied since the ALCS birds were
always pristine and had high gloss
finishes. The anti-glare panel and
the landing gear are the only sub-assemblies requiring a flat overcoat for
realism and accuracy. The last parts to be painted were the engines, which
were carefully masked and sprayed with SnJ
Spray Aluminum paint, then polished with SnJ Polishing Powder.
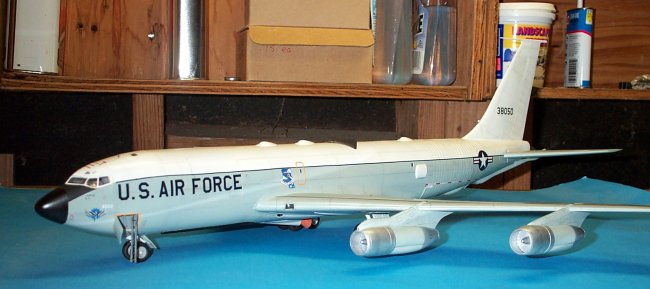
This kit was made for my former
squadron commander and good friend, Col Greg Boyette,
while we were stationed at Edwards AFB.
As a major, he was assigned to the 4th Airborne Command and Control Squadron (4
ACCS) and had served on every tail-number in SAC's inventory of EC-135s.
His sister originally bought him the kit as a memento but he had little
experience in model building since his pre-Air Force days. When he found
out that I was a decent builder, he entrusted me with the kit and I did it with
great pleasure. It took a while to get it together, but he was overwhelmed
with the results and now has it on display in his study until his new job allows
him access to his office. I was so pleased with the results, I bought two
EC-135 kits; one to do as an ALCS version, and one converted into a
KC-135E, with the latter nearly complete but will
have to wait for another posting.
Tony
|
Click on
images below to see larger images
|
|
|

|

|
|
|