| Decaling the
airframe
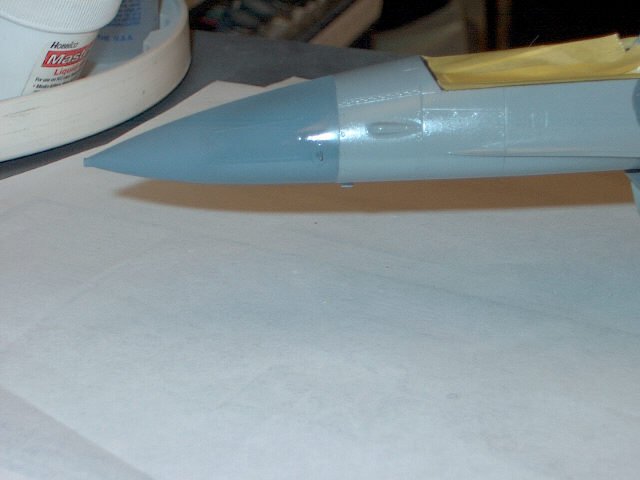
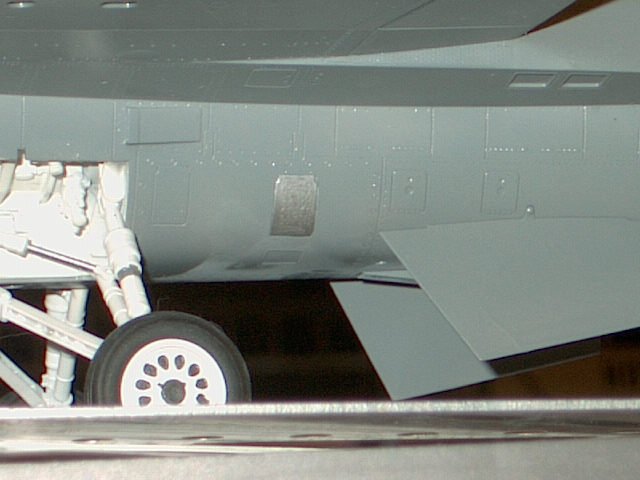
The picture to the right
shows the surface of the nose after re-spraying the radome F-15C Eagle
Dark Gray and re-clear coating it.
I'll have some notes on
radome color in the wrap up article, but be sure to check references to
see how dirty the radome is on the specific airplane you are building.
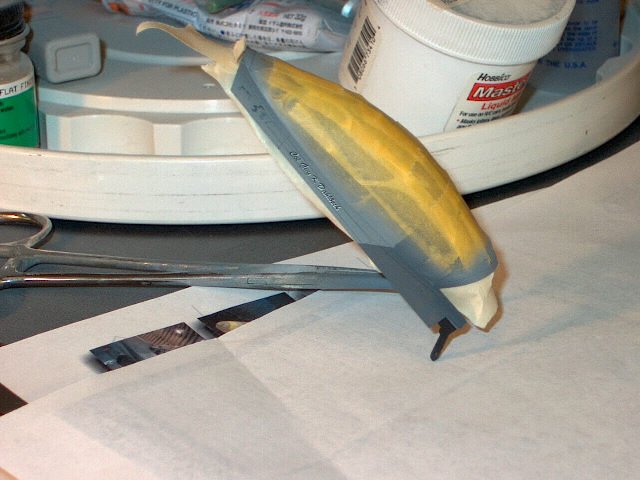
Just a bit of filler needed
here and there on the drop tank.
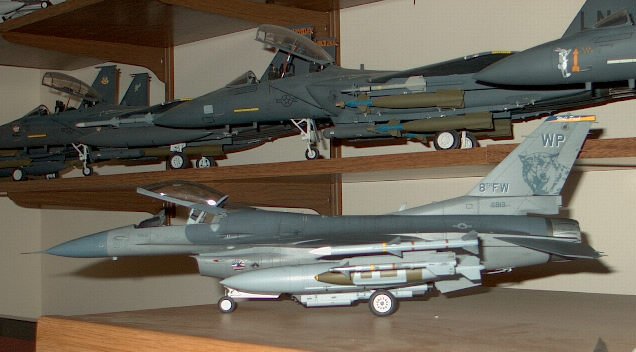
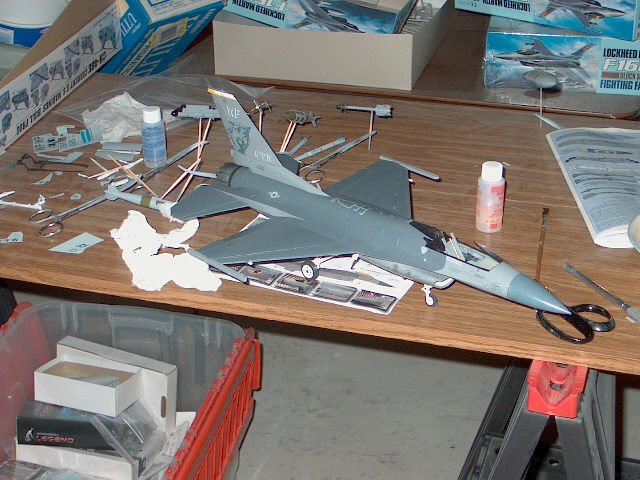
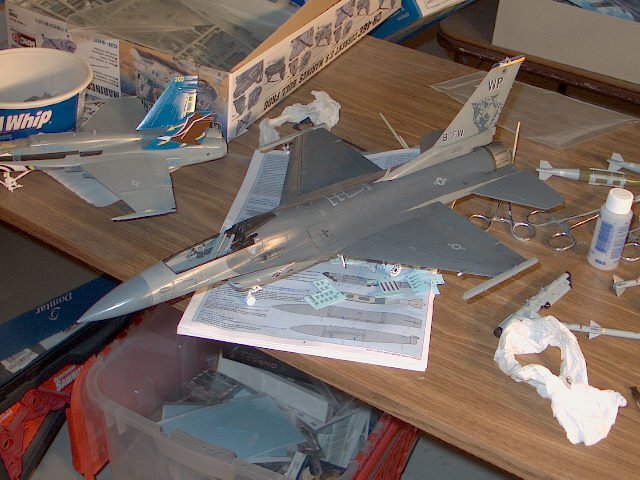
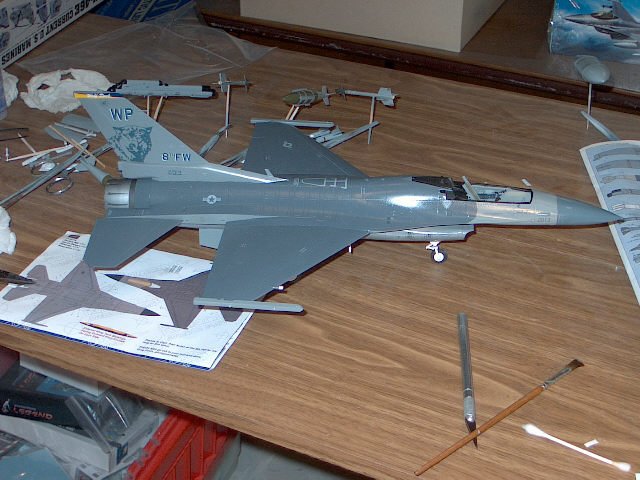
The specific decal sheet is
32-031 from TwoBobs that includes markings for 2 Block 40 F-16CJs from the
8th FW at Kunsan AB. These are typical TwoBobs decals -- very thin
and perfectly in register.
There are quite a few 2
part decals on the sheet, especially for the demo jet (the one I'm
building). they include
- Pilot/Crew Chief names
for the canopy rail
- Tail code and the 8th FW
for the tail
- The "Lets
Roll" for the left intake
- Fin flash
My general sequence of
decaling is to apply the main markings first, and then go back and apply
the 2nd part of the two part markings, and then finally the stenciling.
I use the Microscale
setting solutions on these decals.
There doesn't seem to be
lot of stencils on F-16s today compared to the F-16A.
I did use the "Do Not
Paint" and a radome warning from the kit decals. Not sure if
this jet has them, but I decided to put them on.
Now on to some specific
notes
Canopy rails
The left canopy rail has the pilot's name inside a box, and it is a 2
part decal. The 1st part is the box, and the pilot's name in white.
The 2nd part of the decal is the pilot's name in black. I slight
off-set the black decal for a shadow effect, similar to the markings on
the tail.
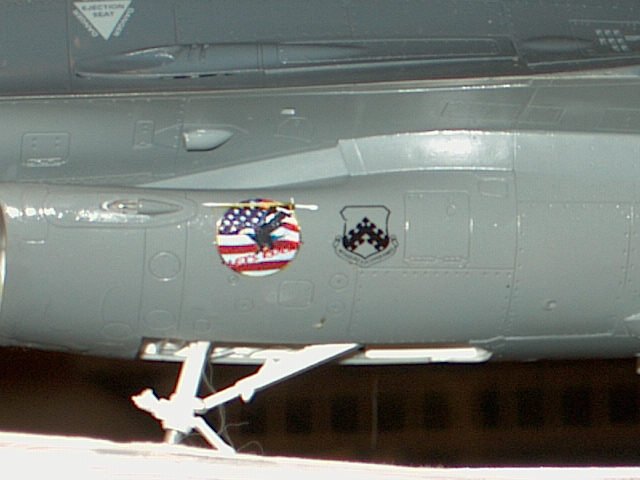
The right canopy rail has
the name of the crew chief, and a 2nd part for the fuselage for other crew
members. To get them aligned, I did the canopy portion first, and
once that was dry, put the canopy on the airplane in the close position,
and used where the decal was on the canopy as an alignment guide for the
fuselage part.
I used the same offset
technique for the names on this side as well.
Wolf on the tail
This is easily the largest decal on the sheet. Since the rudder is
movable, and the decal spans both the rudder and vertical stabilizer,
getting it on can be time consuming. Once I was happy with the
placement, I took a brand new #11 blade and slit the decal.
Fin flash
This is another 2 part decal, and is sized perfectly for the fin cap.
Take your time getting the upper and lower halves aligned.
The left side flash slipped
slightly on mine, and I didn't notice it till after it was done.
Part of the white was showing where it should have been covered by blue.
To touch it up, Testors Blue Angel Blue is a perfect match!
Steve |