|
Every now and again, you come across a kit that jumps out at you and shouts
"Build me, don't put my in the cupboard". So it was with the
new Crusader from Academy. (Hmm, is it only me that kits talk to ??)
While building this model, I kept my camera handy and took several in progress
shots to include with my ARC submission. I believe as modellers we are
just as interested in the journey as the destination.
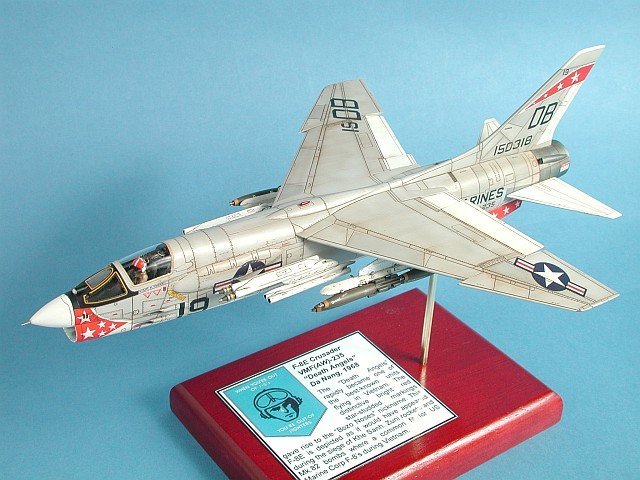
The first choices I made where to display the model in flight and to use
aftermarket decals (Superscale sheet 72-086, which I found out afterwards
would be nearly 30 years old. Wow). Obviously the decals where not designed
for this kit, which led to its share of extra work for me. More on this
shortly.
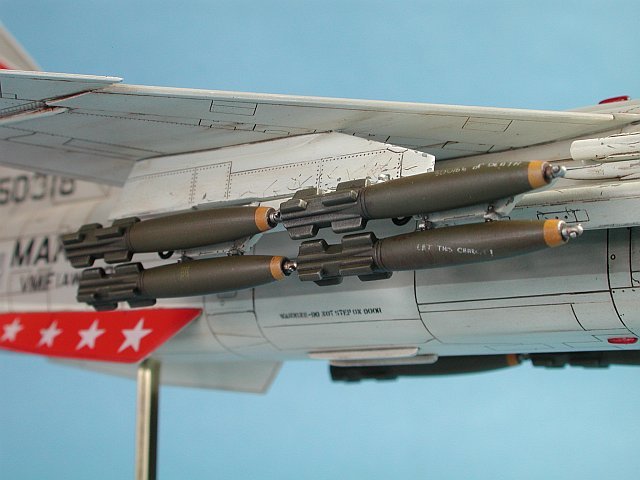
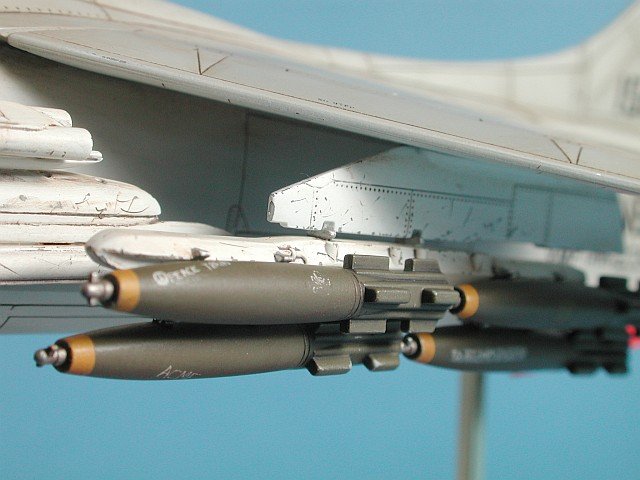
The model as you see it here is pretty much out of the box. All the weapons
(Mk-82 Snakeye and Zuni Rockets) are provided with the kit. Academy also
provide you with suitable AIM-9's if you want to model a gunfighter rather
than a mud mover.
The pictures below capture in some detail what extras I did to the model,
but heres a list anyway.
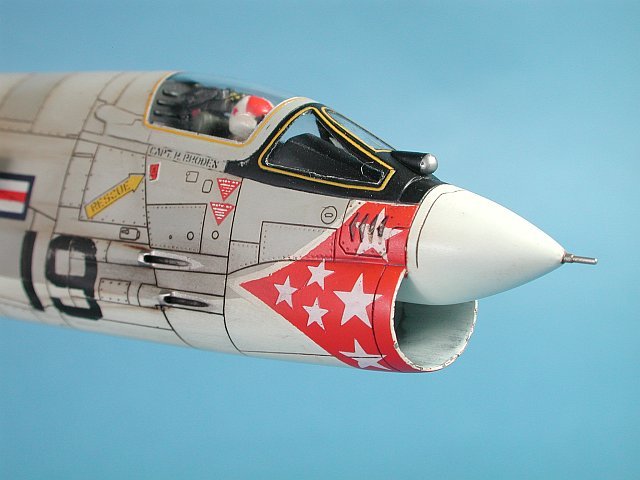
- Added a pilot figure
- Detail added to kit seat.
- Made custom decals for the stars on pilots helmet (yes, they are tiny
in 1/72)
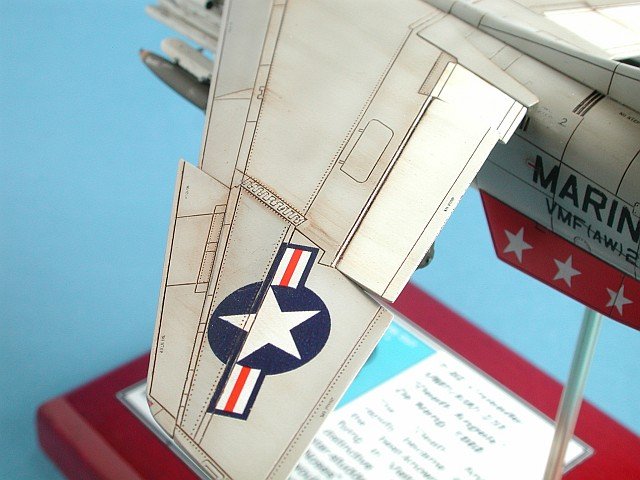
- Separated the aileron control surfaces
- Mounted the model on a stand
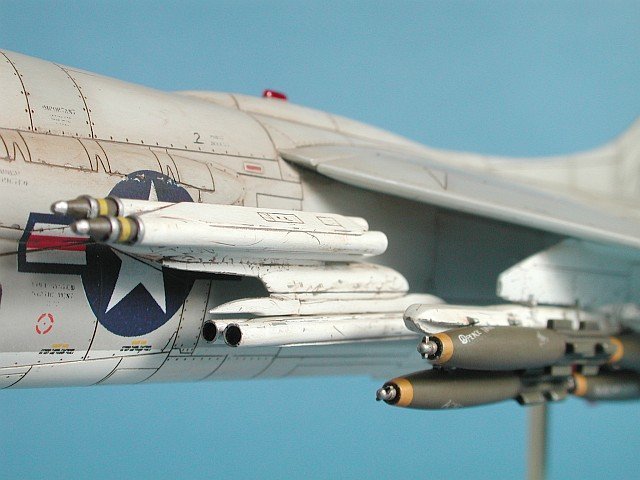
- Drilled out the zuni tubes at front and rear.
- Opened up the aux engine intakes.
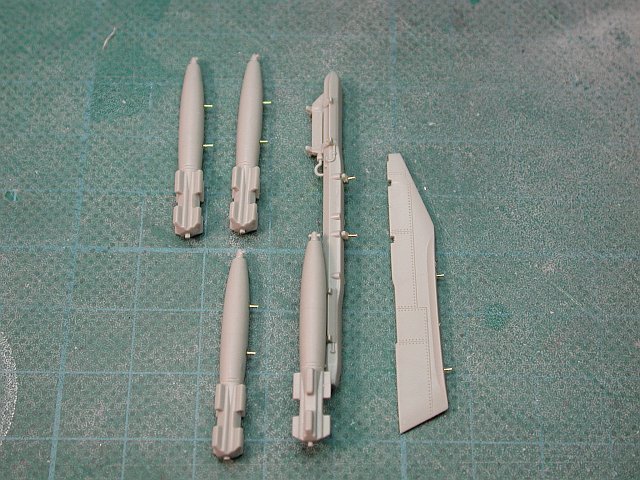
As a matter of course these days I pin all pylons and stores with brass
wire to add strength and allow a positive/accurate positioning.
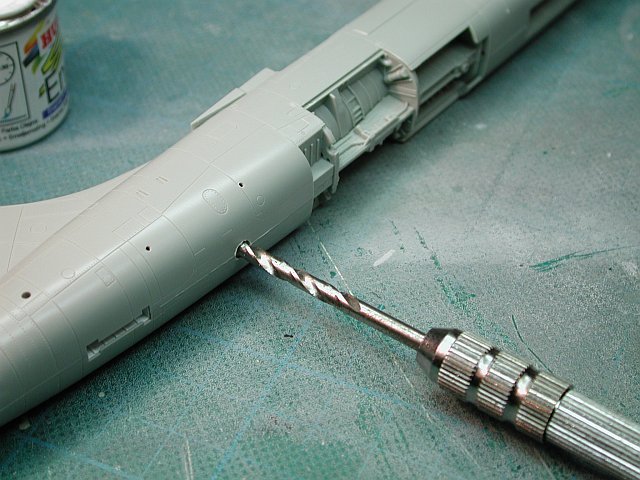
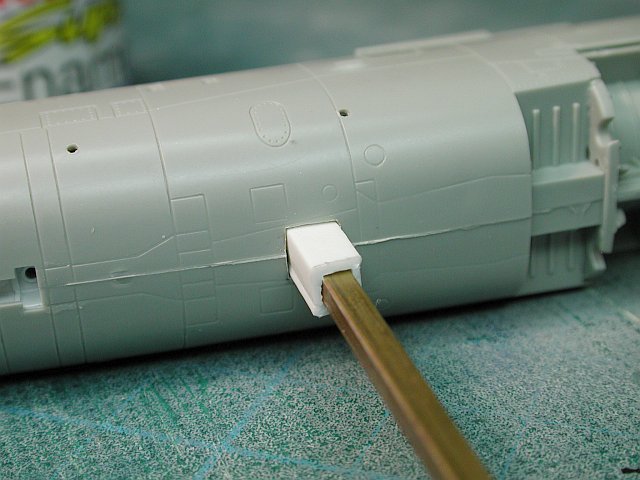
The sequence of images below show you how I go about mounting my models. To eliminate the problem of the model rotating, associated with round poles, I have moved to square brass poles. From the left, the sequence is as follows.
1. Drill a hole in the fuselage at a position that will not interfere with
stores or pylons etc. It does not need to be on the centreline. For example
if you want to display the aircraft in a steep turn, place the hole to
one side or the other.
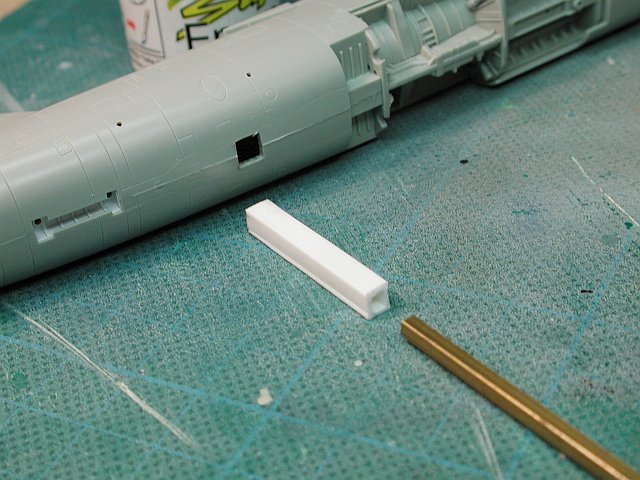
2. Cut a length of suitably sized square plastic tube. Using a knife and
file, convert the round drilled hole into a square hole, such that the
plastic rod fits snuggly.
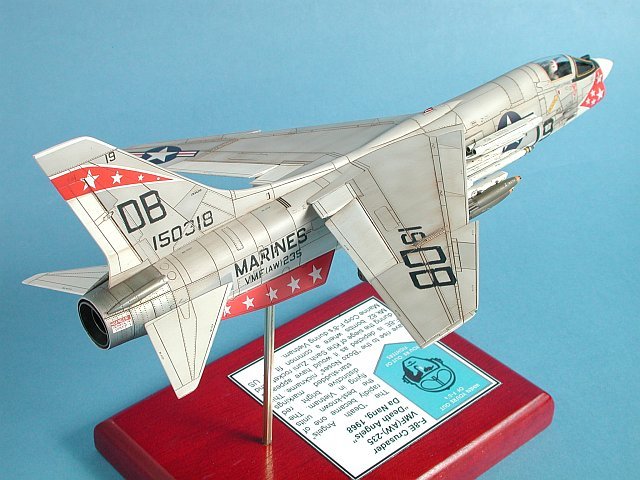
The model was painted in Humbrol Enamels and Alclads for metalics. Weathering
was applied extensively using oil paint washes to depict an aircraft during
the Vietnam conflict Random panels across the airframe where painted in
a slightly darker shade to represent differential fading and replacements
due to battle damage and maintenance.
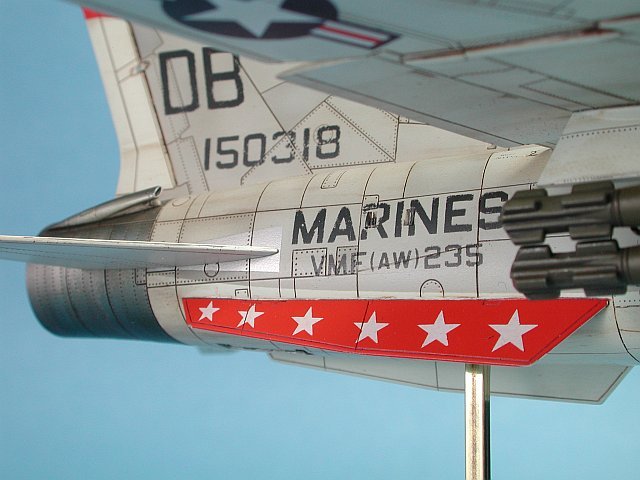
As mentioned above, the decal sheet for the Death Angels was not designed
for this kit (I assume it was for the Hasegawa or Fujumi kit). As a result
the large red decals on the nose and ventral fins did not fit. To obtain
a satisfactory result I decided to paint the red sections and then use
the white stars from the decal sheet individually (after cutting each one
from the decal sheet, whew !). The only stars decal that was used intact
from the sheet was the flash on the tail.
The bomb graffiti was taken from a sheet by Gekko Graphics. They do several
sheets (eg Vietnam, Desert Storm, etc) in 1/72, 1/48 and 1/32
To further highlight the weathered look of the model, I lightly distressed
the decals once dry by lightly sanding them (to achieve a worn look).
Well I hope you like the result. If you've been wondering about the Academy
F-8E kit, I can strongly recommend it.
Gary
If you are interested in my previous ARC submissions,
please check out the links below
or for a complete gallery of my models,
visit my website www.scalespot.com
|