|
|||||||||||||||||||||
|
|
|
|||||||||||||||||||||
|
|
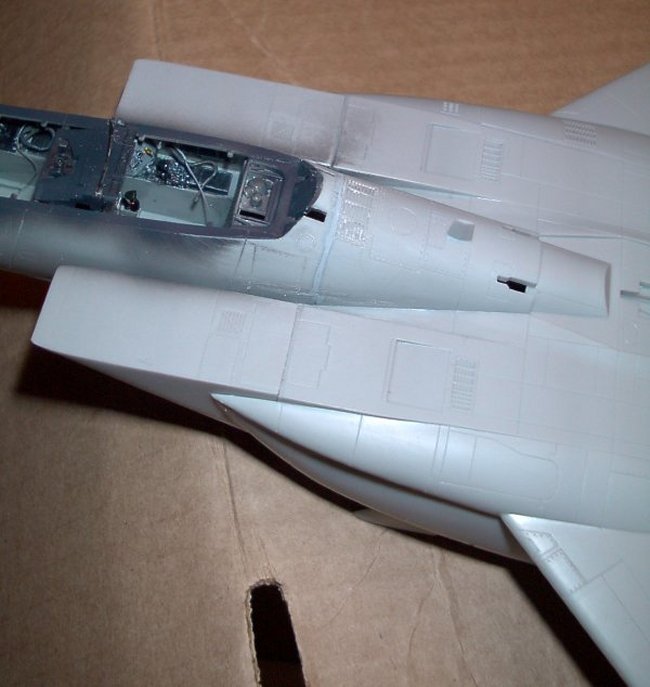
Here's the third part of Uncle Rick Chin's article on the building of the new 1/48 Revell F-15E. In this part, Uncle Rick shows us how he went about completing the assembly of most major parts of the plane to get it ready for painting. The F-15E needed a bit of liquid putty around the front/fuselage joint which Uncle Rick found is easy to sand down as seen in this photo below. There was a bit of a little bit of fiddle on the wing outer/inner joint.
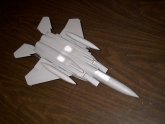
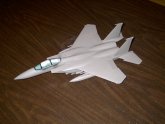
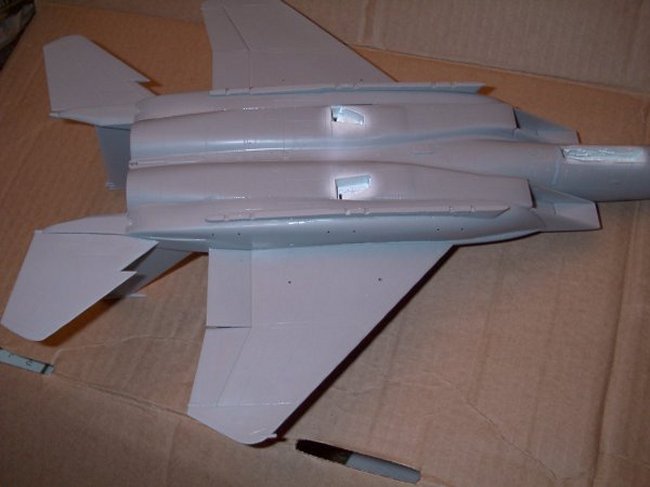
Uncle Rick did part of the model in his hobby shop (Uncle Bills Hobby) and after a break for lunch he took 2 photos and finished the rest of the kit to the painting stage in 3 hours. Uncle Rick discovered that everything on this kit falls together, the conformal fuel pallets go on nice and he added a little cement over the joint to make it more realistic as the close- up photos he has on hand show the sealer being a bit 'rough'.
(to make a perfect fit) to the anti-sway braces (part 68). Uncle Rick did not put on the centreline pylon. The inside of the canopy was masked and tissue put inside the canopy and cockpit to protect everything during the painting process.
All parts fit pretty well, so it is almost like an Accurate Miniatures kit. He left the landing gear off and stuffed the wheel wells with tissue, so this kit's all ready for painting. Uncle Rick Chin
|
|
Photos and text © by Uncle Rick Chin