|
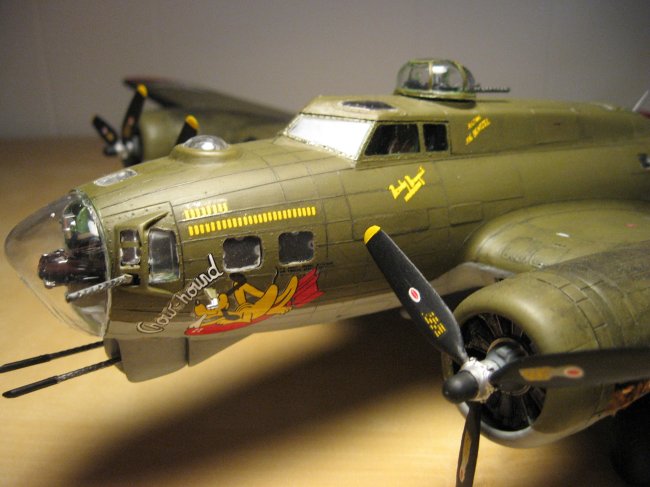
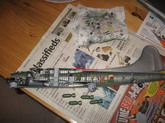
Here is my Flying
Fortress, finally complete after several months of modeling in the spare time
after school. This is only my fourth model so I'm still learning. I built it
right out of box and used kit decals. This was the first model I've used filler
on and it took a while to get the wing roots and other gaps to look
acceptable. I brush painted it with Model Master Olive Drab and Light Ghost
Gray. After applying paint, I scribed thin lines through the paint next to the
raised panel lines and filled these with an acrylic wash. Somewhere in this
process I knocked off the radio mast, lost it and had to carve a new one out of
a toothpick. I also knocked one of the forward machine guns into the fuselage
and made a new one out of stretched sprue. It looks fine if you don't look too
closely. I created exhaust stains by drybrushing black acrylic paint. I
put the decals on from "Chow Hound" but the Testors Decal Set hardly
did anything so they don't look to good. I'll use a different product next time.
When I sprayed the whole thing over with Testors Dullcote, I forgot to mask two
of the windows so they frosted.
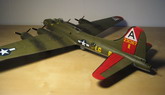
Click on
images below to see larger images
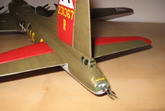
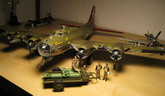
After completing the model,
I assembled the bomb-cart and it goes with a "Semi-diorama"
which sits on my desk.
I didn't know very
much about modeling when I started this model and I have learned a lot of
techniques since starting the interior. Thank you for looking.
Matthew
G.
Click on
images below to see larger images
|