|
I have always loved
the appearance of large Soviet Cold War aircraft. The inclusion of turrets and large nose glazings for bombing make them seem like throw-backs to
WWII. The Beriev Be-12 truly exemplifies that idea. To this day, a
small number of 'Mail's labor on in Russian service. Years of limited
maintenance and exposure to salt water increase their venerable appearance with
intense weathering.
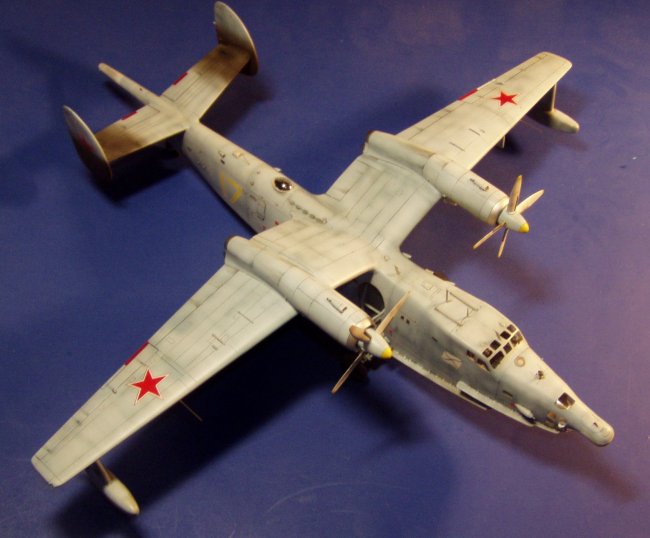
RVHP's offering
provides the best opportunity in 1/72 to build this cold warrior.
Unfortunately, my kit arrived with chips in the fine wing trailing edges.
Otherwise, the kit is perfectly molded with fantastic exterior detail including
fine recessed panel lines and thin vacuformed transparencies.
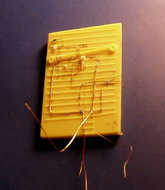
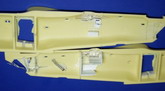
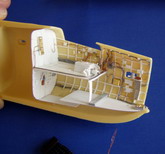
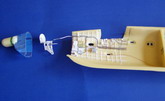
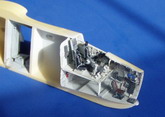
I actually chose
to start work with the gear bays and observers compartment. I made styrene
bulkheads, stringers, and formers. I also added copper wire and solder
cable runs and conduit connected to styrene boxes with scrap PE detail.
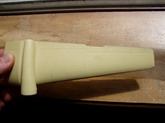
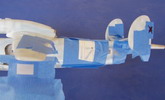
Similarly, I added detail to the cockpit and nose compartments. The
nose glazing contains visible structure which I build from styrene. I
also build the framework on the top inside of the canopy.
Click on
images below to see larger images
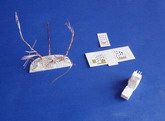
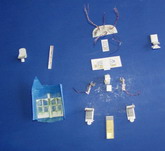
I stole the control
columns from a 1/72 Roden An-12 (that kit was used for several donations).
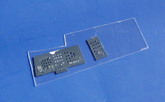
I created the instrument panel through the 'sandwich' technique. Using the
kit panel as a basis, I drew the outline on .010 styrene. Then, I drew a
grid as a guide for the instrument locations, drilling out each location.
A raised center console in the panel was constructed in the same way. The
back plate is .020 styrene with instruments punched using my Waldron die set.
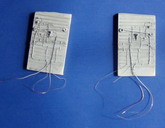
Each instrument received copper wire plumbing. I then paint the back plate
with flat black. I use a needle to scratch the surface paint exposing the
white styrene beneath to create the instrument faces. Light dabs of red
and blue paint help create the artificial horizon and other instrument
details. Then, I sandwich .010 clear styrene between the plates to
finalize the effect.
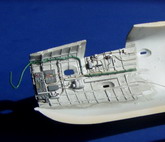
I painted the
interior and gear bays with light grey mixed from Tamiya acrylics. I
picked out details by brush painting before applying a future gloss coat.
Next, I applied a light wash with Polly-S oily black. A final dull coat
with Testors acrylic flat and some assembly completed the interior work.
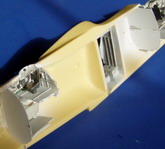
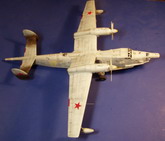
With the interior
complete, construction proceeded quickly. I stole the propellers from the
aforementioned An-12, detailing the blades with ACE PE. I also drilled out
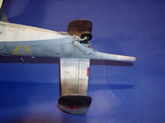
the exhausts with a 1/4" drill bit. Sadly, I damaged the top of the
port engine nacelle by drilling through. Milliput epoxy repaired that
damage. I inserted brass tubing into the wing-fuselage joint for strength.
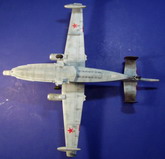
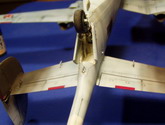
Unfortunately, the wings were the location of my greatest error with this kit.
I should have built a jig to hold the fuselage while installing the wings.
The inverted gulls are nearly impossible to align without close measurements.
I didn't use a jig. Consequently, the wingtips are not level as the
aircraft sits.
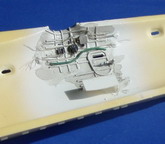
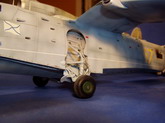
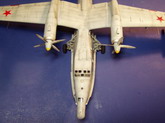
I added frame detail to the water
strakes and also detailed the sturdy white metal gear. Dissatisfied with
the kit wheels, I scratchbuilt wheels from styrene tube and added Equipage tires
originally intended for a 1/48 scale P-38. Those tires show the diamond
tread absent from RVHP's representation. I also scratchbuilt the single
pylon for the port wing.
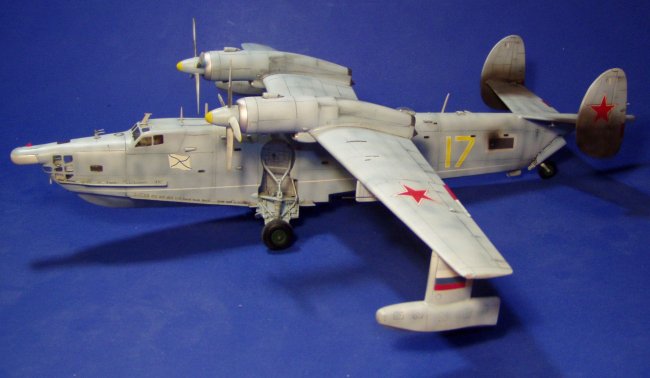
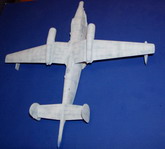
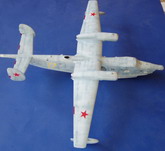
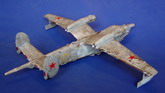
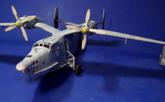
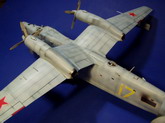
I painted the kit with custom mixed
Tamiya acrylics. I randomly post shaded with various tints of the base
coat to create a faded, exposed appearance. I shaded for a
lighter appearance on the most exposed portions of the aircraft like the top of
the wings and fuselage. For the Russian flag on the outrigger floats and
the yellow 17 aircraft number, I masked and painted my own markings. After
a thick application of Future, I applied decals from my spares. Following
another application of Future to blend the decals, I applied a sludge wash with
tempera paints. A Testor's acrylic dull coat, pastel chalks, and
airbrushed exhaust finished the model.
Tom Berres
Click on
images below to see larger images
|