|
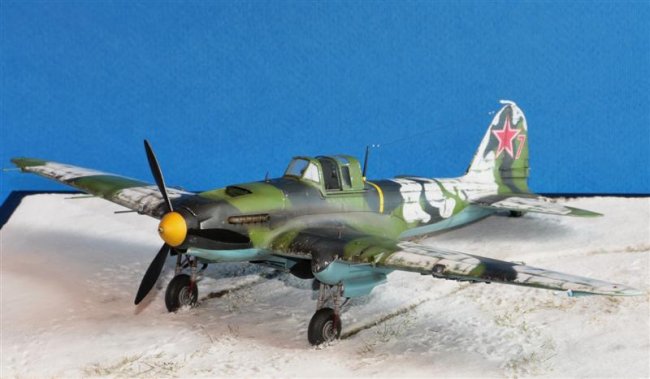
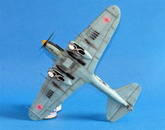
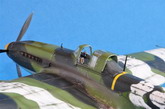
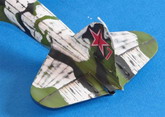
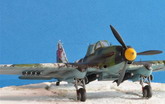
Here are some pictures of my Il-2
Sturmovik from Accurate Miniatures in 1/48th scale.
This a/c operated on the Leningrad front in winter 1942 - 1943.
I built this kit out of the box,
adding only scratchbuilt details and refining the parts which were out of scale
and oversized.
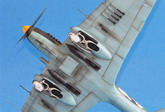
The cockpit looks good as is, I have
only replaced the reflector gunsight with a thin acetate one, thinned down the
seat a bit and I have added the seatbelts with a combination of lead foil and
masking tape.
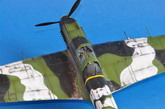
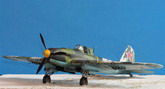
Most of the scratchbuilding work
went on the outside of the plane: cannons, machine guns, pitot and ailerons
counterweights have been replaced with syringes needles of various diameters.
The exhaust stubs and the carburator
intake have been hollowed out, I added the brakes and hydraulic lines to the
landing gears and rebuilt the landing light and its window.
Many other parts (air intakes, oil
cooler's walls, trailing edges and bombs / rockets fuses & fins) have been
thinned down and refined.
The Flettner rods (trim tabs
actuators) are a nice touch but they are way oversized, so I filed down the
fixed parts and replaced the rods proper with thin copper wire.
This is a lot of extra work and most of it quite boring and the funny thing is
that all this work will not improve the crude and ungainly look of this bird.
But in the end I think the result is worth the hassle.
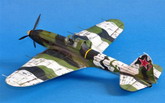
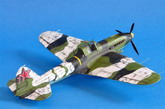
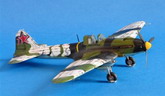
Click on
images below to see larger images
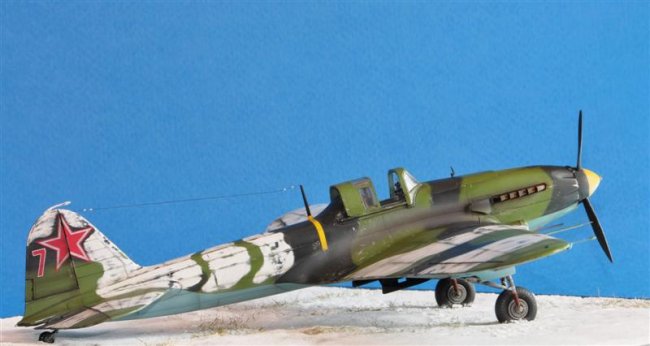
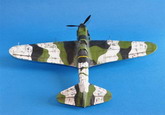
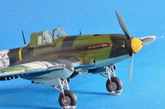
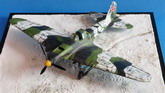
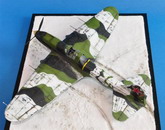
About the camo scheme, I
found a decal sheet on the Net by AML showing the same "Red 7"
a/c but painted in the Green / Black scheme which I deemed more
appropriate for a early all-metal single seater.
I used Humbrol 80
"grass green" and Tamiya XF-1 Black plus a drop of Humbrol 30
acryl "dark green" while I used a 50/50 mix of Humbrol 65 and 89
(middle blue) for the underside.
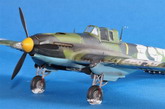
I sprayed a lightened
version of the base colors on the middle of some panels along with the
usual oil washes and post shading to achieve a degree of wear and tear
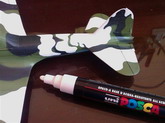
before the application of the temporary white distemper camo. To simulate
the winter camouflage hastily painted on-field, I used a white Uni Posca
water-based pigment marker. I applied the white distemper in a solid coat
trying to mimic the brush strokes of the ground crew (see the lousy
quality n.20 photo taken with my cell phone...).
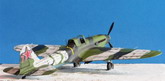
I waited some minutes for the white color to dry, then I carefully began
sanding it with fine grades of wet/dry sandpaper, gradually exposing the
underlying green and black in areas of heavier wear.
At this point I have
applied the (few) decals followed by a coat of Gunze Flat Clear and a
further light post-shading to blend everything together. This also
prepared the surfaces for paint chipping (a mix of Humbrol 11 and silver
pencil) and the exhausts and guns stains. A final thin coat of Humbrol
Satin Cote wrapped up the model.
I hope you like the photos and
happy modeling!
Lorenzo
Cassinadri
Click on
images below to see larger images
|