|
I saw a review of a build of this kit on Modeling Madness, and had an immediate attraction to it. I did not find it listed on any American sources, so had to go through HobbyLink Japan. I must say the experience was enlightening. Postage cost for regular service was USD 9.50, and I had the model in 10 days, which I thought was pretty decent. I would not hesitate to use this source again.
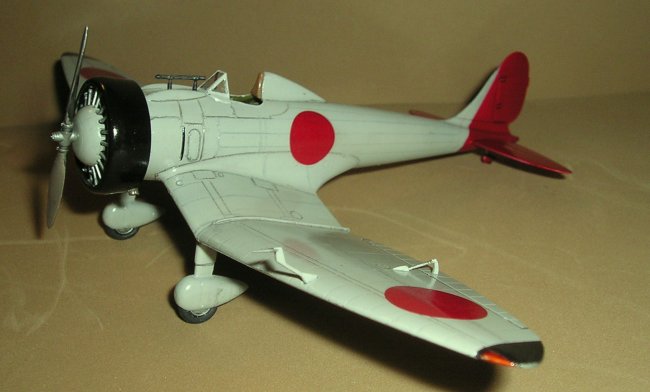
I'll give you just a wee background on this rather unusual looking machine It was designed in 1935 by Jiro Horikoshi. Only one prototype was built in this configuration. The subsequent prototype design featured straight wings, and was developed into the Mitsubishi A5M, which we code named the Claude, one of my very favorite Japanese planes. The Claude served as a basis for the development of the A6M Zero fighter, with which we are all familiar.
|
Click on
images below to see larger images
|
|
|
Now, on to the kit. Note the box illustration, with the anime type illustration. I'm told this represents a movie currently coming out in Japan, and the person is Jiro
Horikoshi, himself. Well in any case, what might appear to one as perhaps a toy, is in fact, a serious model kit by Fine Molds.
The kit is nicely cast in light gray plastic, with finely done scribed surface detail. I found no flash, no ejector pin marks, and no dimples. The basic airframe is quite simple, being the standard two fuselage halves, to include the vertical fin. The headrest fairing is a separate molding. The wings are a one piece bottom molding with two individual top pieces. Horizontal tail surfaces are each one piece affairs, as is the separate rudder. The fabric effect on the control surfaces is limited to the rib tapes, with no fabric etched in, and no sagging between ribs. Quite restrained. Assembly is quite straight forward, and offered me no difficulties.
The cockpit is pretty nice, and about all you need. There is a floor, rib system for the side walls, with throttle quadrant a separate item, plus a couple of black boxes. Rudder pedals and stick are fine, plus there are a pair of
consoles, and a handle to the right of the seat, for which I can not figure a purpose. I built a set of seat belts for mine, but no shoulder straps. There's no gunsight besides the telescope sight mounted to the nose in front of the windscreen. The whole thing builds up into a nice little sub assembly. There are a pair of 7.7mm machine guns, which you can only see the butts of once installed, and two instrument panels, one smooth, and the other with instruments relief cast. There is a decal for the smooth one, but I used it on the relief cast one, and once installed, with a tiny drop of window maker for lenses, it looks pretty spiffy.
The engine is pretty well detailed and is a major assembly. It's just a wee bit finicky to build, so keep the instructions close to hand. All is very nicely cast and detailed, but no need to go into great extra detail such as plug wires, as there is a dish shaped fairing that goes in front of all, and all you can see is pushrods and cylinder tops from the front. The cowling ring is in two parts, but assembles quite easily, and needs only a mere dressing down to cover the seam. Take some time painting the intake manifests and exhaust pipes, as they will be very visible once the assembly is attached to the fuselage nose. There are hollowed caps to install at the bottom of the exhausts, thus no need for drilling. As said, it's somewhat finicky, so don't hurry with it.
Landing gear consists of two half pants, with a one piece wheel. I'll repeat my process here, I assemble and install the pants, but leave the wheels out until the whole bird is assembled and painted. I then razor saw a vee from the outside of the tire to the axle hole, Piece of pie type wedge, if you will. It's easy to slip the wheel into the pant and secure to the axle stubs. No pain, no complicated masking. If there's a weak point in the kit, it's the tailwheel assembly. The wheel is cast onto one half of the tear drop shaped pant, with an attached rod to cement into a hole in the bottom of the
fuselage. Looking at that rod, I felt that the first ill breeze that came along would snap it off quite neatly. So, I snapped it off myself, and drilled a 0.7mm hole into the top of the pant, and super glued a section of aluminum tube into it, and super glued the assembly into the hole in the bottom rear of the fuselage.

The decal sheet consists of blood red hinamarus for all six positions, the afore mentioned instrument panel dials, and red stripes to use for warning stripes on the nicely cast two bladed
propellor. Matching the red of the insignia for painting the entire tail assembly is no easy task.
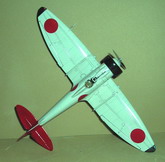
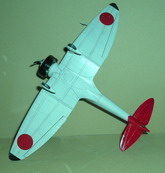
I made my Japanese Green/Gray by mixing a 50/50 combination of Model Master RLM 02 with RLM 63. I applied a clear gloss to the painted model, this was a prototype in 1935 Japan,
so no weathering would be the way to go. The enclosed pictures failed to capture the shade correctly.
So...if you want a nice model of a not too well known airplane, this would be a great subject.
A nice collection would be this prototype plane, an A5M Claude, and an A6M Zero.
Have fun,
Hal Marshman, Sr
|