|
|||||||||||||||||||||
|
|
|
|||||||||||||||||||||
|
|
Does
this sound familiar? Somebody brings you your birthday gift, you open it, and
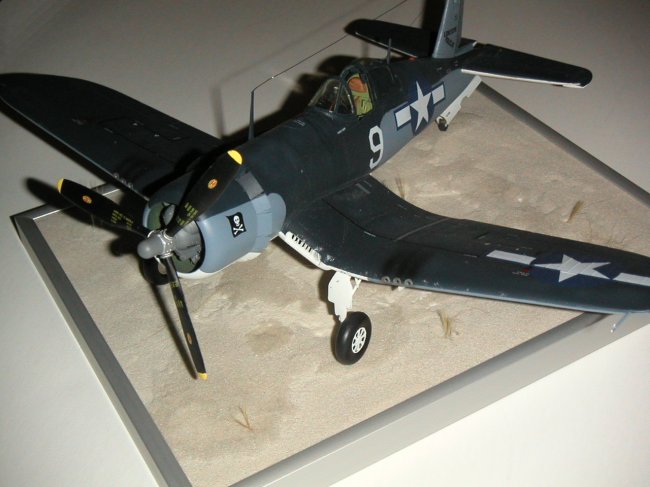
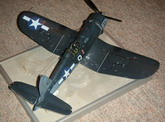
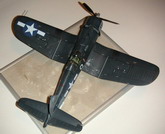
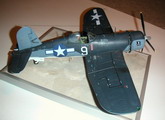
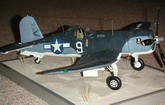
ah!, a model airplane. That’s exactly how this F4U-1D arrived at my home. During
my youth I built a lot of 1/72 an 1/48 Models, all straight out of the box,
painted with brushes. Then I grow up, and by learning my profession, I lost the
time and interest to build more. After visiting an exposition organised by the
town's local modelling club, I returned home and was motivated to restart this
interesting hobby. First I had to buy a good looking model. Then I wanted to
paint it with an airbrush. And so on… The result was quite good, after a break of almost 7 years. I quickly gained experience with the new tools, and
then finished 2-3 other 1/48 models. Then I got this old Revell F4U-1D in 1/32.
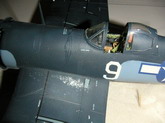
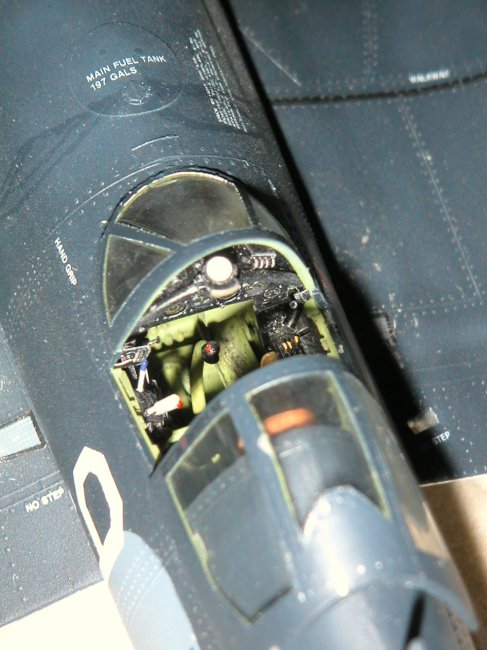
My initial enthusiasm flew away after I opened the box. Oh! Raised panel lines,
a lot of holes where there should be wheel bays, a horrible cockpit…. Let’s
put that thing away!
I
changed to a new employer and time was gone again for my hobby. But just before
the new break, I bought the two books “Building and displaying scale model
aircraft” by Paul Boyer and “Detailing scale model aircraft” by Mike
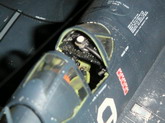
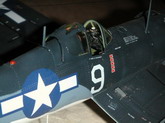
Ashley. I had time to read during my new job (nice job not? I decided to buy a Verlinden Cockpit, an Eduard Set, a Waldron cockpit placards set, and a lot of Evergreen profiles. Then I scanned again the Internet, to find some information about the aircraft and its Pilot, Lt. “Butch” M. Davenport. That was the easy (and expensive) part. I decided to keep the Revell Decals and build Davenport’s aircraft because I love the VF-17 insignia. This decision also, because all the other VF-17 models show the more popular Ike Kepfort aircraft No. 29. Now
in front of me was: first time scratch building, first time working with resin,
first time dry brushing, first time sanding and filing seams, first time use of
decal setting solution and first time weathering. I was sweating blood, I can
tell you! Sometimes I hated that inaccurate aircraft! But now I love it, because
it was worth all the work and became my beauty!
I
painted the model with acrylic colours from JPS (http://www.jpsmodell.de
German / English). They are good to handle, available in almost every shade,
they don’t smell at all and deliver a nice result. I don’t know if you can
get them all over the world, but for the European ones: a good choice! Read here
how to use them (sorry, for the time in German only) http://www.modellshop.ch/jpscolors_faq.htm
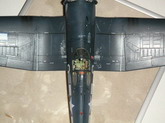
. Weathering was done with enamel paint and pastel colours. As
the VF-17 was based in Ondonga (1943) at the time my model represents, I had to
build a sand base. I found some good matching sand on the beach of the Maldives.
The level difference was made by applying more or less white liquid cement. And that’s it. I hope you enjoy this aircraft as I do. Leander Niederhauser
|
|
Photos and text © by Leander Niederhauser