THE KIT
The Italeri Bae Hawk T Mk1 has been out for quite a long time and was recently reissued by Revell with new decals for the Red Arrows aerobatic team and the Swiss Air Force.
The kit is common Italeri quality, so you get quite good detail, engraved panels (albeit rather soft) and some problems during assembly.
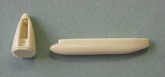
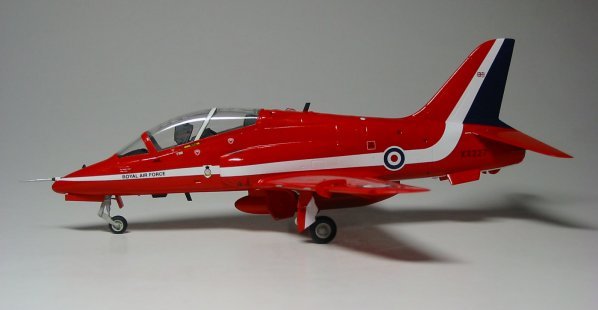
Accuracy-wise the kit has a few mistakes: the nose is pointy, the spine near the canopy is too square and the exhaust is slightly undersized. Since I want to build a series of Hawk models, I refrained from correcting everything, otherwise my project would soon shift to ‘suspended’ status! The exhaust is hardly noticeable, while correcting the spine would entail remoulding the canopy too (and loosing the detonating chord detail) so I thought I could live with it. The only glaring mistake is the nose: I saw a few built models and you really have to do something as it spoils completely the look of the aircraft. I decided to first try the easy way, so I dug an old Airfix fuselage out of my spares box and after sawing the nose I offered it to the Italeri kit with excellent results; since I needed to repeat the fix on other kits I worked on the part so that I could take a rubber mould and cast a few copies in polyurethane resin.
|
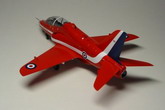
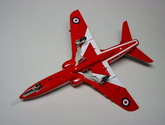
Click on
images below to see larger images
|
|
|
CONSTRUCTION
Having resolved the accuracy problem I started construction seriously with the cockpit which I assembled and painted according to the instructions, leaving off only the seats which I substituted with two Aeroclub MB mk10. Then I mated the fuselage halves and joined the resin nose with superglue; last I added the wings and had to apply quite a lot of filler to the joint lines, especially under the fuselage. Another shortcoming peculiar to the Revell issue is the lack of smoke pod for the Red Arrows variant: the instructions show you how to to cut off the gun barrel from the ventral gun pod, but this doesn’t make a smoke pod at all! So I opened again the spares box to search for a suitable fuel tank to start from. After much work with plasticard and filler I obtained an accurate master and took a mould of it too.
Once attached the resulting resin pod to the underside I went through the process of puttying, sanding and priming again and again until I reached a satisfying finish; I chose to fill the holes for the flap hinge fairings since they are too big and would need filling later anyway. I also removed the fuel dump pipe from the starboard rear fuselage and replaced it later with some suitably bent and painted copper wire.
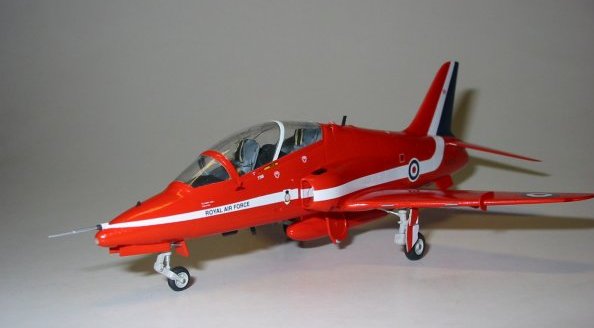
PAINTING AND MARKINGS
Having thoroughly washed the kit, a pair of coats of Humbrol satin white were enough to reach a suitable canvas on which I applied two coats of Xtracolor Red Arrows red; this is a very good paint straight from the tin and in my opinion captures very well the right hue of red. After a few days of drying time I removed the masking from the canopy and started applying the decals; these are printed by Cartograf in Italy and are of very good quality, the only problem being that the black dotted lines on the underside ‘V’ don’t match the position of the wheelwells and of the flap hinge fairings, so I had to do some touch-ups with white paint to hide them. Also, the red paint is still faintly visible through the white decals: that’s not really a defect however I asked a second sheet to Revell’s parts replacement service (which they very kindly sent in less than two weeks) and double layered the white stripes with really superior results!
Now it’s time for the last touches: I painted the undercarriage and wheelwells in light aircraft gray and attached everything with superglue for added strength. The kit supplied u/c doors are rather thick and would be best replaced with scratchbuilt ones in thinner plasticard (I didn’t for lack of will, but now I regret it!). I added only now the tailplanes since they interfered with decal application, checking for the correct dihedral. Last I scratchbuilt all the tiny blade aerials scattered around the fuselage center line plus the smoke pipes above the exhaust and gave the model a final coat of Johnson’s Klear with a flat brush.
No weathering this time since it would be just out of place: simply check a few photos of the shiny real aircraft and see what I mean.