|
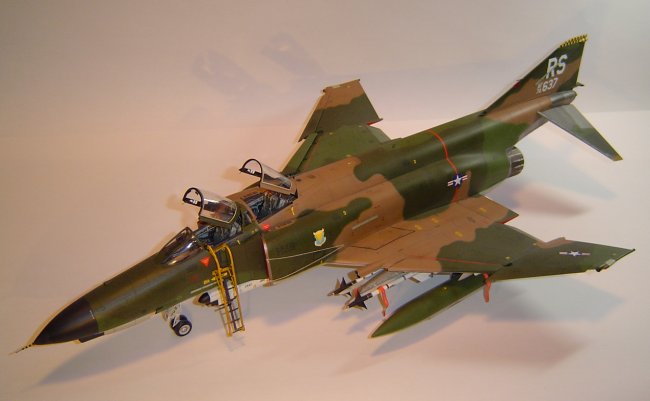
This is my latest
project, the 1/32 scale Revell-Monogram F-4E Phantom II. This kit has been
out of print for some time, so when I saw one on Ebay, I thought it would be fun
to build it. I had built at least 3 of the older Revell 1/32 F-4's and
figured this was just a repackaging of the old kit, but I was pleased to
discover a completely new model.
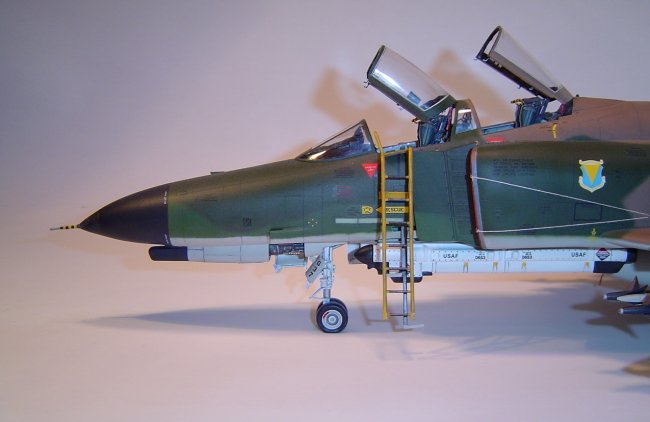
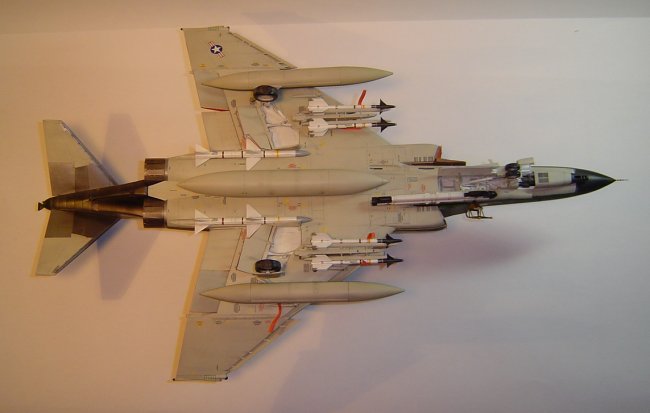
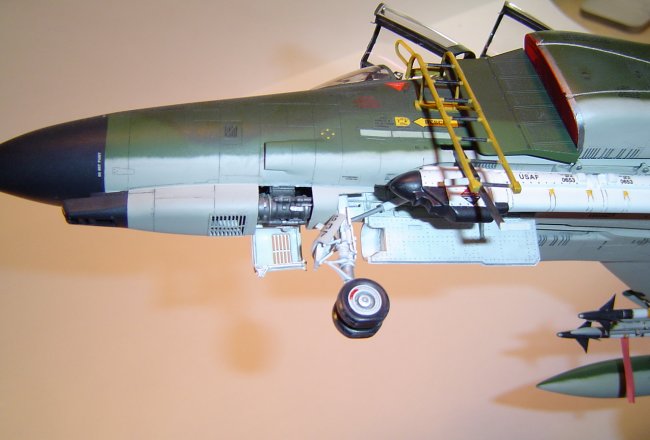
The kit has some
well documented problems, specifically the profile of the nose and the
undersized front undercarriage, so I addressed these problems first. The
nose was reshaped with a more parabolic profile with putty, and the front strut
was rebuilt using scrap parts. The flaps were cut out and repositioned.
Additionally, I scratch built the TISEO tube on the inside port wing using
sections of a telescoping TV antenna and scraps of brass from a photo etch set.
The gun breach was cut out, and the Vulcan Gatling gun was added using pieces
from the Hasagawa F-16 kit I had in my scrap box.
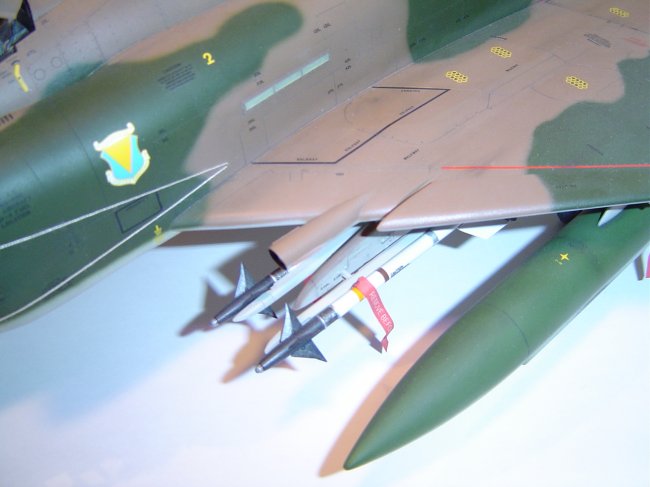
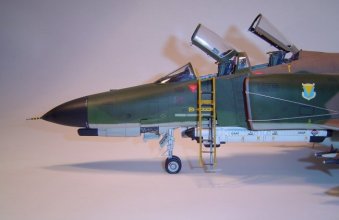
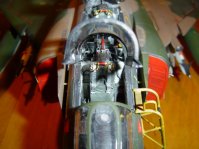
For aftermarket kits, I
used the Legend Cockpit set, Paragon extended inboard slats, Eduard F-4F
interior and exterior brass sets, and Cutting Edge AIM-9L Sidewinders. The
Legend set was OK, but it was a horror show getting it to fit. The Dremel
kit was indispensible. The side walls are beautiful but, unfortunately,
hard to see due to the slant of the walls. To spruce things up, I added
wires behind the WSO's dashboard made of copper wire and guitar strings, and
added bits from the Eduard interior set. I had a hard time getting the
downward angle of the Paragon slats correct. I couldn't get it
exactly to my liking, but I got it to where they were at least acceptable.
|
Click on
images below to see larger images
|
|
|
 |
The camouflage was
painted with Model Master enamels first, then the decals were applied using
Aeromaster Early stencils in combination with AirDoc stencils and early F-4
markings. The AirDoc decals were beautifully printed; very clean and
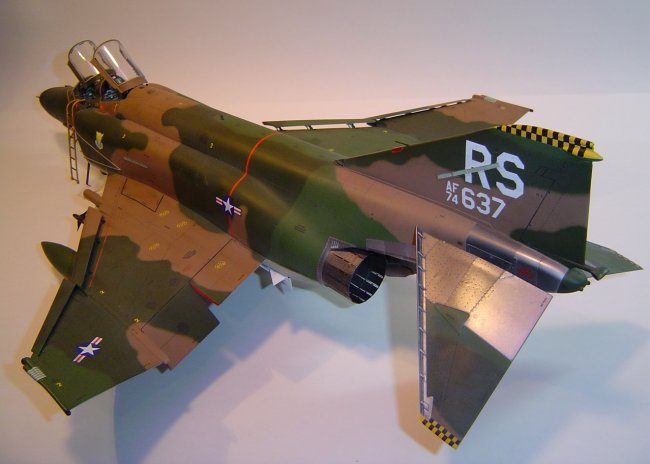
crisp. The decal scheme depicts an F-4E based at Ramstein Air Force base
circa 1976-77. I know that this particular aircraft was based there at
that time, but I can't vouch for the accuracy of the camouflage scheme. I
think it should have been the SEA Lizard "wraparound" scheme, but I
like the SEA standard (with gray undersides) better, so a little poetic licence
was invoked. This is also the first time I used Future Floor Polish as the
gloss coat before decaling. It worked well, but I still struggled with
silvering decals. So I tried using Future as a setting solution, and that
seemed to solve the problem (thank you ARC for the tip!).
After decaling, a sealing coat of
Future was applied. A black wash was applied using a product called opaque
which is used in the printing industry. It was thinned down with water and
a little dish washing detergent to get it to flow in the recessed panel lines.
I didn't weather the model very much as most of the photos I used for reference
showed fairly well maintained aircraft. A final coat of Model Master
Acrylic Matte was applied. This is the first time I used the acrylic, and
I wasn't impressed. It looks rather milky. Next time I'll stick with
good old smelly DullCote. The metallic sections on the tail were
airbrushed last using Model Master Metalizers.
All in all, I was pleased with
the final result.
John
|
Click on
images below to see larger images
|
|

|
|

|
|
|