|
This June 6th marks
the 60th anniversary of D-day. Once the invasion of Nazi occupied Europe
began, it soon became clear how vital a role the P-47 had in this latter phase
of the war. Being incredibly rugged, the P-47 could take a lot of punishment and
still return home with the pilot intact! It provided an excellent, stable
platform from which to fire, and it did pack a punch. The P-47 could fire 4.5
in. rockets, carry two 500lb. bombs, and while not as
manoeuverable as the P-51, it could hold its own in a dogfight as well, with its
formidable eight 12.7mm machine guns. Powered by the 2300hp R-2800-59 engine,
the "D" could reach a top speed of well over 600km/h. This combination
of durability and speed, allowed the "Jug" to become one of the most
versatile aircraft to be used during the invasion. Its roles included fighter
escort and troop support, but it was unmatched by any other allied single seat
plane in its ground attack role, and it became the scourge of the retreating
German armies, shooting up troop columns, destroying airfields, armour and
railways. It is hardly surprising that the Jug became the one of the most used
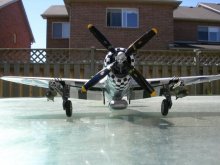
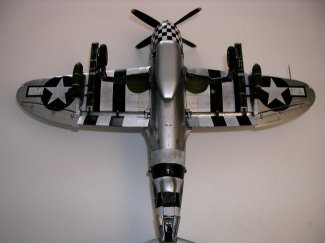
and loved of the D-day weapons in the USAAF. I have chosen to model the mount of
Lt. Col. Benjamin Mayo of the 84th FS, 78th FG, which was based in Duxford,
England in the summer and fall of 1944.
|
Click on
images below to see larger images
|
|

|
 |

|
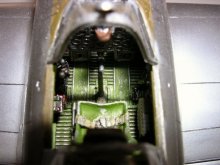
Much has already
been said of the amazing detail and quality of the new Tamiya kit. It went
together like a dream, and I just had to detail it with the help of the
excellent walkaround pics here on ARC. I did a lot with the engine (which,
looking back was silly given that once the cowl is placed, you can't see much)
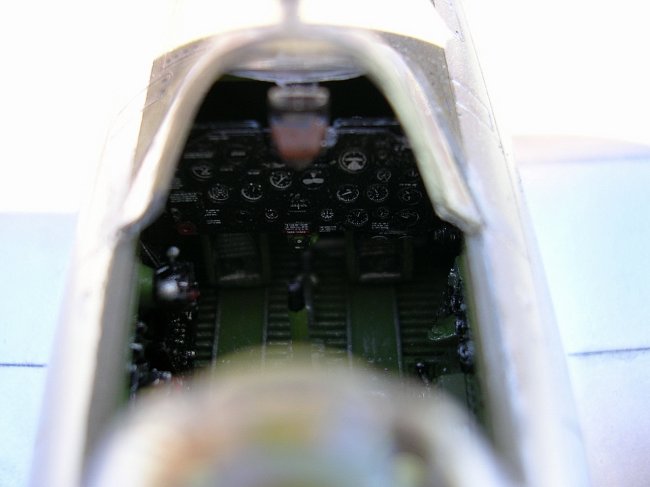
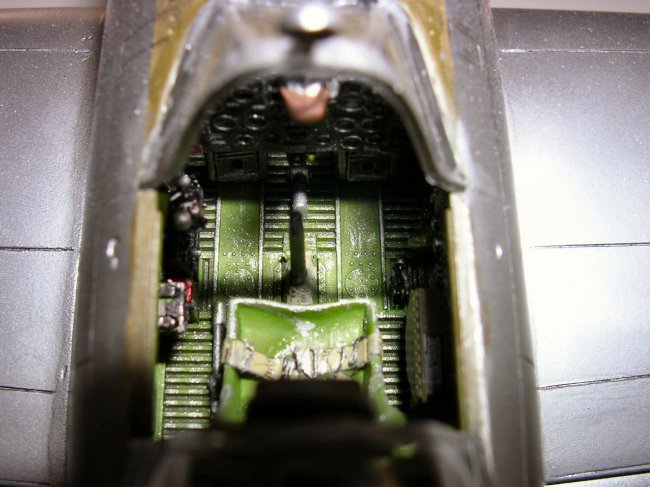
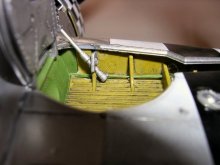
adding ignition harnesses and wires. I also used the Eduard p.e. cockpit set
which I think really adds to the realism level of an already realistic kit. I
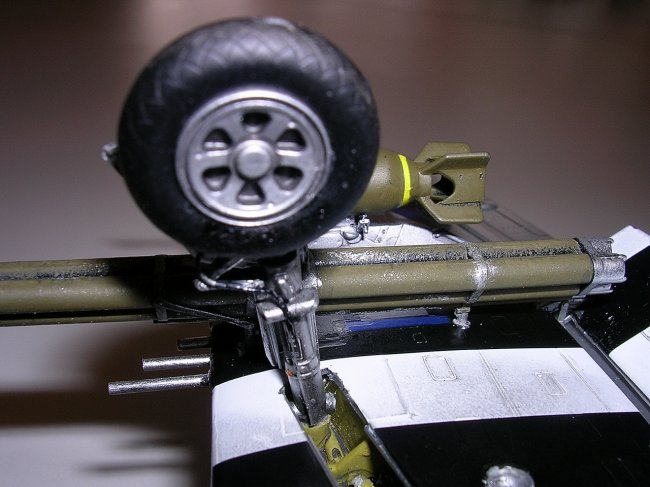
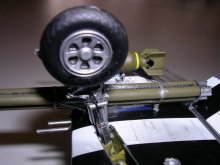
added the usual hydraulic lines for the brakes, and various cables in the wheel
wells, using copper wire of various widths.
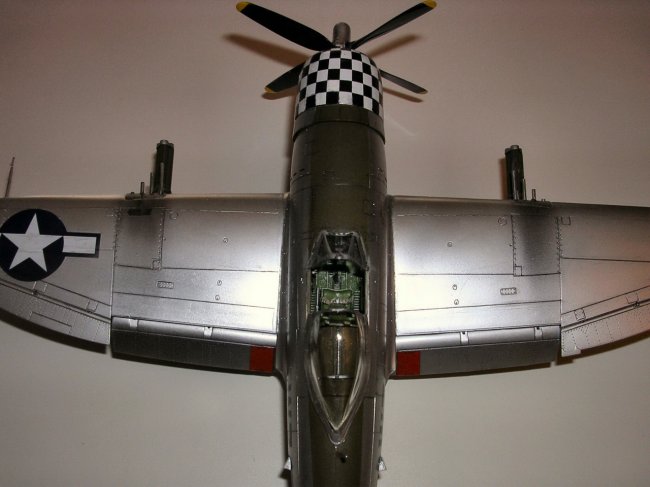
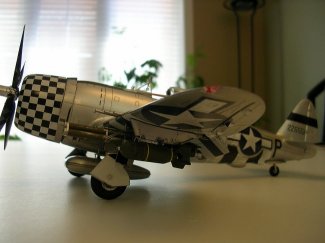
Painting was actually
experimental. This was the first time I attempted a BMF without Alclad II. I
primed the model with Tamiya Gloss Black from the spray can, and once that had
cured, I polished it up a bit, then sprayed a combination of Tamiya Silver Leaf,
Gloss Aluminum, and AS-12 Bare Metal Silver. (Thanks Mike Johnson!)
When used carefully, the spray cans can provide as nicely controlled finishing
as an airbrush. I am convinced that the finish is just as good as with
Alclad II, and it is tough as nails! Weathering was done with a combination of
graphite, chalk pastels, and my "sludge wash". Paint chipping on the
propeller was achieved with a silver pencil.
|
Click on
images below to see larger images
|
|
|
|
|
I used the kit decals which were somewhat thick. However, liberal use of
Solvaset got them to settle down nicely and to snuggle into all the panel lines.
I had no problems with silvering, and I did like the intelligent way that Tamiya
laid out the decals on the sheet, so that placing them over the various bumps,
doors, and other difficult spots, became much easier. The invasion stripes made
me nervous, given that they are in so many pieces, but I did manage to put them
on without incident. The cowling checkerboard is in three separate pieces to
allow for easy placement, and only through my own carelessness did I manage to
mess up one section of it. Oh well, live and learn! I hope you enjoy these
pictures.
Cheers,
Jamie
|
Click on
images below to see larger images
|
|
|
|
|
|