|
Another of my
multi-engine submissions for ARC. This one is for my personal collection
after having done a number of 135s for some friends. I looked for quite a
while for a KC-135A but didn't see any below $75 on some of the collector's
websites or vendor's tables. I found a EC-135 on Ebay that had been
started by a beginner that used a considerable amount of airplane glue for
assembly of some of the fuselage. I decided that I would make a kit of the
never-produced Amt/ERTL KC-135E using this kit as a basis. This would be a
challenge to fill in all the holes and indentations left my excess glue that had
softened patches of plastic, however, they had cured back to an firm consistency
that wouldn't prevent restoration. So for $15, who was I to complain?
Well, three weeks later of using many sanding sticks, sand paper, and
gap-filling superglue, I did. But three weeks was what it took to assemble
and complete the fuselage. The rest of the kit was sealed in its original
bags and would pose no more problems than a standard Amt/ERTL kit normally
would. During that assembly time, I was able to contemplate a number of
paint schemes and markings for the kit.
|
Click on
images below to see larger images
|
|

|
|
|
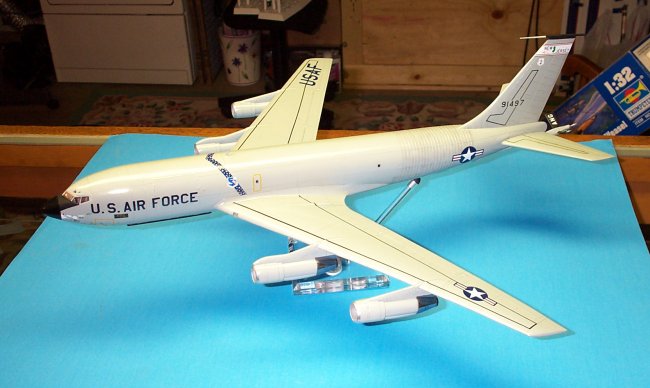
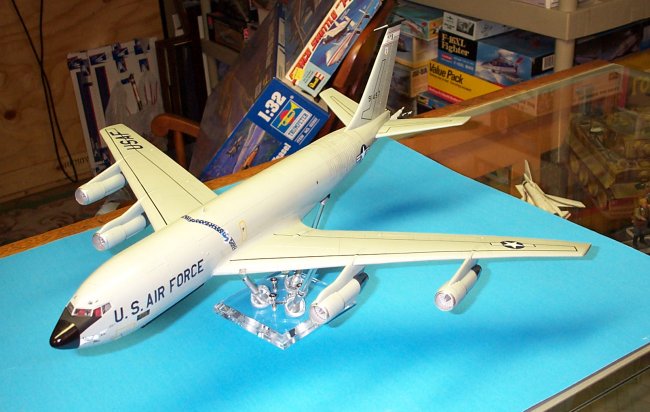
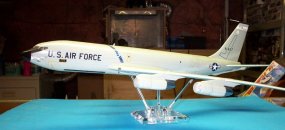
As I neared the end
of the assembly, I decided to make this a classic SAC tanker with markings that
would most be recognizable to any old SAC warrior. The over all Aircraft
Gray color was chosen over the "Shamu" scheme but now I need the
appropriate decals, which I found at Bare Metal Foil. They produced (now
OOP) a wonderful set of decals that were just the type that I was looking for,
representing a KC-135E on the East Coast. I chose the New Jersey bird,
being station close enough to the old base and knowing some of the pilots of
that A/C as well.
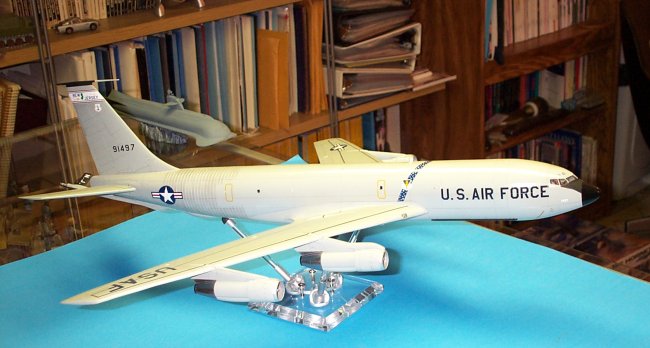
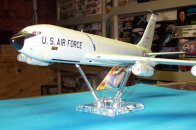
I purchase the stand from my
local hobby shop, made by Creative Displays (www.mycreativedisplays.com)
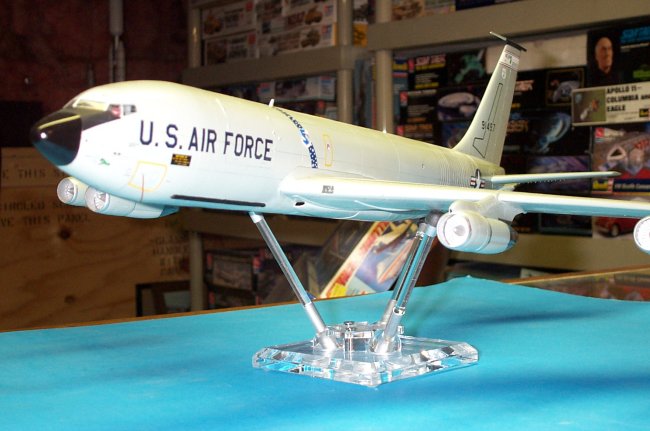
and they make for a great wheels-up display. As with my previous 135 kits,
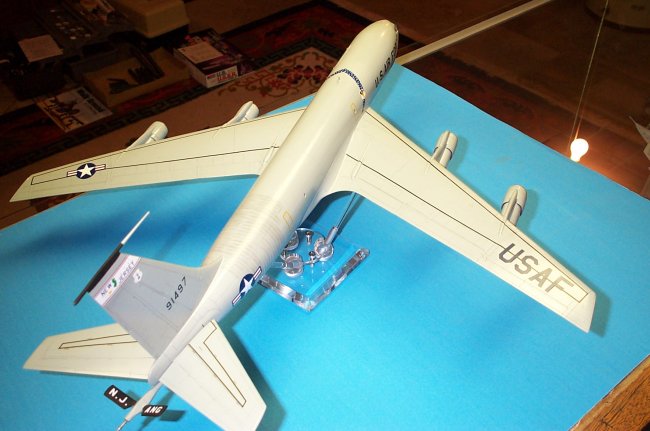
I used pastels to weather the stratotanker, particularly around the
reinforcement supports near the tail section. I also used a pencil to
highlight all the panel lines and instead of masking and spraying the engine
sections separately, I used Humbrol Metalcote steel for the rear of the engines
and aluminum for the outer parts of the intake. The Metalcote provided
great results without the tedious masking and fear of damaging the already
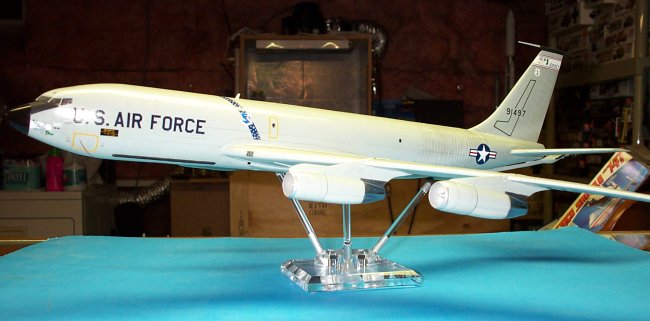
painted areas of the kit. However, I was most impressed with the decals
from Bare Metal foil, which were of some of the best quality that I had ever
worked with and snuggled down beautifully, especially over the panel lines,
without distorting.
So now I finally have my own
KC-135E for my own collection after building three for other friends and
coworkers. Now to get on with that B-52D that needs to be refueled!
Tony
|
Click on
images below to see larger images
|
|
|

|
|
|
|