|
History
The F-111G started off life as the FB-111A, which was the all-weather strategic
bombing version of the F-111, intended as an interim successor to the B-52 and
B-58 of the Strategic Air Command. The FB-111A differed from the F-111A
primarily in having a longer fuselage (75 feet 7 inches as compared to 73 feet 5
1/2 inches) to accommodate the additional fuel required for its strategic
mission. In order to provide a longer range and greater load-lifting capability,
the FB-111A had the extended wing of the F-111B (unfolded span of 70 feet as
compared to 63 feet). It also had a stronger undercarriage and landing gear, and
was powered by TF30-P-7 turbofan engines.
As the Rockwell B-1B Lancer came into service, the FB-111A became redundant to
Strategic Air Command needs, and most surviving FB-111As were converted into
ground attack configuration. During 1988, the designation F-111G was adopted for
the FB-111As that were to be converted to serve in the tactical role when
displaced from SAC.
In October 1992 it was announced that Australia planned to buy 18 surplus
F-111Gs from the USAF to augment the 22 surviving F-111Cs in the RAAF fleet, and
delivery began in 1994. Australia is the only country outside of the US to
operate the F-111, and as of the end of the last century, is the only user of
the type.
|
Click on
images below to see larger images
|
|

|
|
|
Building the
F-111
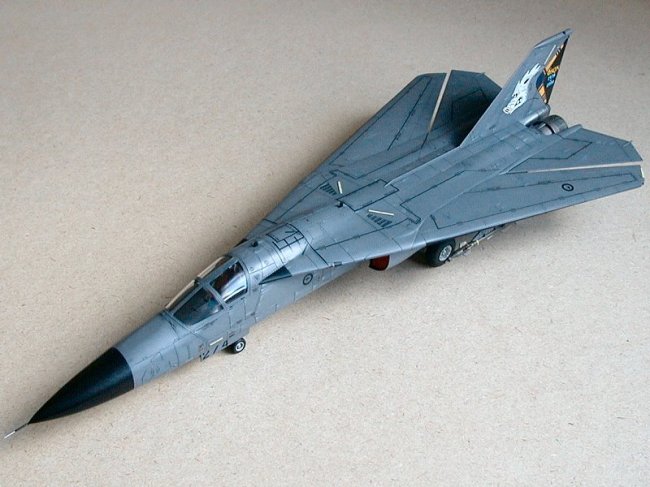
The Hasegawa F-111s were released in the late 80s and are state of the art kits.
The only real problem is that they are almost over-engineered. Out of the box
you can only build them with all the slats and flaps extended. I decided I
wanted one all tucked up and clean, and thought these aircraft looked
particularly sinister in the all over grey scheme carried by late US and all
RAAF F-111Gs. I used the FB-111A boxing to build the F-111G, mirroring the
real-life transition of these aircraft. Mid-way through the build, the 6 Sqn
RAAF 60th Anniversary markings were released by Aussie Decals, and the final
scheme was decided.
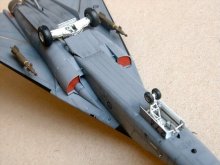
Very little was done to the model in terms of modifications. The hardest part
was making the wings fit in the retracted position. After a lot of careful
cutting and sanding, I managed to get two retracted wing assemblies finished,
and without having to resort to any filler! The only other thing that needed
doing to get the wings to fit was to open the slots in the fuselage sides.
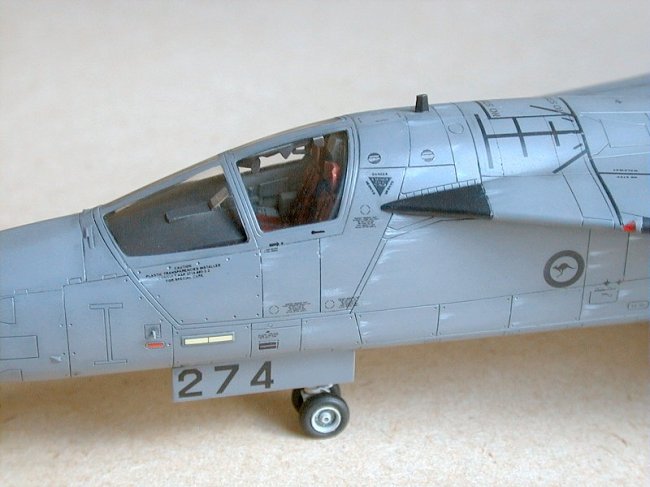
Other modifications included adding all the formation lights from 5 thou styrene
strip, replacing the pitot with some stretched tube and copper wire, replacing
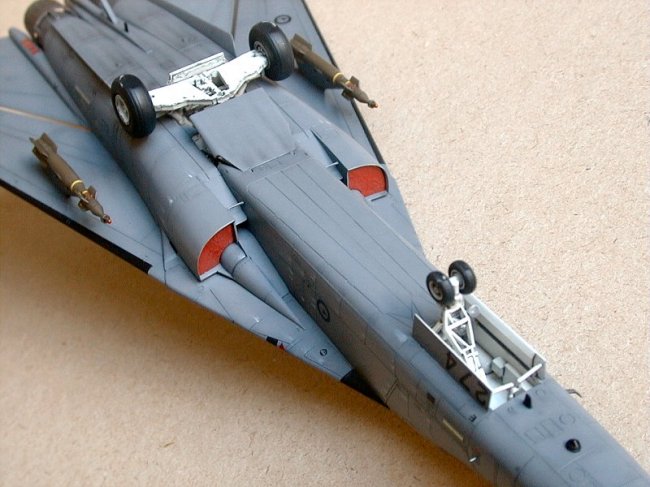
the wing navigation lights with clear tinted resin, adding intake blanks made
from styrene and tissue paper and adding GBU-12s from a Hasegawa weapons set.
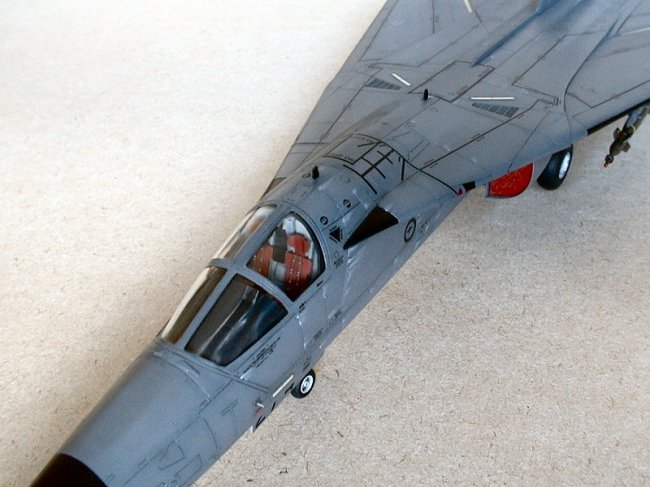
The radome was painted gloss black. Then the canopy and radome were masked off
and the entire model airbrushed with Gunze H305 (FS36118 gunship grey). A point
of note is that the Aussie F-111Gs did not retain the Startracker navigation
system and so the clear, circular window on top of the nose was filled and
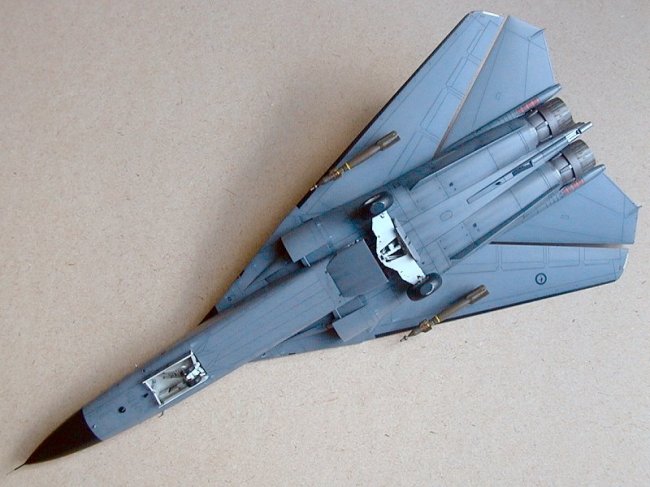
painted over. It was after painting that I discovered the F-111G had four
chaff/flare dispensers located in slightly modified booms either side of the
engines. Too late to change the shape, I simply added decals from an Isradecal
F-16 set during decalling.
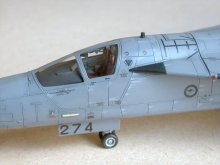
After glossing, decals were
applied using Micro-Sol. The Aussie Decals’ decals performed well, although
you have to buy the Anniversary sheet, AND the standard RAAF F-111 markings
sheet to complete the scheme. The formation light decals were taken from the
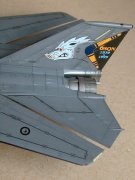
kit. One problem with the Aussie Decals’ decals is that the demarcation on the
pig’s head from white to grey should be feathered, but wasn’t. After some
very careful masking and a few profanities, I managed to get a semblance of the
correct pig’s head markings done.
Tailpipes were painted with Gunze metallics and then tinted with Gunze clear
colours. The streaking on the F-111s is called reversion and is due to the
sealing compound on some panels liquefying at high Mach and streaking back in
line with the airflow. This was replicated by applying blobs of undiluted white
oil paint and wiping them in the direction of the airflow with a cotton bud tip.
Some minor chipping was applied to the landing gear using Humbrol Panzer grey
paint and a fine brush. Final touches were to apply a flat varnish using Polly
Scale flat, and then glue intake covers in place and the Paveway GBUs under the
wing pylons. Not long after I finished this kit, Hasegawa reboxed their kit in
the same scheme.
Craig
|
Click on
images below to see larger images
|
|

|

|
|
|
|