|
The
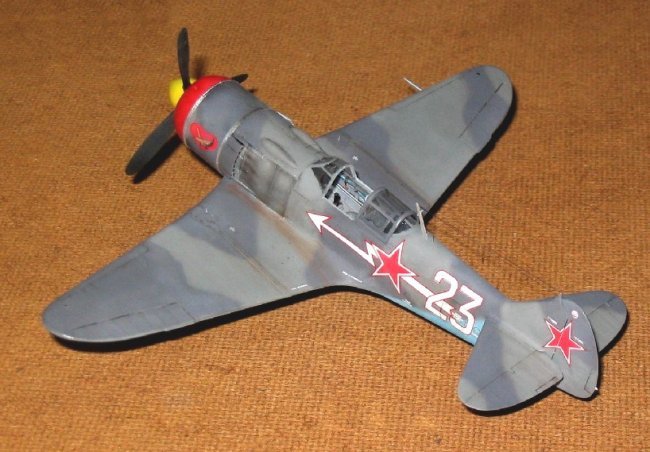
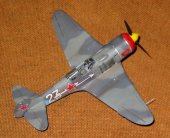
Lavoshkin La-7 may have been the more efficient Soviet fighter of World War 2.
The type failed to receive the fame of its US, British, German and even Japanese
counterparts of the time. Nonetheless, the reading of performance charts of the small
Lavoshkin fighter and the reading the reports of its combat and victories
proved that the La-7 often bettered the Me109s and FW190s in the air. The
greatest Soviet aces fought aboard it.
The
model
This
is a nice and simple little kit. Eduard uses a soft dark grey plastic. Parts are
sharp as are the recessed panel lines and shape seem accurate.
|
Click on
images below to see larger images
|
|

|

|
|
Building
As
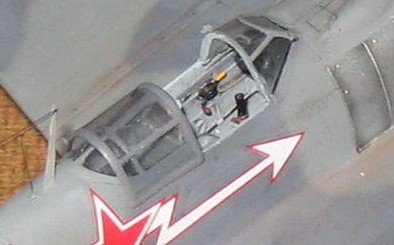
usual, building starts with the cockpit. Main parts are provided, but the little
cockpit can easily be enhanced with bits of plastic card or stretched plastic
sprue. A few unused photo etched parts are utilized to add details (like old
seat belts and compensation wheels from a Me109 detail set). The pilot seat was thinned and received belts. Once built up, the cockpit
was painted in a
light blue grey then washed with thinned sepia oil paint.
Landing
gear wells and struts are detailed the same way using stretched plastic sprue.
Some walls are added in the gear well to keep the eye from seeing too far into
the wings. Then they are painted light grey and washed with the same diluted
sepia oil paint. Upper and lower wings can then be cemented together and the
rudder pedals installation added on top.
Both
fuselage sides are cemented together as cockpit details are better added through
the wing hole. Instrument panel and rear cockpit wall with seat are added after
they have been thinned, detailed and painted. The radio set can be built from
scratch and installed. When this is done all the cockpit area can be completed,
with the last paint touch ups and then an armoured glass plate can be made from
rhodoid and added atop the rear cockpit wall, behind the pilots head.
The
fuselage can
then be completed with its engine cover, engine ring and side exhaust
panels. Be careful to choose your option correctly : two or three machine gun
versions can be built with alternative parts.
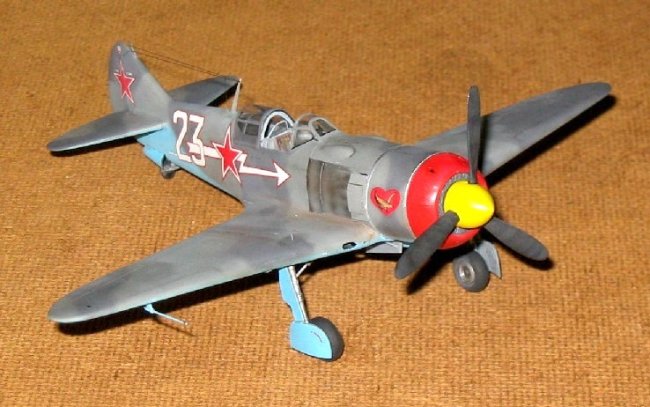
I
was not entirely satisfied with the propeller spinner shape as its boasts a
double curve in side view. I needed a simpler shape. To do so I fixed my spinner
on a dremel tool and it was easily reshaped with fine grain sand paper. The
rotation speed of the tool guaranties a quick, smooth and regular reshaping.
When
the fuselage is completed, the wing sub-assembly is cemented in place, as are stabilizers. Small details can be added around, like antennas, indicators, pitot
tube and transparent parts.
Painting
I
followed the colour instructions from the instruction sheet and used my usual Gunze
paints, except for the metallic parts and heat shields on fuselage sides. I
still prefer enamel paints or special brands as Testors metallizers or Alclad
for my aluminium finishes.
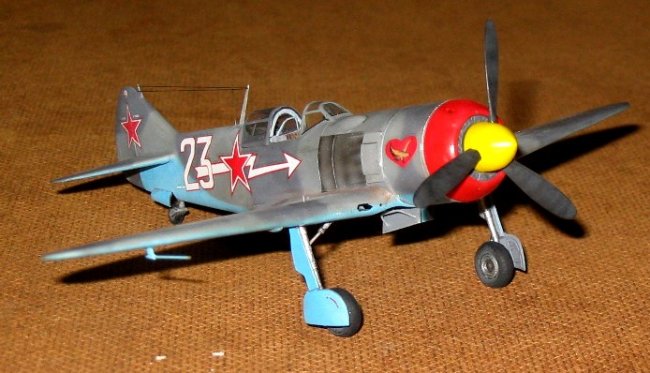
The
spinner was painted yellow and fuselage front ring is painted red, both colours being
painted over a white base to achieve a bright finish.
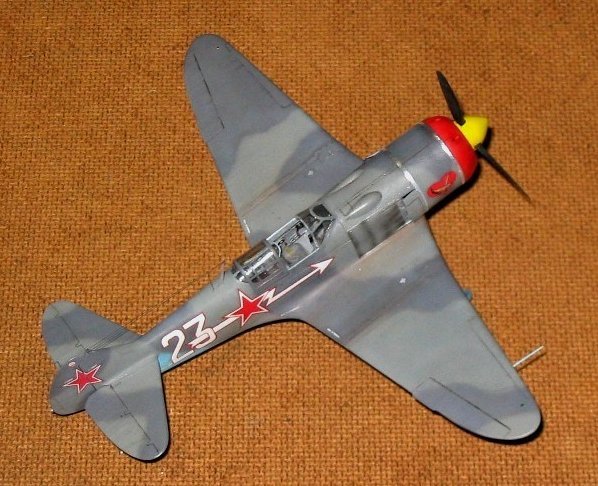
Camouflage
colours then are painted free hand. Of course my red engine cowling ring,
transparent parts and metallic surfaces had been masked before.
When
painting was complete the silver engine rings were done from metal foil.
Then
it was time for decaling after the usual gloss varnish treatment. I added
landing gears and my little replacement transparent canopy that I moulded from
rhodoid sheet over the clear but thick original kit part.
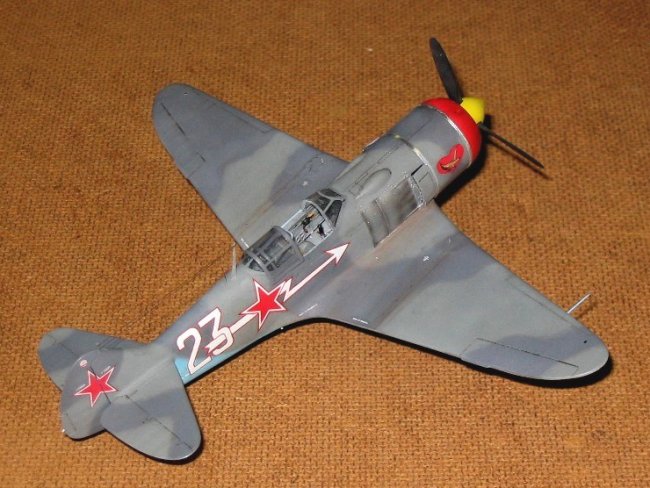
My
model was then weathered with thinned oil paint and powder. Extra details, as
radio wires and landing gear position indicators, were added. The last operation
was spraying a very light and subtle layer or matt varnish.
This
model a treat to build. It is a nice, simple and sharp little replica of the tiny
La-7 fighter. It certainly is the ultimate La-7 model in 1/72nd scale but it
also fuels the need for other soviet fighters of the era.
Eric
|
Click on
images below to see larger images
|
|

|
|
|
|