|
This
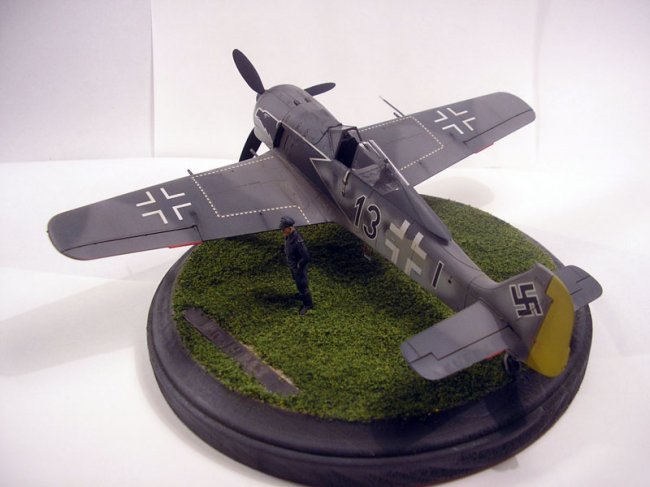
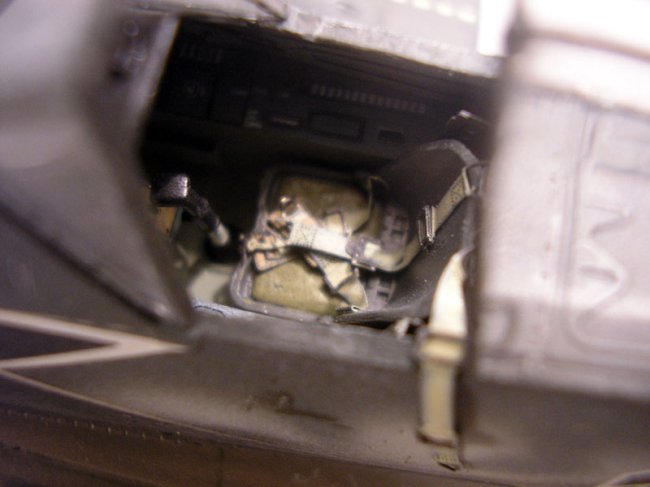
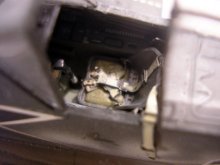
is my 1/48 Tamiya Fw190A3. I used the Eduard PE set and kit decals.
This was my first serious foray into using Photo etch parts outside of adding
seatbelts to kits. The Eduard set comes with a complete replacement
cockpit tub rather than providing modifications to the kit parts. Putting
the tub together was fun and it generally looks good, especially the control
panel. Something about the side panels lacking any relief though.
Maybe a combination of kit parts and the PE would have yield better results;
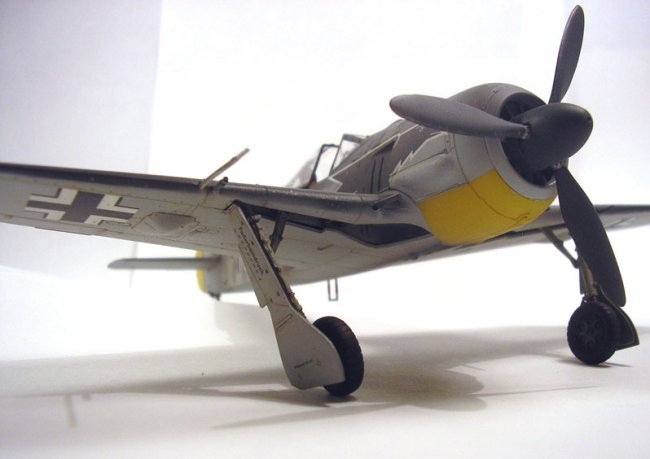
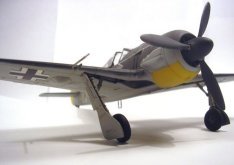
Overall though I was pleased. The canopy receives a lot of detailing in
the set as well as the gear struts. The antenna wire is transparent thread
painted black.
|
Click on
images below to see larger images
|
|

|
 |
I
wish I had some great reason for choosing these particular markings, but mostly
I thought they looked cool
J.
I
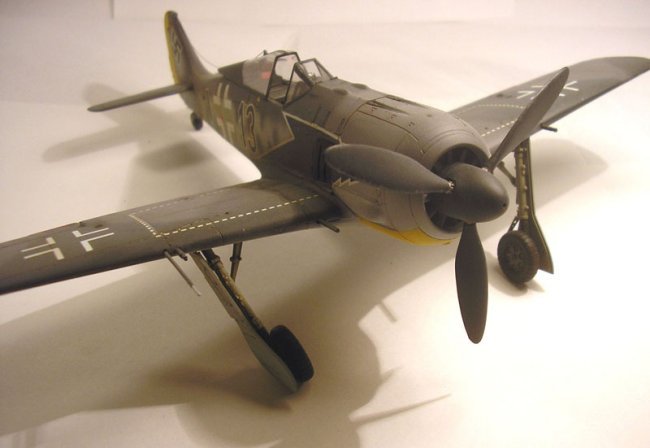
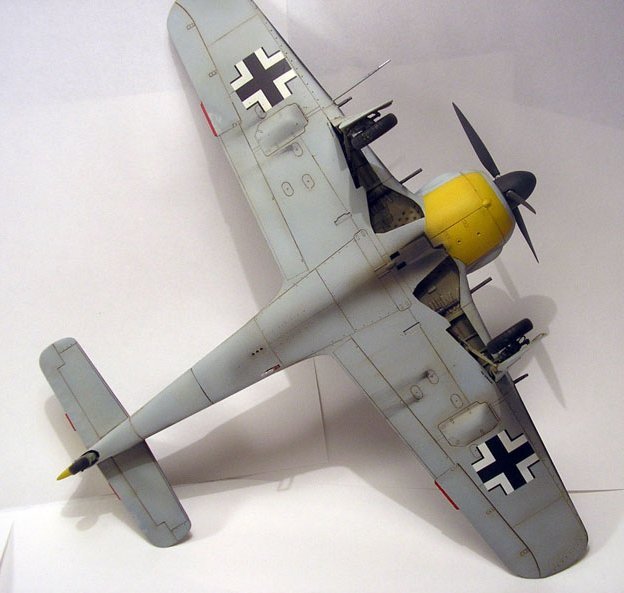
painted the aircraft using Model Master Acryl paints, and it bears the standard
RLM 74/RLM 75 over RLM 76 paintjob. All the camouflage was painted
freehand with my trusty Thayer & Chandler Omni4000 airbrush, something I’m
really enjoying now that I’m becoming more adept. Keep practicing!!
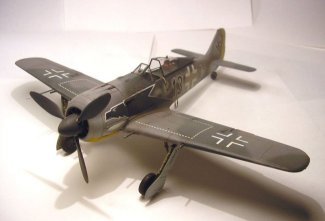
Weathering
was a big goal for me with this project as I had just recently finished watching
the Master Class Model Building Video by Floyd Werner Jr. Though I doubt
I’ll build any 1/32 Bf109’s anytime soon, the video was great for those of
us that learn by seeing others do, rather than reading how others do, if you get
my drift.
I
applied his various weathering methods such as pre-shading (most of which I lost
due to heavy handed airbrushing ), making exhaust stains, and also for applying
an oil wash of the panel lines of burnt umber over a flat coat which had me a
little twitchy, being a “wash-over-gloss” man myself. The results
surprised me! I may be a convert!
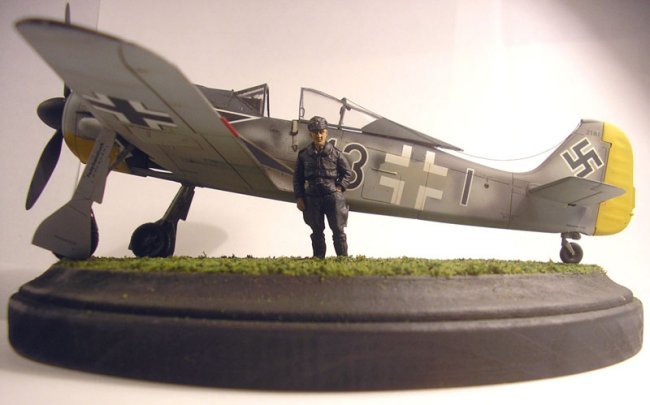
Lastly
I glued the PE nameplate and some RR green grass mix to a $.99 wooden
display/plaque from Michaels I had painted RLM66 and set the model on top.
The figure is from the Hasegawa 1/48 pilot set…
Overall
this was a pleasant building and detailing experience, I hope you enjoy the
photos as much as I enjoyed building the model…now go build something!
Alan
|
Click on
images below to see larger images
|
|
|
|

|
|