Construction
First,
I removed all major parts from the sprues and cleaned them up. That is removing
a bit of flash here and retouching a bothering ejector pin mark there.
Fortunately there weren’t too many “heres” and “theres” with this kit,
but then again you can always have it worse.
Construction
started with the cockpit, which shouldn’t surprise all of us who have built
more than one aircraft model. Even the Czechs stick to this rule. The cockpit
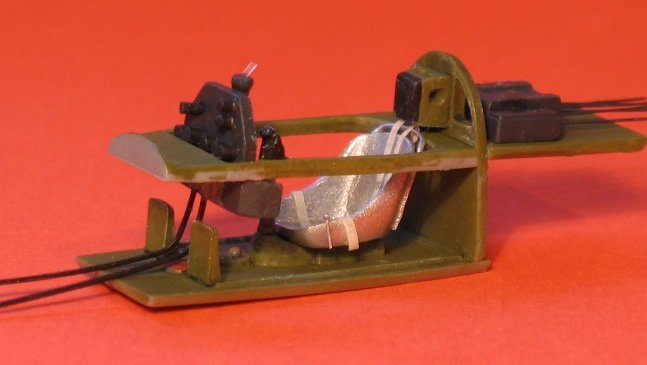
section has some nice detail, including structured side panels. However, I
decided to upgrade the seat accordingly to the photos that I had found in Air
Force Legends # 208 (see “References” below) which show also the added gun
sight to good effect.
Particularly
the radio compartment behind the pilot’s seat is very empty. As it is visible
through the small rear windows, some boxes and wiring were added to get a busier
look.
Please
do not open up the holes in the headrest as you see it in these pictures. This
perforated structure is probably not correct for the A-version of the Airacomet
and was only introduced with the B-models. Stupid me stuck to the “reference”
and didn’t read the accompanying text.
Not
much fuss about the colors. All interior like cockpit and wheel wells are
Interior Green (Model Air). Some washing and drybrushing highlights the detail.
|
Click on
images below to see larger images
|
 |

|
When
the cockpit was finished it was glued into one of the fuselage halves, together
with the nose gear well and some extra weight (tail sitter alarm – look at the
outline). During this procedure you should dryfit the second fuselage half again
and again as there are no location pins.
Both
halves fit quite well, but the canopy and the multi part air-intake to wing root
assembly can give you an unpleasant
headache. Mr Putty (or whoever you prefer) is your best friend for the coming
time. Especially the aligning of the canopy caused some mandatory breaks to get
my blood pressure down to an acceptable level. By the way, the masking of the
canopy was once again achieved with Parafilm-M.
Another
thing that I wanted to keep on a low level was the amount of sanding that would
have to be done around the seams. To do so I remembered a feature from the Tool’n’Tips
section of this valuable site. I took a Q-tip with some nail polish remover
(MUST contain acetone!) and removed the excess of filler without harming the
surface of the model. Read the whole “Filling without Sanding” article in
the Tool’n’Tips section.
The
assembling of the wings also turned out to be more time-consuming than I had
wished for. In fact this became quite the “wish-project”…wishful thinking.
Each wing consists of a lower and an upper half – no problems so far. But the
profile of the assembled wing does not fit to the molded-on wing-root at the
fuselage. And just “some more” filling won’t do the job here. Instead I
aligned the wing profile to that of the wing roots with small plastic inserts
made from sprue, which stretched the wing profile to get it closer to what was
needed at the molded-on roots. The remaining misalignment was ovecome with
filling and sanding. At this point I adapted the quoted Tool’n’Tips article
for another task. Some panel lines had to be rescribed at filled and sanded
areas. Not a simple thing as filler tends to crumble when you try to scribe it.
To avoid that, I moistened the filled areas with nail polish remover. The filler
gets a bit “solvent” again and you can rescibre the panel lines without any
trouble.
|
Click on
images below to see larger images
|
|
|
One
thing that I didn’t understand is why Special Hobby molded on the inner flaps
but supplied the outer ailerons as single parts. Looking through my references
you’ll notice that on the ground only the flaps can be seen in a lowered
position, if at all. The ailerons are always in the zero position. That’s also
how I glued them on my model.
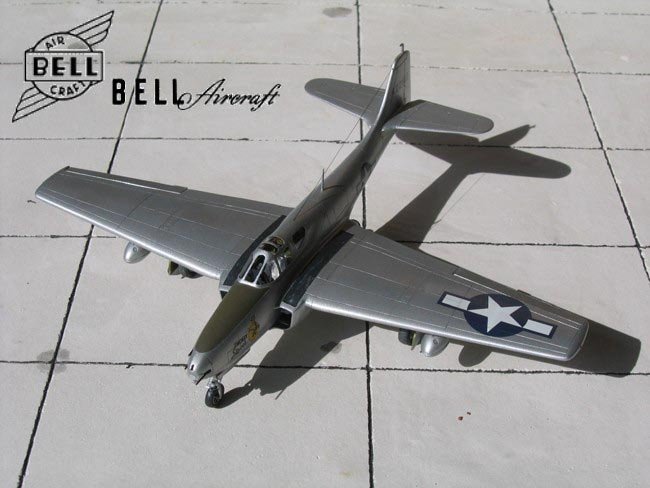
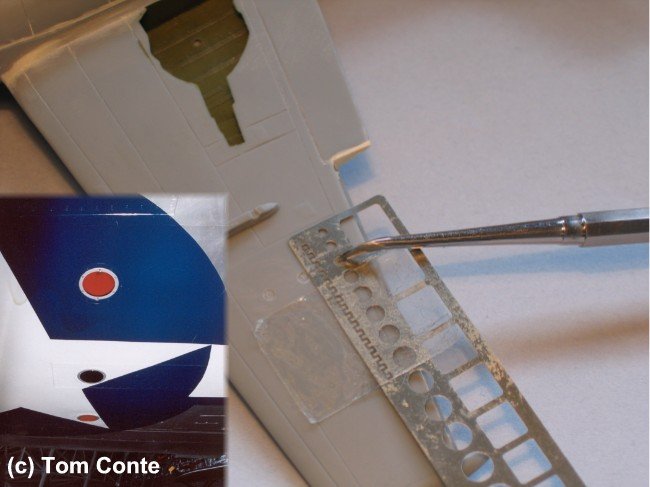
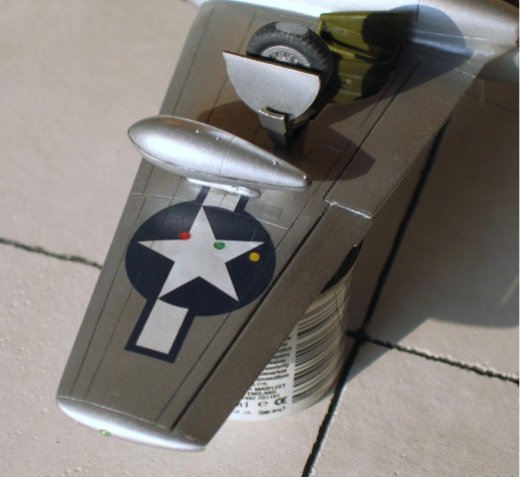
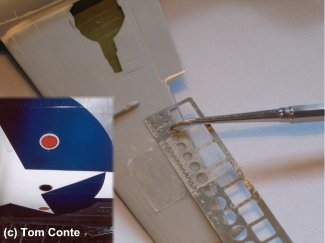
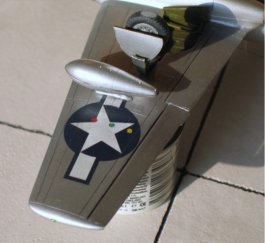
The
real thing had three ID-lights under the starboard wing. As Special Hobby keeps
quiet about these, you have to scratch them. I engraved three holes, using a
scribing template from Verlinden. Lateron the holes will be filled with the
appropriate color and some white glue on top, which simulates the glass. You
could also use decals to get the look of the ID-light. But that would be a bit
“superficial”.
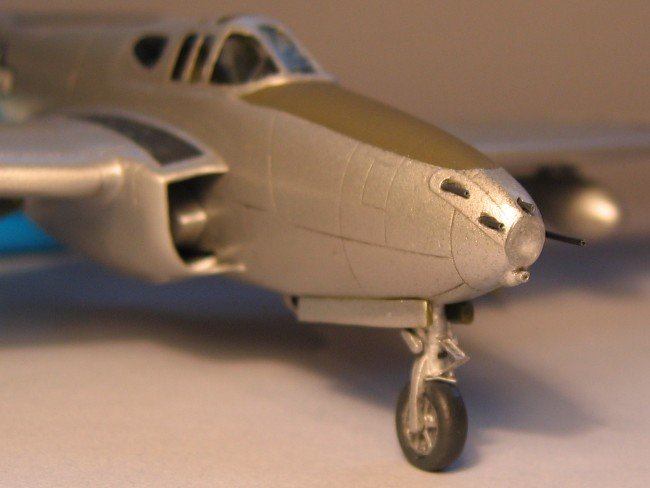
A
gun camera has to be added under the nose, made from scrap parts. The elevators’
fit was satisfactory and needed only small amounts of filler at the bottom side.
After that, the small Airacomet was ready to head for the paint job.
Painting
First,
the anti slip surface on the left and right of the cockpit was painted black and
masked. The same procedure for the anti-glare panel, however, this was painted
olive drab and not black, contrary to the instructions. Olive drab seems to be
the common color for anti-glare panels of that period. Additionally, black and
white pictures show that area in a slightly lighter shade than other markings,
which were definitely black.
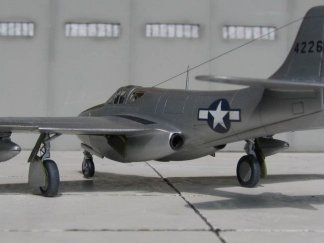
Next
I airbrushed some panels in a specially mixed metal color that differs a bit
from the overall painting, giving some contrasts to the finish. Admittedly, the
choice of panels was more artistic freedom than pure sticking to the references.
After
the main metal color had been applied (all Humbrol), the maskings of the
mentioned panels, of the anti-glare panel and of the anti slip surfaces were
removed in order to give the whole thing a coat of Erdal Glänzer (German
Future-like product) in preparation for the decals.
|
Click on
images below to see larger images
|
|
|
Decals
and Finish
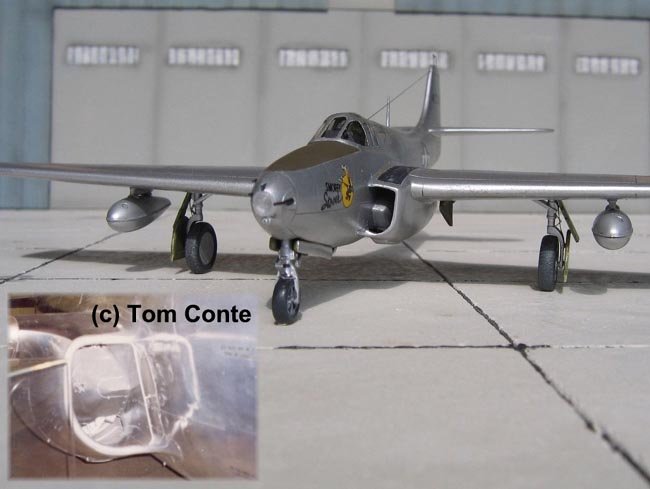
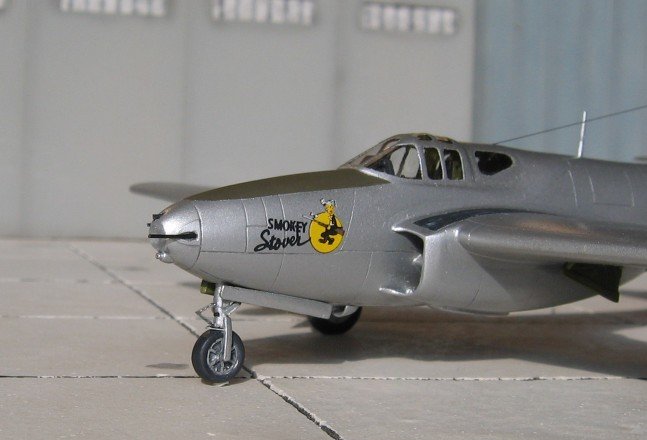
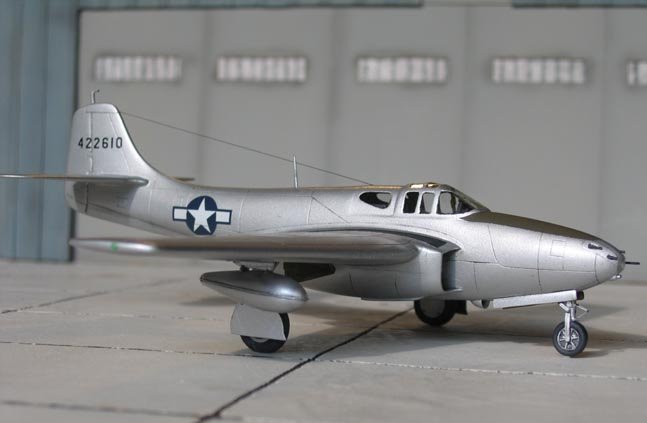
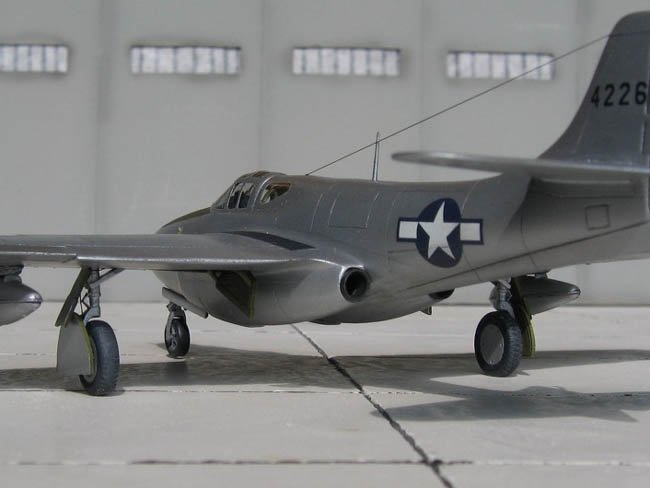
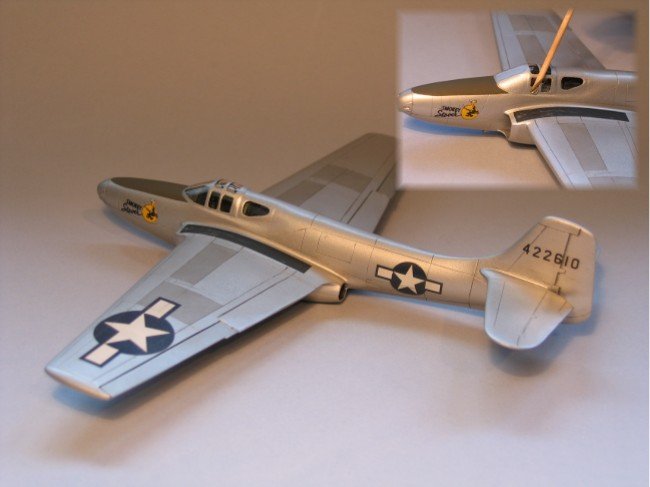
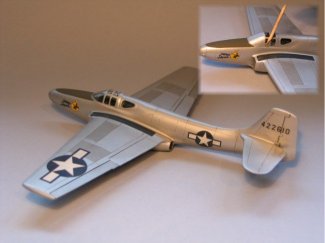
Only
seven decals suffice to turn the just painted but still anonymous Airacomet into
“Smokey Stover”. The second option that is provided with the kit is an
orange P-59B drone, named “Reluctant Robot”.
The
decals went on easily. I applied only a minimum of softener, as the decals are
quite thin and flexible. Another coat of Erdal Glänzer was applied onto the
decals to seal them for a washing with grey (black and white mixed…you won’t
find a tube of grey oil paint ;-) diluted oil paint. A coat of semi gloss clear
varnish was sprayed as a final sealing.
The
anti-glare panel and the anti slip surfaces received a flat coat, of course.
Additionally the latter were drybrushed with grey to produce the typical wear
and tear, especially at the front of the left side, as that’s where the pilot
climbed into the cockpit.
Final
Assembly
The
separate ailerons had already been installed before the decals and the final
finish had been applied. Now, as the painting was done, I demasked the canopy.
The main landing gear got some break lines from stretched sprue and the former
smooth tires were treated with an x-acto knife to create the missing profile,
which was then highlighted with grey drybrushing.
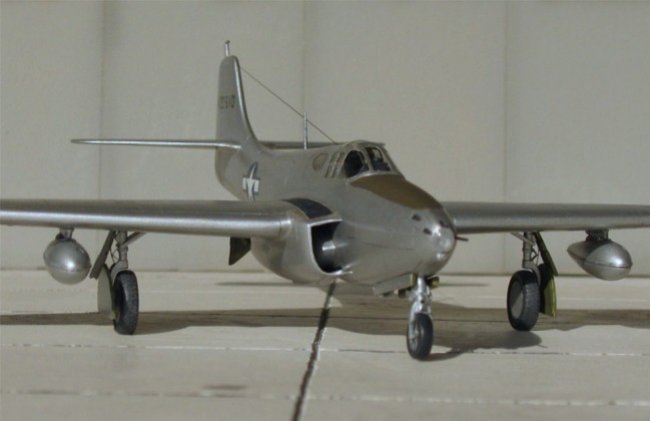
Unfortunately,
the retraction struts are too short or the location holes are incorrect. Apart
from that, I encountered no major problems in this area. The drop tanks fit
really well into the pylons.
For
the armament of three .50 MGs and one 37 mm gun I used Q-tips that you can
easily stretch over a candle to get every needed calibre. The landing light was
glued to the nose using white glue – the used clear part isn’t mentioned in
the instructions but you find it on the sprue. In the end, the wing tips got
their red and green position lights, again made from white glue that was painted
in the appropriate color after it had dried. On the real thing you’ll notice
that the cover is colored and not the bulb. The pitot tube on the vertical fin,
the rod antenna and the antenna wiring were the last things to attach.
|
Click on
images below to see larger images
|

|
|
Conclusion
The
only thing that I really don’t like with this model is the air intake. Thanks
to its construction layout, there is on the one hand an ugly step at the inside
that you can hardly fill or sand, and on the other hand you don’t have the
splitters that separate the intake from the fuselage. On the real thing, the
intake trunk is a separate unit and not only a plain mount to the fuselage. When
I noticed this mistake, it was unfortunately too late to correct it.
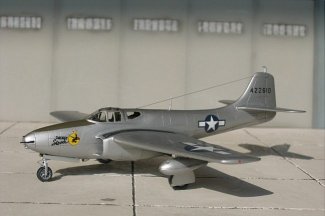
In
spite of all these quirks I’m pretty satisfied how the kit turned out. Special
Hobby offers a very good starting point for a 72nd Airacomet that is cheaper and
more trouble-free than what one could find up to this point. Being a short run
kit, it needs more attention and investigation than what most of us encounter
during day to day builds. But hey – if you want it, it’s worth it!
However,
I wouldn’t recommend this kit to any newbies as the pitfalls mentioned above
could cause enduring frustration…
References
-
P-59
Airacomet, Air Force Legends Number 208, by Steve Pace (Ginter Books)
-
P-59B
Airacomet, A Peregrine Photo Essay, by Steve Muth, ISBN 1-930432-03-8,
Peregrine Publishing (incomplete and in parts badly exposed walkaround,
ony as an add-on if you already have other reference)
-
Walkaround
by Tom Conte
Bernd
Thanks
to J.C. Bahr for revising this German to English translation.