|
After
World War 2, the spoils of Germany went to the victors. In the Czech Republic,
the Me-109 was still being built after the war but with Bomber engines. This
created the Avia S-199 which was used to some success by the new Czech airforce
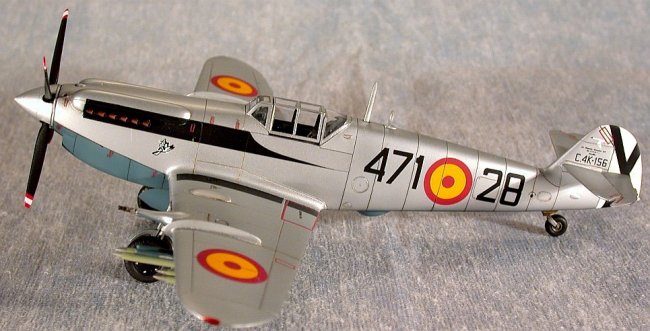
and more impressively, by the fledgling Israeli airforce. The HA-1112 airframe
is a Spanish-built version of the famous Messerschmitt Bf109G fighter. As no
German engines were available after 1945, early postwar versions of this
aircraft were powered by the Spanish Hispano-Suiza engine. Later versions used
the Rolls-Royce Merlin engine, although there were nine different Spanish
variants using either of the two engines. Production ceased in the spring of
1961. Many were sold into private hands and are still flying in the air show
circuit. Either version is beautiful to watch as it flies above you… The model
from Hobbycraft isn’t much different. It’s well molded, the decals are
passable (and usable) and value for money, it isn’t half bad…
|
Click on
images below to see larger images
|
|

|
 |
The
kit is molded in hard grey plastic and the detail is of the recessed variety.
Panel lines are graceful with no rivet detail except where absolutely necessary.
I added some here and there just to break up the flat surfaces but all in line
with photos of the real thing… Placement of the panel lines however are a bit
suspect but does not look odd. Since the airframe is based on the Bf109 G model,
the detail oriented person will find many things to scribe in that Hobbycraft
left out – Good for you! I think it looked fine as it stood.
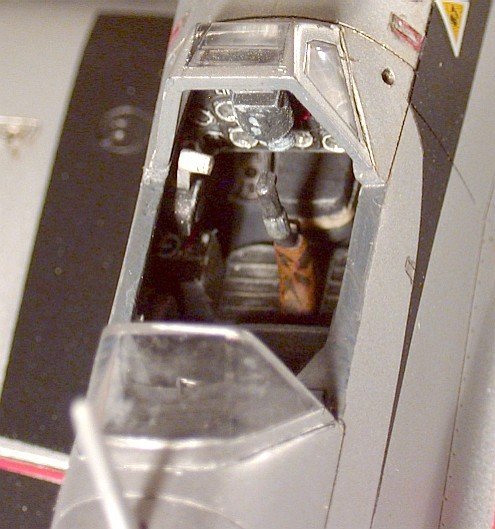
Assembly
starts with the head office and this is just a step above basic… You get a
floorboard, a seat pan, stick, rudder peddles, instrument panel and something
that kind of looks like the cannon box. The Ha-1112 didn’t have a prop-mounted
cannon so this must be a mistake. Steps 2 and three assemble the wings and the
sidewalls of the cockpit (which doesn’t have ANY colour information!) with my
only addition to the assembly of a beefed up gunsight, seat belts from Lion’s
Roar and a throttle on the left side of the cockpit. Remember to open up the
holes for the rocket rails, the wheel well extensions and the wing fences.
Thankfully, the exhausts can be painted and added at the end so no worries
there.
Step
three has you putting the assemblies together and gluing on the fiddly bits. I
was very happy to see that the wing to fuselage joint was a good one all the way
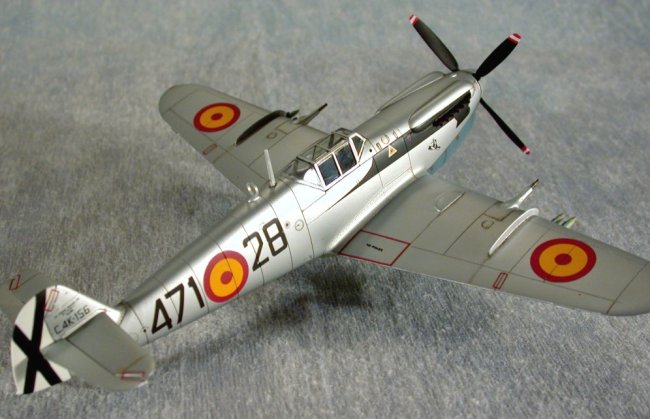
around. To add some visual interest, I separated the tail surfaces and glued
them in at a gentle angle, just enough to break up the straight lines. I found
that gluing and wet sanding the wing fences was a trying experience as I kept
breaking them! The gear wheel wells are devoid of any detail so I scribed some
strengthening beams and added some rivet detail to spice it up… Easy to do and
adds soooo much to the end result! The wheels and gear themselves are decent and
only require some gentle sanding to bring up to snuff.
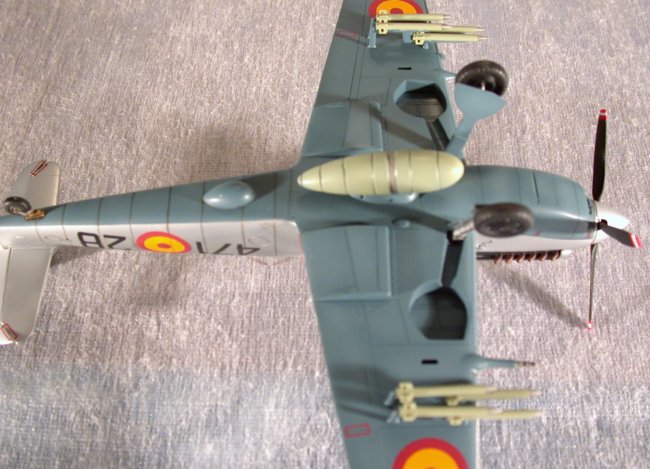
The
last steps add the missiles and rails, the landing gear, aerials,
Propeller/spinner and what looks like a small radar hump under the fuselage. I
saw to pictures with conflicting information as to whether or not this was
unpainted, painted or painted black. I painted it in the under-fuselage color.
About the rockets, After some internet digging, I found pictures of a preserved
Ha-1112 and the wings of the rockets have holes through them! This means
drilling out holes in the rocket fins if you want them to look accurate. As well
as a mast antenna on the fuselage spine, I also found that some had a DF loop
antenna as well… Check your references, your mileage may vary.
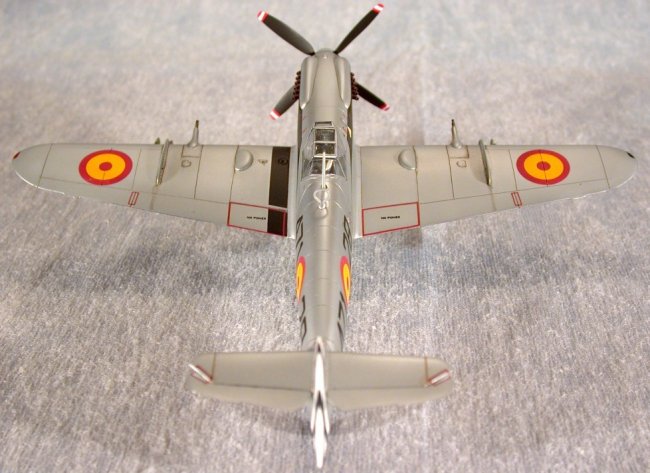
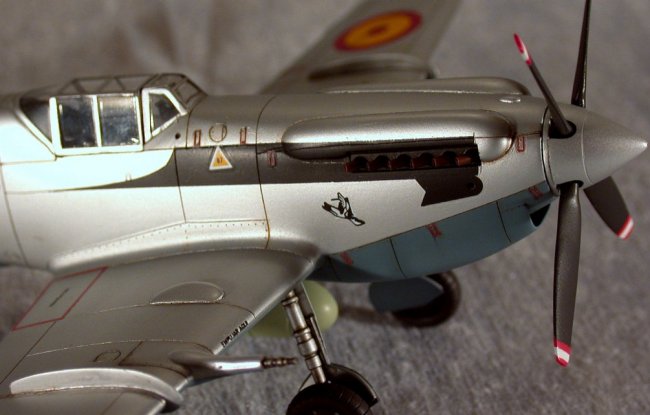
Paint
was with Alclad White Aluminum with the tail, walkway and exhaust stain covers
painted in black. The underside was done in British PR blue which looked very
close to the blue used on the silver birds. Panel lines were delicately picked
out with a black acrylic wash with the drop tank and rockets done in RLM02 Grau.
All decals were from Hobbycraft and went on well with a dash of Microsol to
snuggle them down into the panel lines. This might sound Blasphemous but my
final clear coat was in semi-matt Testors acrylic… This makes for a very
convincing “Speed silver aluminum” paint finish.
Wow.
This is a German bird with a pedigree British engine… Best of both worlds if
you ask me! If you don’t like silver, the Ha-1112 comes in a light camo, a
dark blue and if you’re a movie buff, you can do it up as a German bird and
add fictitious marking to simulate a “battle of Brittan” aircraft. I bought
mine for less that $20 Canadian so value for your dollar is superb. Should you
be so inclined, there are etched sets available to spruce up the cockpit and
with a little work, you can modify almost any resin set for the Bf109G for this
model but why? This bird looks great as it comes.
Hank
|
Click on
images below to see larger images
|
|

|
|
|
|
|