|
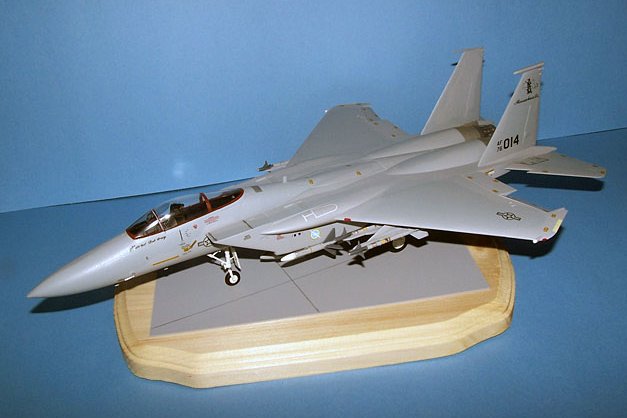
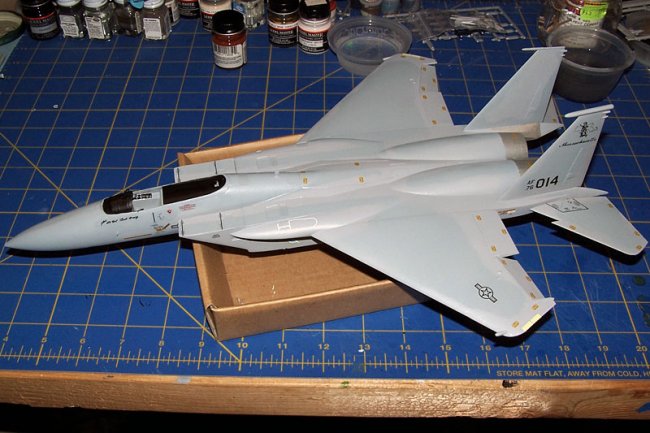
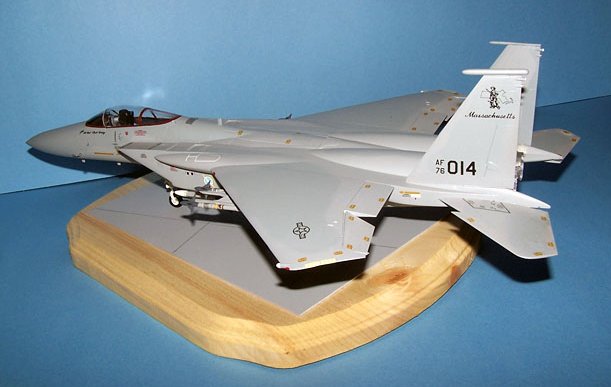
Here is my Massachusetts
ANG 102 FIW F-15A using the Bare Metal decals for the ghost grey scheme, and
though I missed the deadline, it was built as part of the ARC F-15 Group Build.
It will be a departure for me as all of my MA ANG F-15s have been the MOD Eagle.
It will ultimately end up as part of a historical collection to be presented to
the 102nd FW.
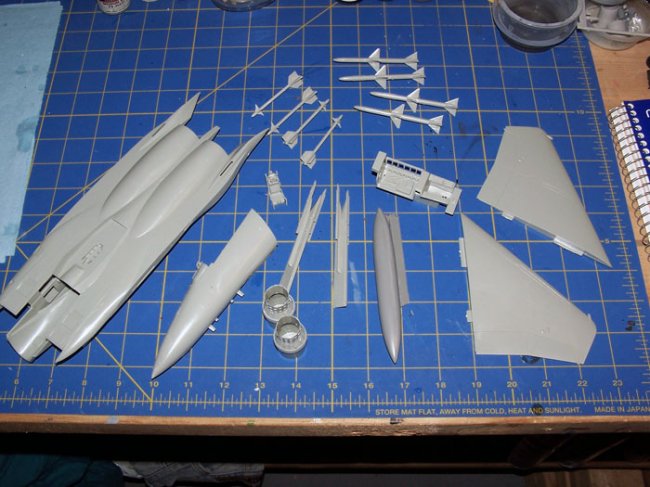
I used the
(gasp) Academy F-15 kit. Though it does have some shape (engine bulges on top of
the fuselage are much too proud) and a few fit issues, and some guys equate
building it to kissing your own sister, the price I have gotten them at
justifies it. Besides, I have built 3 of them for F-15 pilots and none of them
seemed to mind nor get worked up over an animate object. The model would be
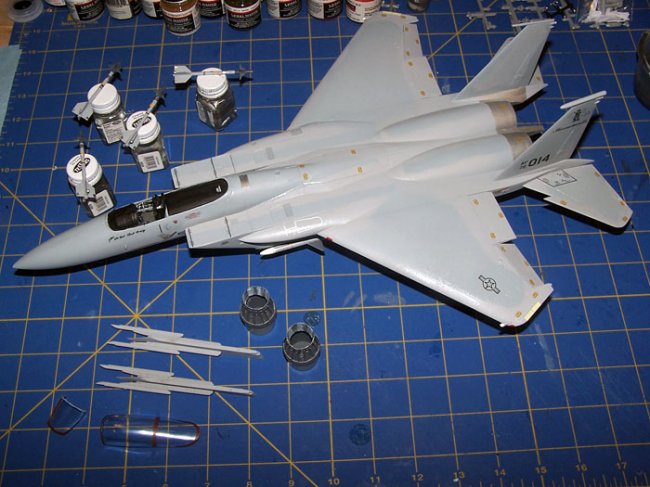
fitted with one tank, 4 AIM-9 Sidewinders and 2 AIM-7 Sparrows.
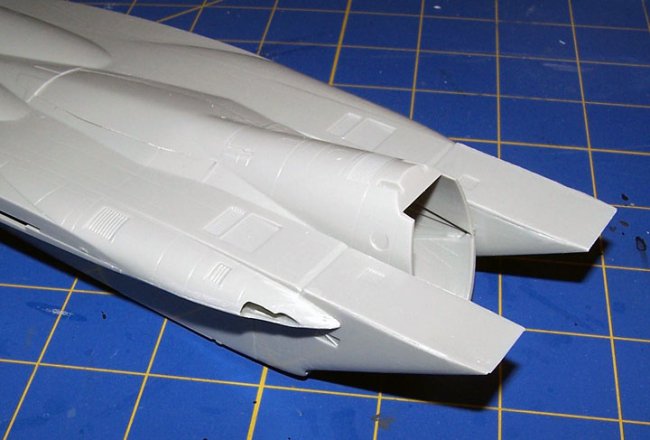
A Monogram tank and
pylon was robbed as I had used the this kits tank for a prior project. This
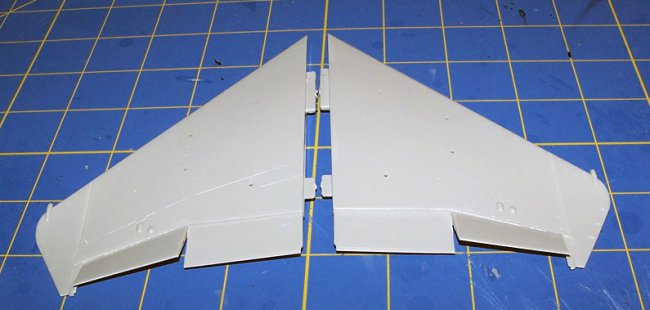
is the first time I have repositioned ailerons on a model. I simply used the
backside of my Xacto blade (held at a high angle) and kept scoring the lines for
it. The blade was a bit dull so that actually helped as a sharp one could easily
catch the side plastic and make a new groove. It took me no more than 5 minutes
or so to remove them. They need a bit of cleanup still, but I am happy with
them.
Click on
images below to see larger images
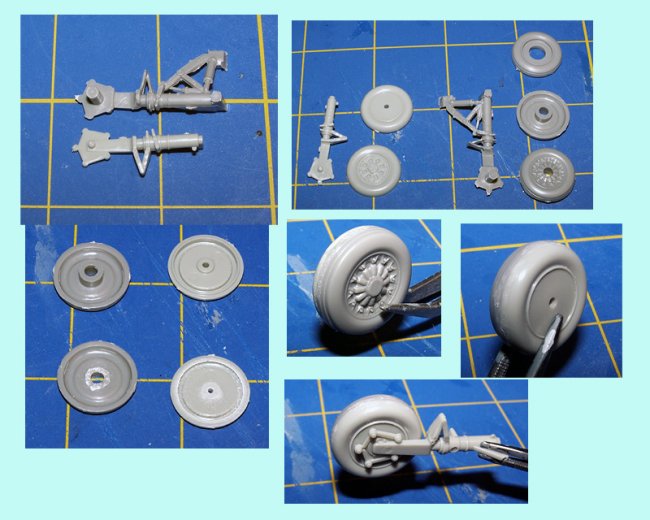
Seeing this is an
earlier F-15A, I needed to add A-style wheels using the Monogram A kit. Looking
at the gear legs, the Monogram is on the top and Academy on the bottom. Not only
are the attachment stubs for the wheels much different, they are very different
in size and bulkiness.
The wheels are also considerably different in how they attach. The backside of
the Monogram wheel has a huge opening for the leg stub. Also, the Monogram
wheels have tread, and Academy does not.
So I was trying to decide which way to go....use the entire Monogram leg/wheel
combo, and try to fit it into the fuselage (which fit fine), BUT, with its added
length, I was afraid it would make the nose of the model sit too low, and back
too high (aka pimp my F-15). I decided to mate the front of the Monogram wheel
with the back of the Academy and use the supplied gear leg.
I had to remove the large tube like portion, as you can see in the bottom left
pic, to mate with the Academy back half. The Academy half needed a slight bit of
sanding as well. I snipped one of the Monogram gear stubs to insert into the
hole in the center of the Monogram wheel half.
The finished product can be seen and temporarily attached to the gear leg. The
wheels needed a bit of sanding around the circumference, but I was happy
with it. I also drilled a small hole in the bottom of each wheel and inserted a
snipped piece of a paper clip, which was superglued, to make a small
stub. When completed, this would be inserted into a small hole on its display
base to help keep it from sliding off the base if it was handled.
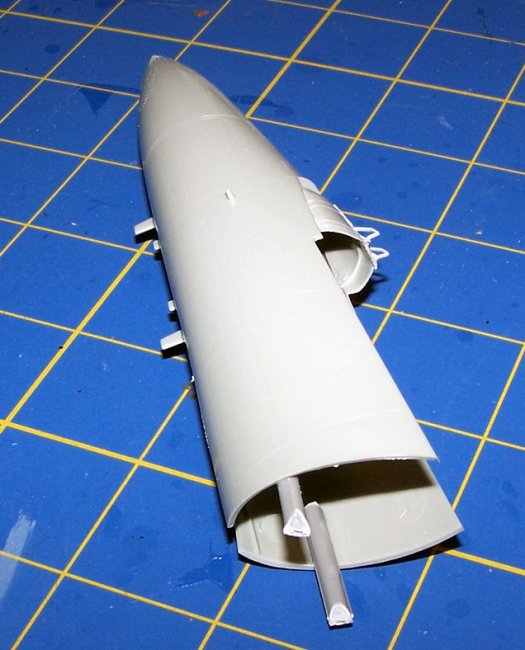
The fuselage
pieces...the front piece doesn't have much to mate with, so I always add some
sprue supports. I temporarily insert the cockpit assembly so I know where to
place the sprue.
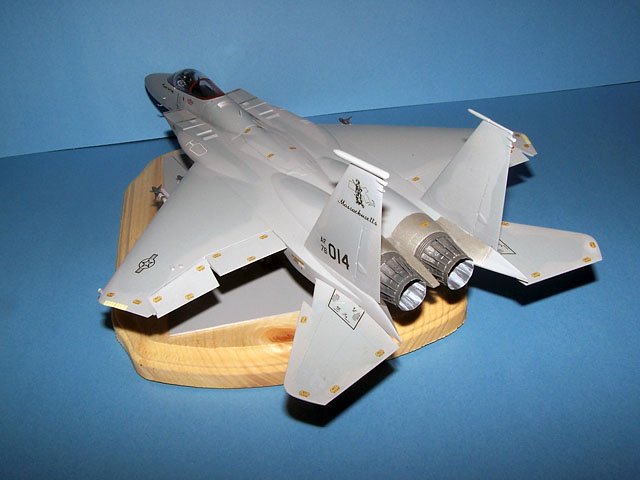
The back portion is where I add the weight to keep it from being a tailsitter. I
use lead fishing weights that are epoxied in. I prefer adding the weigh to this
portion of the model as the front portion won't have the extra weight directly
on the nose gear. The lighting and reflections makes the fuselage look strange,
as if there is goop or cuts on the back part of it.
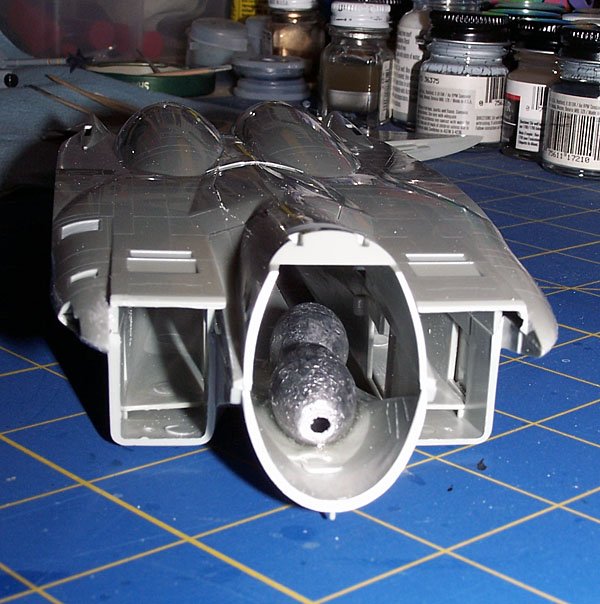
I also add the
intakes to the back portion before attaching the front - makes it easier to
wrestle with them.
Click on
images below to see larger images
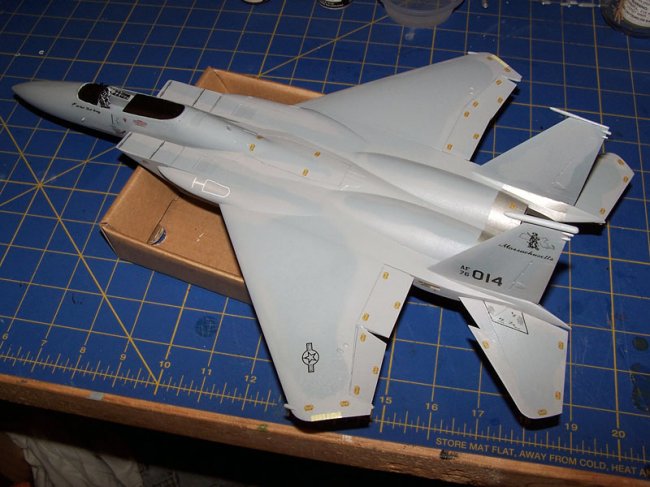
Painting - the earlier F-15s wore
the ghost grey camo. Many times it was hard to see where the demarcation lines
were, and that is what I was striving for. I used paper masks cut from a line
drawing of the pattern.
I used the bare Metal decals for
the markings, and the kit ones for all the stenciling.
The red trim around the canopy is
Testors Rust.
Click on
images below to see larger images
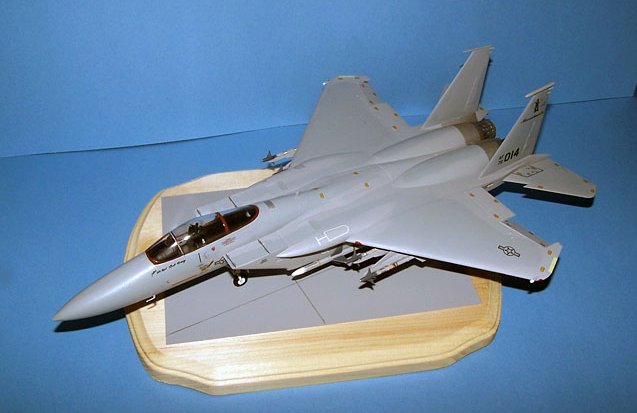
I made a simple base with a
wooden plaque, and painted a section of .040 styrene sheet, and drew a few lines
on it with a pencil and ruler. I attached it with 5-minute epoxy.
Click on
images below to see larger images
Thanks for looking.
Ken
|