|
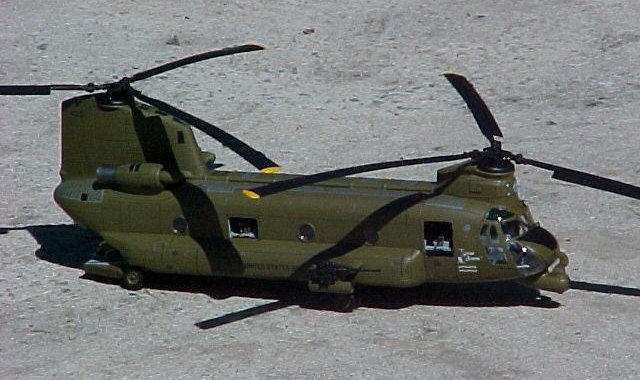
After months of trying to find
the ACH-47 Gunship, I final got hold of one and the kit is very well done
apart from the few points listed in this article.
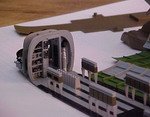
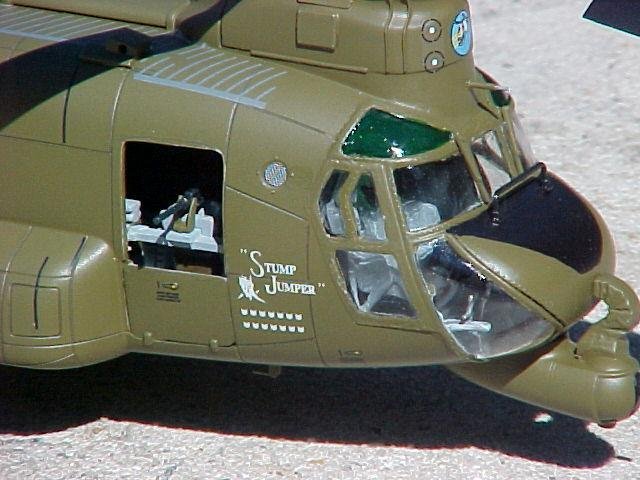
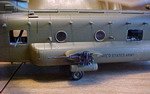
First starting work on the interior the
main colours for the cargo and flight deck are correct. For the grey,
I used
Ghost Grey (375) and Green Zincromate. The bulk head behind pilots seats is
Grey and not Olive Drab as suggested on the instructions. After painting
the areas as in the photos, I then worked on the flight deck. I removed the
locating pins from the bottom of pilots seat supports and filled in the
holes on the flight deck. If the seats are fitted the way the
instructions suggest, it sets the seats at the wrong angle, but removed the
locating pins from the seats permits you to position the seats at the correct angle.
Also, the pilot seats are
in the wrong order the left hand one should go on the right and vise versa
for the one on the left as the top of the armour plate should be on the
outside. Also armour plate is only fitted to the left hand side outside
the helo not on the right.
Click on
images below to see larger images
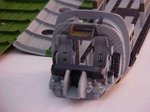
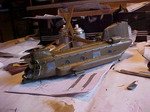
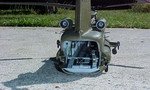
The main cargo floor and walls
fit together very nicely with no problems. When putting the gun mounts in,
they are too wide, they need to be sanded down to half the size that
they are and then fitted.
Rear cargo ram has the insert cut out and
filled with plastic card as the tail gunner stayed in that position for
comfort.
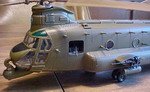
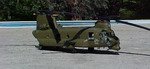
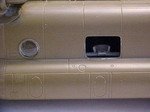
On the main body, the instructions show two
mounts on either side if the crankshaft housing front these were only used for
experimental purpose and the only one chinook went to Vietnam with these
fitted, but were soon removed once in country.
Blades were dropped by just bending by hand
sprayed with Flo Quil engine Black.
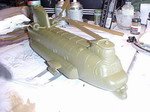
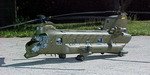
Painting the model was very easy and clean after
masking it all off it was sprayed with Testors Olive Drab once dried a coat of
Model Masters Dull Coat once this was dried a coat of Model Masters Gloss spray
for decal application.
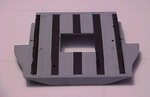
Decals go on very nice one point the Walk ways
are in grey. In actual fact they should have been Black all over the
helo.
Once decals dried using Solovset Model again was
sprayed with Dull Coat to tone it down again.
One last point, the locating pins for most of the
model need to be enlarged as they are to small for parts to fit into. Also very
little filler used
I think Italeri done a superb job on this
helicopter and I would highly recommend this kit to any one well worth the money
and the time and effort building it. Its a joy
My special Thanks go out to Frank White and Jim
Ketcham. GUNS A GOGO. For there kind help and suggestions on putting me right in
making this kit.
Charles
Click on
images below to see larger images
|