|
The
moulds for this kit date back to the 60's, so not too much detail can be
expected. However the engine is quite good - it is in fact the best engine
of all Testor airracer kits. And it is the one radial engine which can be
seen hardest after finishing the kit...
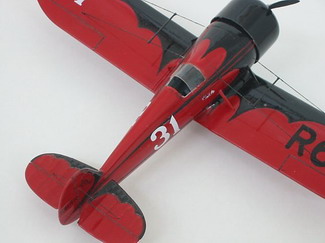
I scratchbuilt a cockpit (I had no reference so I had a
guess - not much can be seen through the small cockpit opening anyway) and
added a vacuformed windshield.
Click on
images below to see larger images
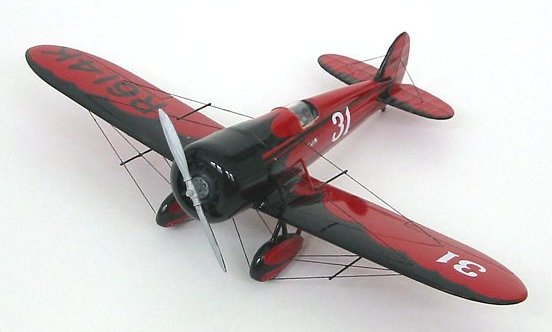
Some rigging with fishing line added additional detail.
I use the following
easy and quick method for rigging:
I drilled small holes into wings, fuselage and wherever
the rigging was to be installed. I started the rigging from the inside of
the fuselage with a long piece of fishingline - the end which will stay in
the fuselage got a knot, so it will fix itself at the drilled hole. A drop
of superglue secured it additionally. Now I guided the line through all
other holes (wing, landing gear) and back inside the fuselage (I left the
engine off until the rigging was finished so I could access the fuselage
for fixing the rigging through the front). I attached a small weight to
this end of the fishing line to pull it tight and added a drop of
superglue to all holes. This is now at least a year ago and the rigging is
still tight.
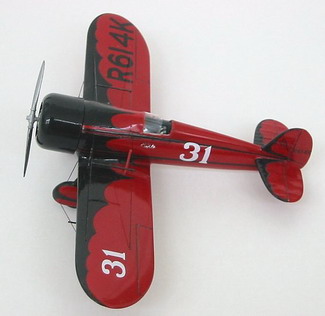
The red paint is from a Revell spraycan and needs
several days to dry - I can hardly recommend Revell spraycans but they are
easy to get h ere in Germany.
The gloss black colour is also from Revell
and was simply brushed on, because I was too lazy to mask all the lines
for airbrushing. The Revell gloss black is quite easy to paint with a
brush as this colour too takes rather long to dry.
René
|