|
This
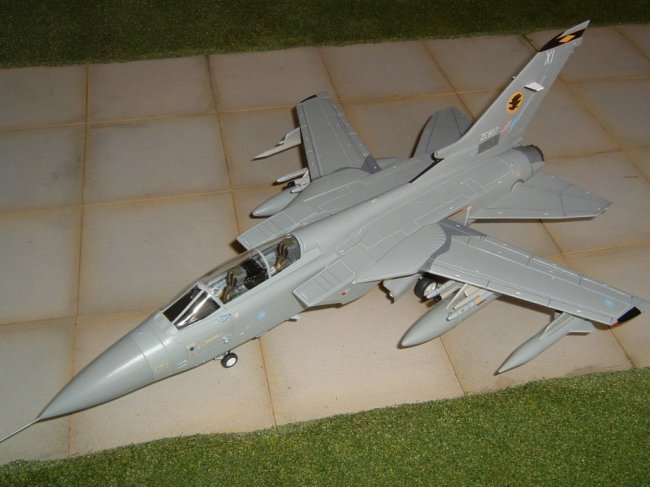
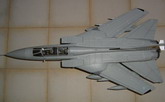
is my model of the 1/48 Airfix Tornado F-3
I
believe that Airfix had originally intended the kit to be a Tornado F-2,
but this project was never finished. Only later, when the upper fuselage part
was finally re-tooled did the kit become the Tornado F-3. This kit has
raised panel lines throughout, except for the upper fuselage – and for
some reason this part was tooled with engraved panel lines. Another
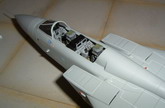
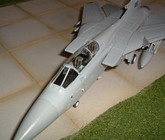
failing of the kit is that the cockpit is the same as the one in the GR-1
kit and thus it is nothing like the layout required for an F-3. On the
plus side, the kit has a large and comprehensive decal sheet and a number
of weapon and fuel tank options.
As
it's not the right layout for the F-3, I scratch built nearly the whole
tub from styrene sheet, tubing and copper wire. I replaced the kit
ejection seats with some Aeroclub white metal and photo-etch replacements.
Due
to the miss-matched panel lines, I decided to re-scribe the wings, tail
and vertical fin; these were then assembled. The horizontally split
fuselage didn't want to align properly, so I made up some long tabs to
force the fuselage halves into position and, after installing the tub,
nose weight and swing wings I used CA and accelerator to fix the fuselage
halves together: this filled any gaps and sped up the joining process.
When the fuselage joint had been filled and sanded smooth, I re-scribed the
remainder of the fuselage so that both upper and lower parts matched.
The
air intakes were also a bit of an issue as they didn't really want to fit;
these were encouraged into place with lots of attention from files and
sanding sticks.
Click on
images below to see larger images
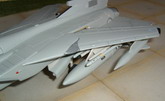
I’d
heard from others who had built this kit that the landing gear was a bit
on the flimsy side, so I replaced the struts with Aeroclub white metal
parts whilst retaining the kit's wheels.
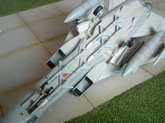
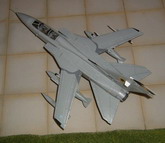
I
assembled the fuel tanks, wing pylons and missiles; as I wanted to be able
to swing the wings and swivel the pylons, I replaced the plastic pivot
points on the pylons with brass rods to make them more durable and to
ensure a good solid fit in to the wing.
The
Tornado was then primed with Halfords grey primer and lightly rubbed down.
I then airbrushed Humbrol #166 Light Aircraft Grey on to the lower
fuselage and wings and after masking, sprayed Humbrol #167 RAF Barley Grey
on to the upper surfaces, vertical fin and fuel tanks. The nose was masked
of and sprayed Humbrol #165 Medium Sea Grey.
Before
applying the decals, I gave the Tornado a coat of Klear (Future) and allowed it
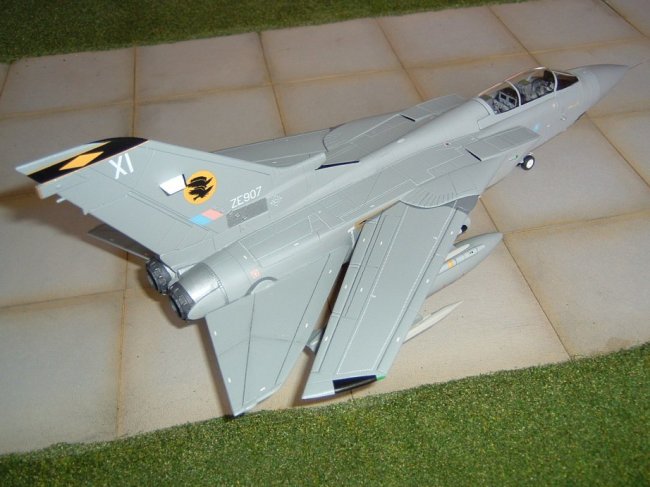
to completely dry. The kit's decal sheet is quite comprehensive and covers
three
squadron options, I decided to do my Tornado in No. 11 Squadron markings. I did
have some issues with the decals as a number of them broke up during application,
but fortunately I had a spare decal sheet for this kit that had been donated to
me, this made up for the ones I’d lost. After the decals had been applied, I
gave the Tornado another coat of Klear to seal them in and then I applied a
couple of mist coats of Humbrol Matt Cote to give me the finish I needed.
Weathering
was done with some dark washes for the landing gear bays and a fine 0.3mm pencil
for other areas.
Enjoy.
Karl
Click on
images below to see larger images
|