|
In the
Beginning...
The P-51 was one of the most popular topics between modellers and
manufacturers. It was widely used in Europe, Mediterranean and Pacific theatre,
massive numbers of them were built.
The Kit
The kit is the P-51C by Academy, which has a “common”
P-51B/C body
and wings, separate tail section, in this case, they provide one tail with
vertical fin and RF antenna for CBI theatre. It includes three decals:
Nationalist China AF and 311FG in China, one 15AF in Italy respectively. Note
that the 15AF one is a late P-51B. For payload, it has two types of drop tanks,
4.5”rockets and 500lb bombs.
Assembly
For building this kit, I started with the cockpit as usual, and it
was improved with Eduard photo-etch to give it more detail. The overall
fit was quite good, even the tail section and body section are separated. For the rest parts, like wing, wheels …etc also not too
much special attention was needed, quite straight forward and enjoyable indeed.
I just needed to decide
which version to build and select the correct parts mentioned in the
instructions.
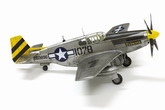
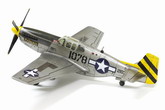
Click on
images below to see larger images
Painting and Decaling
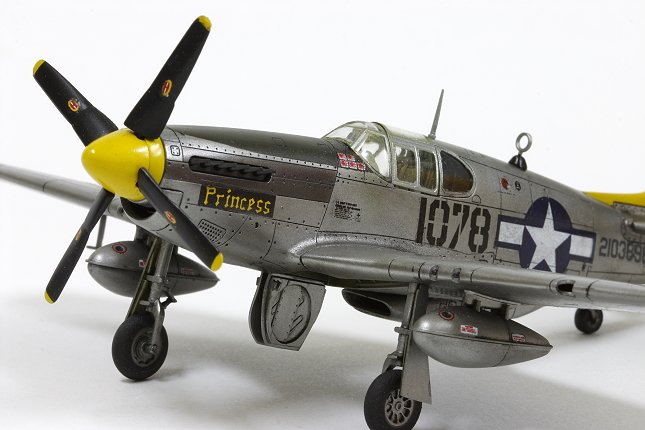
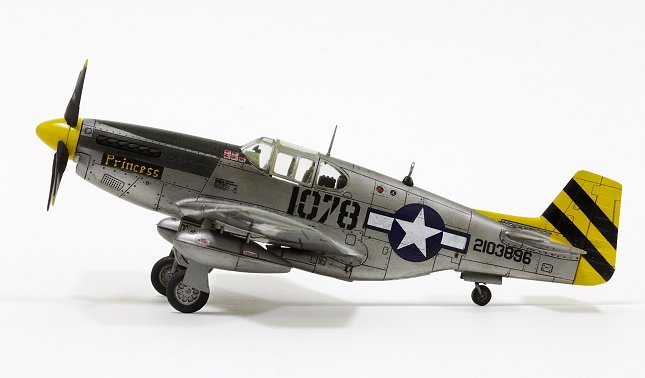
I chose the decal on the box art,
the “Princess” in 311FG, China 1945. First, I painted the yellow tail.
After that, I masked the tail yellow parts and painted the whole plane with black.
Next, masked the black two bars on the tail with masking tape and over the whole
plane with silver spray. At the end, I painted the rest of the parts, like wheels, wheel
bays, the anti-glare olive green at the top of the plane. I added some black to
sliver to paint the exhaust pipe and gun bay cover, sadly over done this time.
Up to now, I still felt enjoyment,
but sadly only until now. The decals definitely the worst in the kit, even
though I only needed
to apply few of them. Basically, this was not achieved and they were brittle, which made
it impossible for them to stay on the surface, even decal solver did not help, I dilute the
envelope glue with water as decal glue, this worked. At the end, I applied
a layer of gloss finish and wash the panel lines with black enamel. I skipped
the weathering to keep the plane shining.
Last but not least
Thanks my
friend Alex for the
kit, he did not know why there was a plane kit inside a AFV kit from auction bid,
Haha. Also thanks for advice and comments from ARC experts. :)
Eddie
|
|