|
How
to make a correct
Nam-era
NC
/AC
123K.
The
kit: Mach 2 C 123, costs appr. €
45,- ( in NL)
The
Mach kit is the only kit available to build a NC/AC 123K. Unfortunately
it is not worth the amount of money as it
lacks lot of details, bad fitting parts and the construction sheet is very very
poor. But ok, I sincerely wanted to build this impressive ‘Creep’ and
this kit provides the NC/AC nose cone and chin sensor.
Building.
Starting
with the cockpit you have to be sure it will fit in the fuselage halves, so prefitting
here is essential.
The
windshield/cockpit housing is of thick ‘glass’, I sanded it and polished it
with car cleaner and wax thoroughly to make it thinner but it remains a bad transparency. Make 12 square holes for the cluster bombs in the
bottom. The fuselage halves don’t fit at all. I made reinforcements with
plasticard inside the halves to force a better fit. And I needed half a tube
of Tamiya putty to make
it optical smooth. After the two body halves are together you have
to position the windshield/cockpit housing. You will discover that the
windshield touches the dashboard, so start sanding until there is enough space
for a free fit. I drilled the two side windows out
of
the windshield/cockpit housing as seen on pictures when the plane is
static. Prefit and sanding the cockpit housing until the attachment with
the body and nose is smooth. Now you can glue it to the body and using
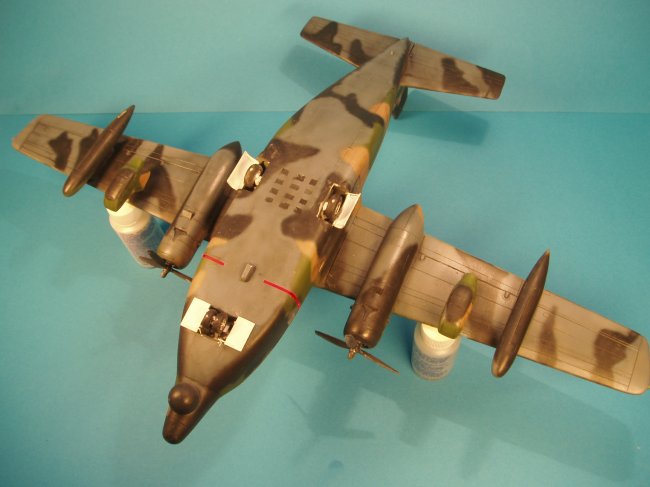
putty for a smooth attachment to the body. The landing gear is another
problem.
As
the AC 123 has a deep sit, be sure to lower it’s position. Appr. 7 mm between
body and ground level. Don’t use the pre fits of the kit, make your own
fit for the main and nose landing gear. I reinforced the attachments of the
landing gears as you can’t see them anyway. I also made my own main
landing gear doors of plastic card as the originals look like armor
plates. The hydraulic struts I made of stretched sprue.
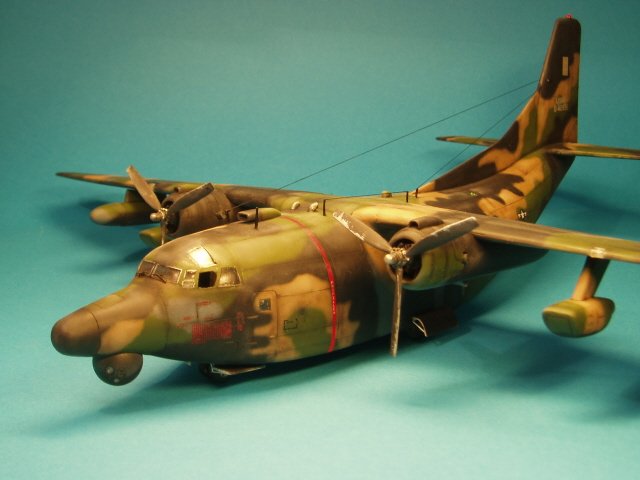
There
is no info about the antenna wire, (for a correct positioning see my photo’s)
.
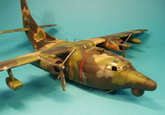
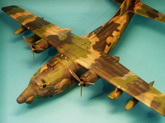
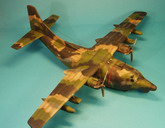
Click on
images below to see larger images
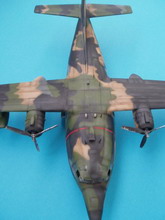
Painting
As
recourse I had the Sq/Si book C 123 in action, a helpful medium but tough I
missed essential info and the ARC site with the walk around pics of the C
123. Only the exact painting of the fuselage is unknown, I couldn't find any
pics so I speculated it with a grey scheme.
For
the color scheme I used Humbrol colors:
Matt
Medium Green 117 FS34102
Matt
Tan 119 FS30219
Matt
Grey 144 FS35164
Matt
Black 33 FS37038
After
I finished the airbrushing I spayed two layers of ‘Pledge coating for wooden
floors’ aka
in the
US
as
“Future”. After
two days drying, I washed the a/c with black and dark brown heavily diluted
enamel paint. After drying I airbrushed the a/c with transparent
matt. I weathered with black, brown, grey and white pastel. I
repeated the sessions above for some areas several times to achieve the
correct result.
Aircraft
in SEA were suffering from the temperature (40C) and humidity (80%)! So even
after short duty the planes looked weathered; dark colors became lighter. (see
my photo’s) especial the horizontal and engine area parts.
Decals
The
decal sheet is poor but acceptable, you only can’t use the roundels: far to
large. Check your spares box for smaller ones from a F-5 or F-104. (remark: Seen
pictures of these a/c without star roundels so it is not a must)
Resume
This
kit is definitely not for starters. You will need modelling experience and
patience to make this kit in a realistic NC/AC 123K. It needs a lot of prefitting,
sanding and putty. Due to the complex camouflage scheme you have to have
the skill to achieve this special ‘creepy’ scheme. I did it free hand and it
costs a lot of concentrating and corrections of course. After all I was
satisfied with my creation as it is such a beautiful impressive aircraft.
In
December 2007, this model of mine was the winner at the "modeling
Madness site" Vietnam contest. As I got a lot of positive reactions I
decided to put it on ARC. Think it's the best way to reach as many Nam
modelers as possible and give them some help to build this awesome aircraft.
Jan
The
Netherlands
|