|
Ever since I was a kid, I assembled
tens of F-14 and F-15 in 1/144 scale (LS from Japan if I remember correctly).
I
particularly like the Tomcat because of its swept wings, kind of fun to have the
wings rotate forward and backward. Then, as I got older, the scale got larger,
1/72 at 14, and 1/48 at 17. At that time, it was just a dream to have one in 1/32
because it was so expensive to a kid. I could easily recall how happy I was at
17, taking that large Tamiya box from the shelf high up in the model shop.
Opening the box... wooowwwooo....... I said to myself that some day I would have
my hands on this one. And then 10 years passed...........I have the old Tamiya
version, 10 more years passed........ got a better hand, I have the Tamiya 1994
version, Teknics' cockpit and airframe conversions for a D-model. I didn't want
an A but a B or D. Seeing you guys' good work on ARC created a kind of
resistance for me to start the work. Panel line re-inscribe, engine mount
replacement, .......... it sounds so difficult. Then a day I packed with enough
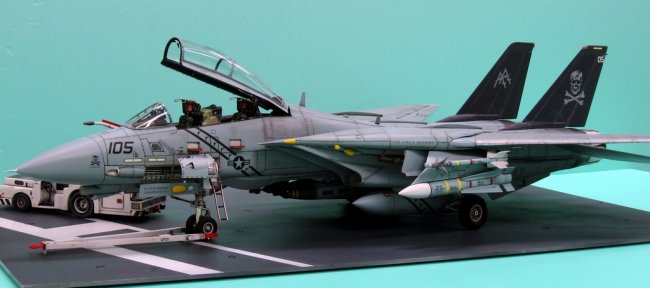
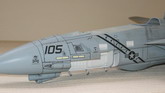
research and courage, I started working on this one, making it a B model in
VF-103 marking.
Here is a list of what I have
added on :
(1) Black Box F-14A Tomcat
cockpit set (CS32013)
(2) Teknics F-14D Tomcat/Bombcat
Cockpit Superset (TK32012)
(3) Teknics F-14D Tomcat/Bombcat
Exterior Conversion Set (TK32011)
(4) Eduard F-14 seat detail set
MK GRU 7A (32502)
(5) Eduard F-14 Tomcat - exterior
(32049)
(6) Eduard Mask F-14A Tomcat
(JX030)
(7) Zotz VF-103 F-14B Tomcat
decal sheet (ZTZ/32014)
(8) Crossdelta The Last Days of
VF-84 "Jolly Rogers" (1994) decal sheet
It is well known that Tamiya F-14 is
kind of sub-standard. Making one is like having a nightmare. There are many many
wonderful articles in ARC on this model. So I will only talk about some
things I
think are a bit special.
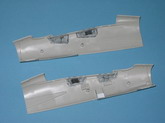
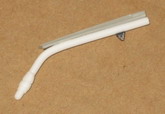
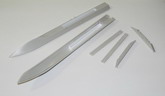
First, replacing the engine mount.
I
used the Tamiya Craft Knife (C shape) to cut the kit moulding. Using this tool
ensured a clean and straight cut which was essential to reduce the filling and
sanding work after mounting the new Teknics engine mount.
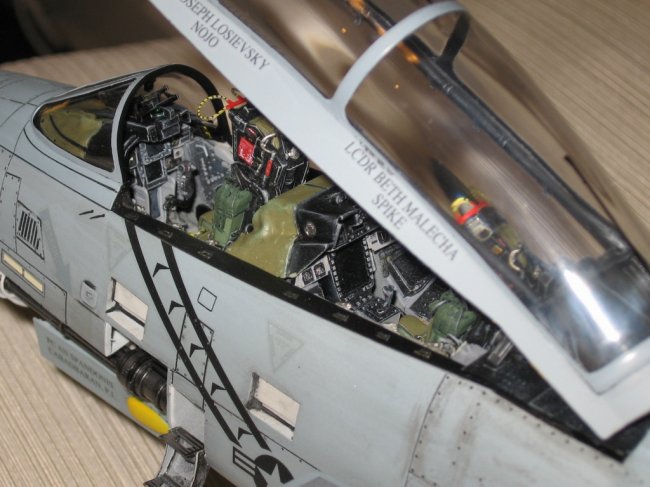
For the office, I used the BlackBox
F-14A cockpit set, with modification. Fitting the BlackBox set into the kits
forward fuselage was not too much of a problem. I cut steps on the bottom of the
resin tub so it fit the forward gear bay assembly. The forward and rear tubs
are separated by a gap of several millimeters. Do your measurement with the
canopy for the proper positions of the tubs and side walls.
Click on
images below to see larger images
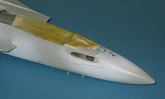
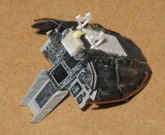
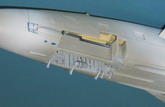
I opened the
inflight refueling bay and scratch built everything with styrene bars and sheets.
The result looked good.
Click on
images below to see larger images
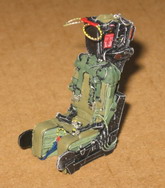
I used the seats supplied with
the BlackBox set. They are the old seats with the ejection handles on top.
Adding the Eduard set would enlightened the appearence very much.
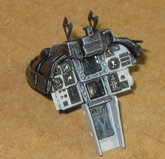
Instrument panels were a mix of
kit parts, BlackBox set, Teknics set, Eduard set and scratch built. I am
satisfied with the result.
Click on
images below to see larger images
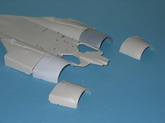
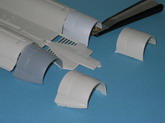
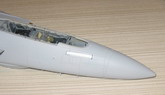
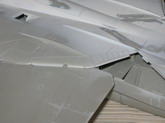
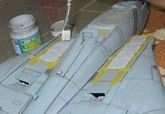
Seals made of styrene sheets were
added on the wing gloves. Center pylons were modified, again with styrene
sheets. The anti slip walk way on both side of the intake duct were painted by
#500 liquid putty. While the liquid putty was not yet set, sting a relatively
hard brush directly onto the putty, lift up and sting again. This created a very
rough surface which looked quite similar to the actual anti slip walk way, of
course after painting and dry brushing.
Click on
images below to see larger images
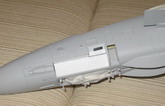
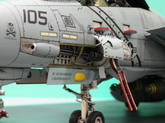
Last thing for this part, the gun
bay. It was again all scratch build with reference to photos.
Douglas
Click on
images below to see larger images
|