|
A long time a go in a galaxy very
near (ours), I as a child built 1/72nd Testors F-16D. I didn't have the right
colors, nor any decent tools outside of some old emery boards and some basic
colors (red, blue,
black, white, grey) and no paint thinner or putty. Still, I recall having
some fun with the kit, and at the time, it was one of the best I had built. I
was all of 9 or 10 years old. Recently, I had the chance to build that kit
again. Only now I've improved my model building abilities quite a bit, and have
access to decent tools. This is the Italeri F-16 "NATO" boxing.
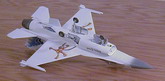
The
sprues are the same, with the NATO boxing have add-ons that include a few
AIM-120 AMRAAMs.
Click on
images below to see larger images
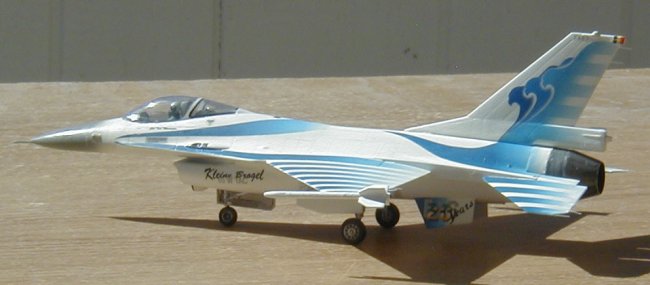
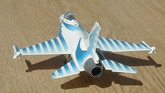
I built this for the Viper 2.0 group build.
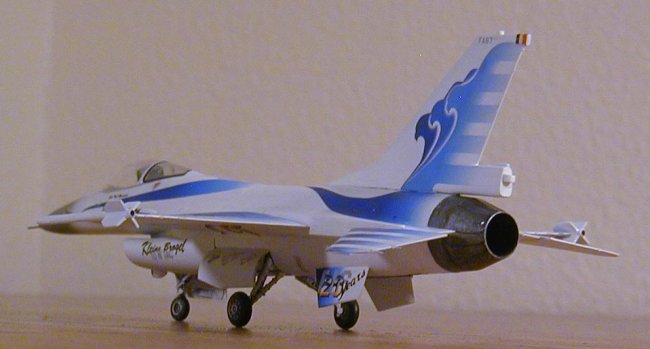
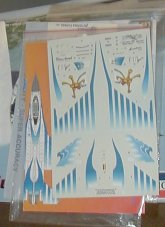
I was able to get my hands on the Daco
Products 1/72nd "White Falcon"
decals. They had caught my eye some time ago, and I wanted to build this
kit. I didn't want an overly expensive kit to put them on, and I needed
one that would be the right F-16 for the decals. I chose this before I
knew about the existence of the Revell F-16 kit. It has the parabrake
housing on the tail, the early
tail, and all the basic shapes to make a clean F-16 (without using
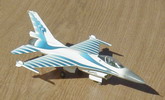
the pylons or weapons). DACO supplied the intake sensor and the
bump/sensor on the parabrake housing with 2 resin parts. I converted the
rather poor sidewinders into smoke trail generators (used in flight
demonstration with the real aircraft), and hollowed out the rear of each.
I put effort into hiding the seams because an all-white paint scheme shows
all blemishes, but I did not set out to super detail or correct most major
issues with this kit. The decals fit wonderfully for the most part. I had
to get some MicroSol to help in several places, but it was worth it.
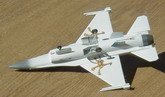
On
the stabilizers, the decals were a bit too large. Just a heads-up. I lined
up the trailing edge, as you can see in one of the photos here, and
afterwards used a fresh blade and slid it along the leading edge to trim
the excess off. This maintained the blue-to-white fade better than chopping the trailing edge, I think.
I had to do the same to the
main wings. Another option would be to fold them over the leading edge
then repaint white on the underside.
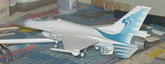
I didn't see too much weathering on
the photos of the real bird, so I just did a basic sludge wash in the gear
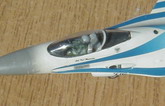
areas. The cockpit is very simple. It's your average '70s model cockpit.
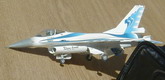
Since
the canopy doesn't
open anyway, I took a pilot from the Revel 1/72 F-16 (which I bought after
starting this) and used him on this kit. It helps, in my opinion, to attract the
eye to the pilot rather than to the seat or instrument panel. This kit took me
down memory lane. It's far from perfect, but it's also very cheap. I grew up on
cheap kits. There are 3 areas to watch out for on this kit, if you build it.
There is a gap from the nose gear wheel well into the intake. It's just a square
hole in front of the nose gear mounting point. I covered this with wafer-thin
plastic card. There is no interior for the parabrake housing. I walled mine off.
Not the best, perhaps, but better than a gaping hole. Finally, the stabilizers
are too far forward. They sit flush wit the airbrakes. Instead, they
should almost sit flush wit the back of the afterburner. This is a very
easy fix if you think about it ahead of time. Simply trim off part of the tabs
on the stabilizers that you glue into the fuselage. Leave about 2-3
millimeters of the location tabs, and trim the rest aft of that. Then insert the
tabs but slide them back in their slots until they are the proper distance.
I
used a toothpick taped across the afterburner to get the approximate spacing.
It
worked like a charm! Other minor changes I made were sculpting a pitot tube for
the nose out of copper wire, and using toothbrush bristles for static
dischargers. I now have a very eye-catching model!
Mark
Click on
images below to see larger images
|
|