|
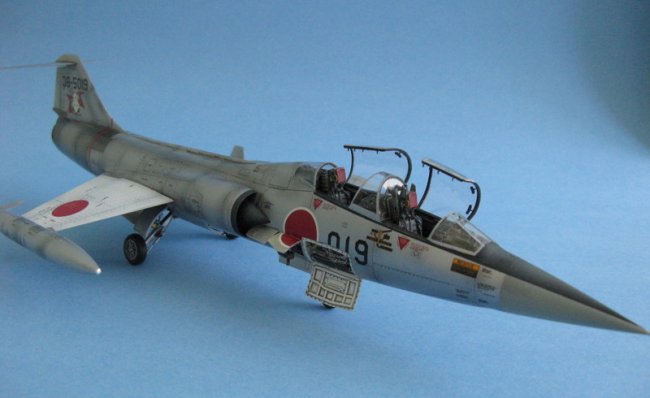
This is my 1/48
2-seat Starfighter operated by the JASDF: the F-104DJ. The kit was made by
Hasegawa, and what a gem of a kit it was. The details were fantastic right
out of the box, and the fit was also superb. To make things more
interesting, I've added quite a bit of aftermarket items to this build:
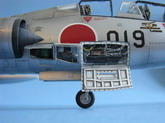
- Blackbox deluxe set: this
includes a resin cockpit, engine bay hatch, circuit breaker hatch and
various opened panels
- Aires resin jet exhaust
- Aires resin wheel bays
- Eduard photo etch set:
As nice as the kit's details were,
these accessories really gave that extra "wow" factor when finished.
Out of the batch, the only item I do not recommend is the wheel bays because
they're too small and you can't see much of the results anyways.
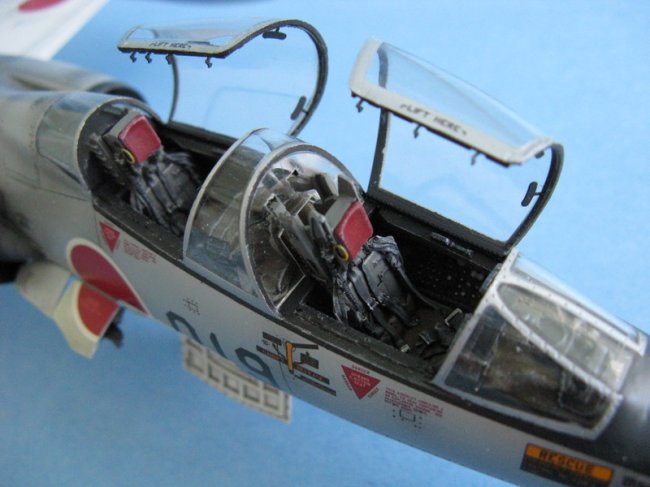
Obviously there're some parts overlap, particularly with the BB cockpit and
Eduard PE sets. What I chose to do was I kept almost the entire resin
cockpit (tub, side walls, seats) except the instrument panels. The
instrument panels were supplied by the Eduard PE set because the printed dials
simply look too fantastic is be left out of the build. I'm aware that
neither the resin IP nor the PE IP are accurate for JASDF F-104's, but they look
good so I stuck with them. I also used the PE canopy framing detail parts.
The downside of using so much aftermarket items from different vendors is the
well-fittingness of the original kit is now completely thrown out of whack.
As you can imagine, cutting out all the opened panels has a very low margin of
error, hence it required a lot of attention. What I did was I drilled a
bunch of holes on the panels, then use a fine saw to cut them out. The
jagged edges then need to be filed smoothly with a hobby file. A lot of
sanding and test fitting was required to fit the cockpit and the opened
components.
The resin main wheel bays was molded too narrow, but much of the fit (and
details) were covered up anyways. As for the resin nose bay, I simply
chose not to use it. The resin exhaust fit easily and look faster when painted
and dry-brushed.
Click on
images below to see larger images
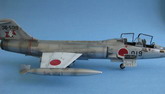
When everything was
fit together, I applied a lacquer hobby primer. Some light pre-shading
was done on the panel lines, then I airbrushed Alclad aluminium over it.
The engine area
required a darker, multiple shade metallic finish. I used various shades
of darker Alclad (dark aluminum, magnesium, steel) to achieve that look.
The wings were
painted white, decaled, flat coated and attached to the fuselage. The kit
decals were used, and I chose to use the squadron with the teddy bear on the
tail.
This was an
enjoyable kit to build. I have already bought another 2-seat F-104 (with
less resin) to be built in the future. For those who'd like to build one
with a tad more details than what the kit offers without too much headaches, I
recommend adding a pair of resin seats, and may be the Aires exhaust.
Terry
Chan
|
|