|
Kit:
Tamiya 1-48 Storch
item 61100
I saw this kit on
the Tamiya web site in an up coming release, it looked like the kit would be a
good build. I sent Calum an E-mail and placed an order for the kit. When the kit
arrived I took the time to examine all of the pieces, I could tell
that the kit was going to be a challenge. The first challenge I could see that I
was going to have was painting a kit with the windows / canopy already
assembled, this is because Tamiya has moulded the star board and
port side of the canopy to the fuselage. However Tamiya included easy
mask which was a nice touch. Tamiya has put a great deal of
detail in this kit from the V8 engine, five types of Storch to
build and paint with all the extra bits to make the different Fi156 to the
PE that is included for the cockpit. Although my only complaint and it
is the complaint with most of Tamiya's kits there is no detail on the control
panel, only that of the decal. Before I could start building the Storch
I had to decided which of the five choices I was going to build, once I
had made my decision it was time to build.
Construction:
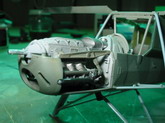
The 1st step in
building the Storch is with the V8 engine a nice touch consisting of 15 parts as
well as decals. The engine was painted and weathered. The next step was
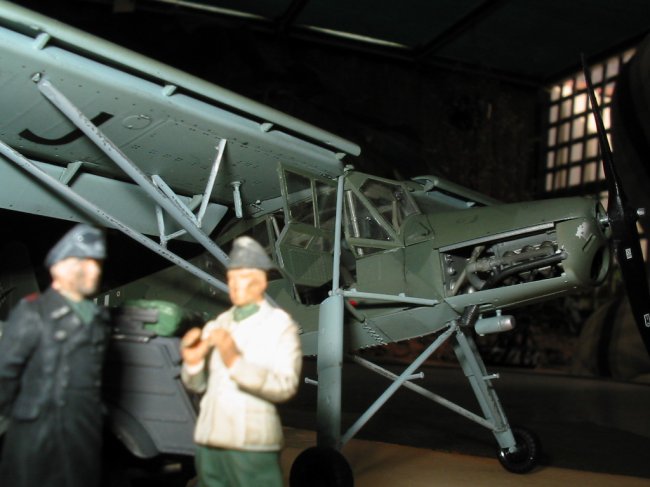
the start of the cockpit, super glue is needed for a small section of the cockpit
frame which consisted of the PE, the rest of the cockpit is straight forward
to build. I painted the cockpit in Model Master RLM 02, I added
seatbelts from Eduard's W.W.II Luftwaffe set to the Storch seats, I also used
the Tamiya weathering sets to add a little extra detail to the cockpit sealed in
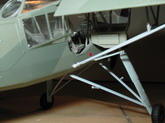
with matt clear. I found that the assembly of the landing gear shaft which is
metal and the PE wing frame a little annoying for the fact that once in place on
the kit, It can be easily broken while constructing the rest of the
kit, I found this out and had to re-attach the two pieces twice due to breaking
them off. The rest of the build seemed to go together with little fuss
some minor putty was needed to fill a few gaps, with some lite wet rubbing to
get rid of any seam lines.
Click on
images below to see larger images
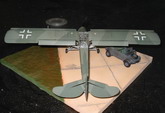
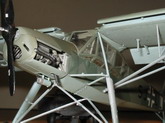
Picture 03 and 04 show the
V8 engine and some of the cockpit, however the flash didn't go off on the
camera.
Painting and decals:
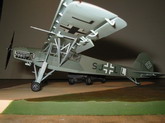
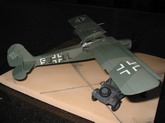
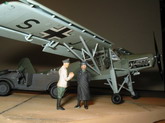
I used Model Master paints to
paint the Storch RLM 82,83 and 75. I then painted the kit in gloss clear ready
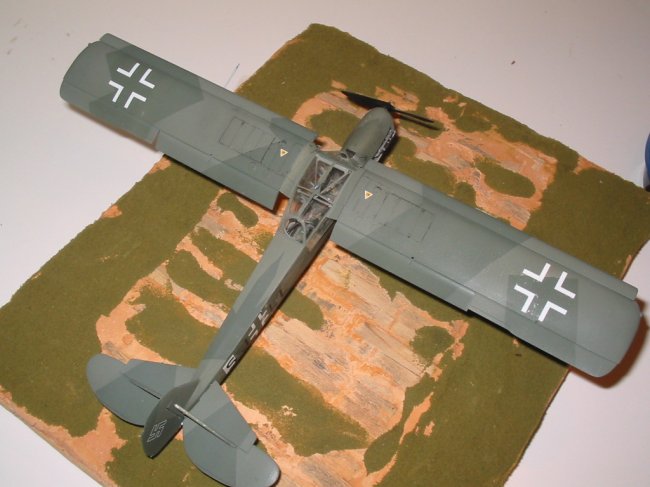
for the decals, I decided to use the decals that represent the Storch Fi156C-3 that
was used to free Mussolini on September 12 1943, Gran Sasso, Italy. With the
decals placed on, I sealed them in with a coat of clear gloss finished up with a
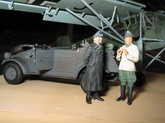
pastel wash and a coat of matt gloss. Tamiya added for display seven figures,
as well as three drums, an assortment of jerry cans and other military
gear for diorama displays.
Thanks:
- To Calum for getting this kit
in for me
- Steve
Bamford
Alan Williamson
Click on
images below to see larger images
|