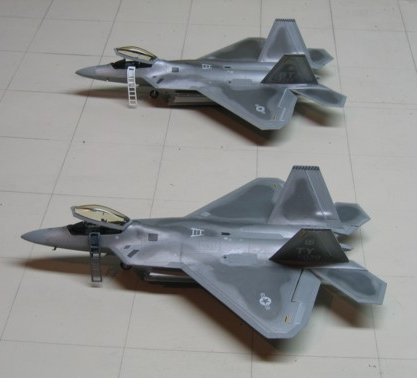
The Raptor has a
unique paint finish and here's one way of getting close. The primary
colors of a Raptor are two shades of silver for the body and Navy Aggressor Grey
(36251) for the edges. The lighter silver is a mixture of 4 parts Testor's
MM Aluminum to 1 part Graphite Metallic (Testor's MM car color). The
darker silver is 3 parts Graphite Metallic to 1 part Aluminum.
First paint all the
edges of the jet. After several days of drying mask them off.
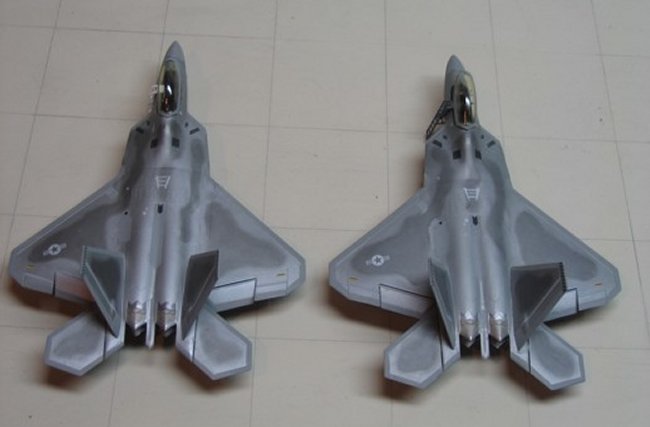
Painting the body of
the jet. After mixing the colors noted above spray the light silver.
Keep shaking the jar to keep the colors mixed. Two coats of normally
thinned paint to give a rich color. Immediately after the second coat is
dry to the touch start spraying the dark silver. This paint should be
thinned more than the light silver. Apply as a thin coat that is
translucent. You do not want to cover over the light silver
entirely. Take you time. Rotate and tilt the model to see the change
in intensity of the color. Remember you can add but not take away!
Keep shaking the jar. As you spray the thinner in the dark silver re-melts
the light silver coat and causes the two to blend better. Once you are
satisfied set the model away to dry thoroughly for a few days.
Take about 1/16
ounce or there about of Testor's MM Acrylic Gloss Clearcoat and add 5 or so
drops of Testor's MM acrylic 35237 Navy Blue Grey to tint. Thin as you
would normally and apply several light coats. This gives the jet some
color. Let dry for a few days.
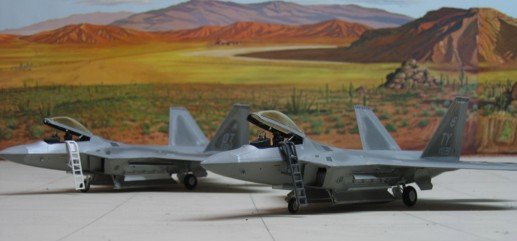
Apply your decals
and remove the mask from the edges.
Finally, apply
several coats of your favorite flat finish. I used Testor's Dullcoat.