|
Wing Modifications
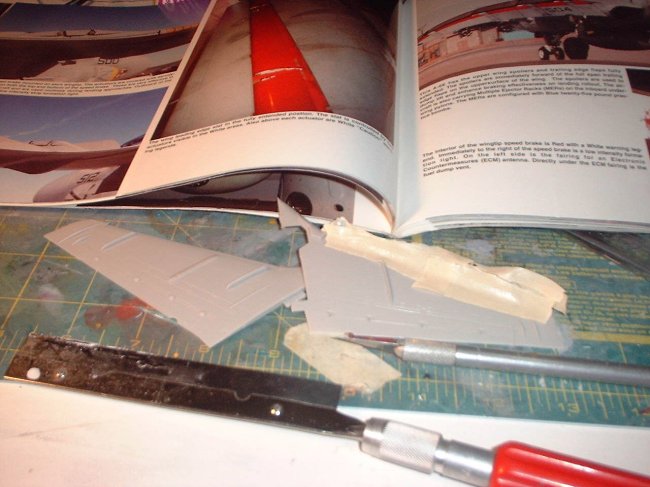
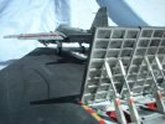
The next big thing was the wings and the necessary
modifications to the flaps to depict them deployed.
| Fujimi for some reason
chose to make their A-6 kits with Slats that are deployed but not the flaps (the
reason I chose this kit for my diorama). This is a configuration that
would never occur on the real plane and anyone building the Fujimi A-6 should
either close the slats (I've heard this is difficult since the fit is not the
best) or cut and deploy the flaps, so hopefully my modifications can help
others. |
|
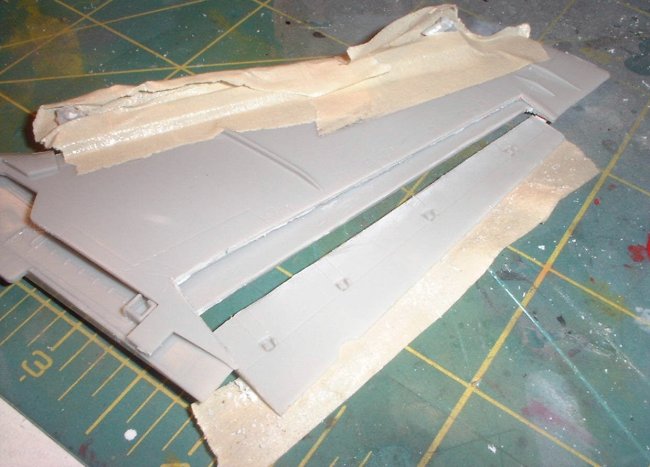
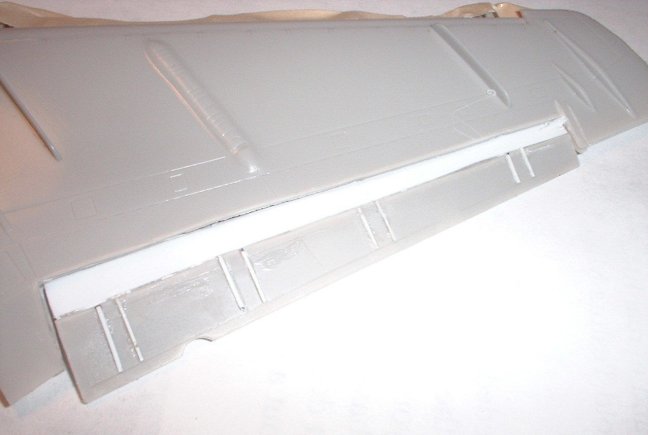
I started by cutting the parts along the panel line from the two
wing halves, I did this using a fresh #11 blade and a few passes of the razor
saw.
|
|
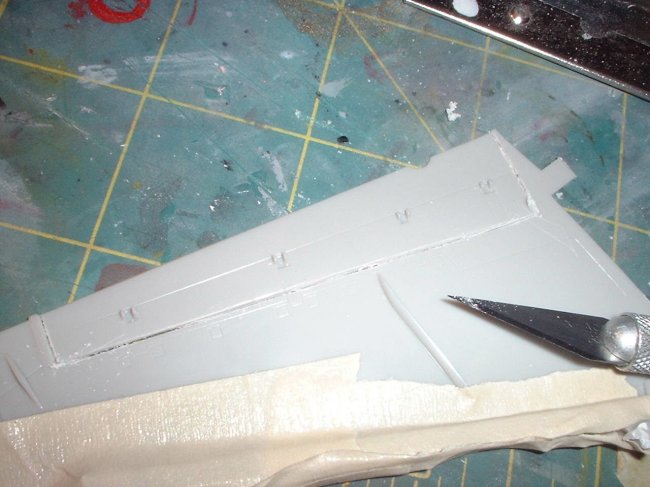
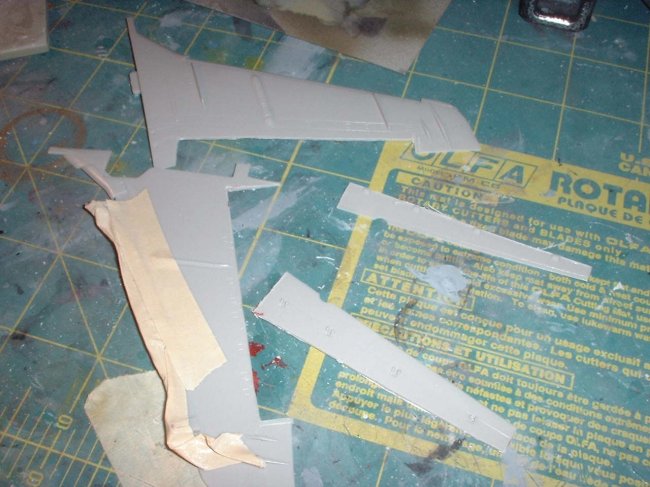
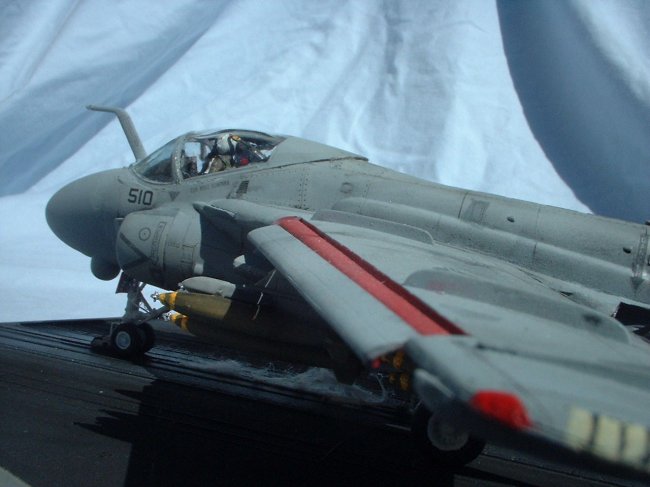
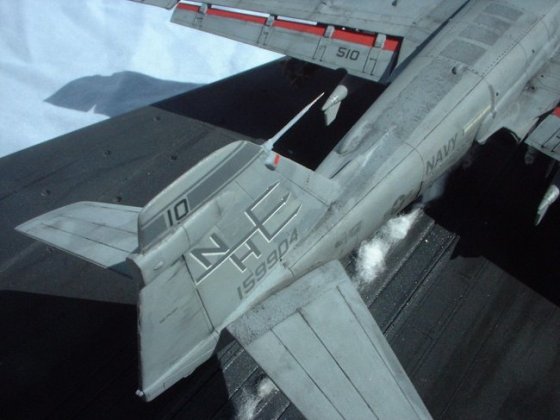
| That done I cleaned up the parts, and joined the upper and lower
halves on both the wing and the flaps. There will be a mis-match of the
upper and lower Flap where it meets the wing (this is the section painted red in
reference photos), so it needs to filled in with plastic card and sanded into
shape. |
|
|
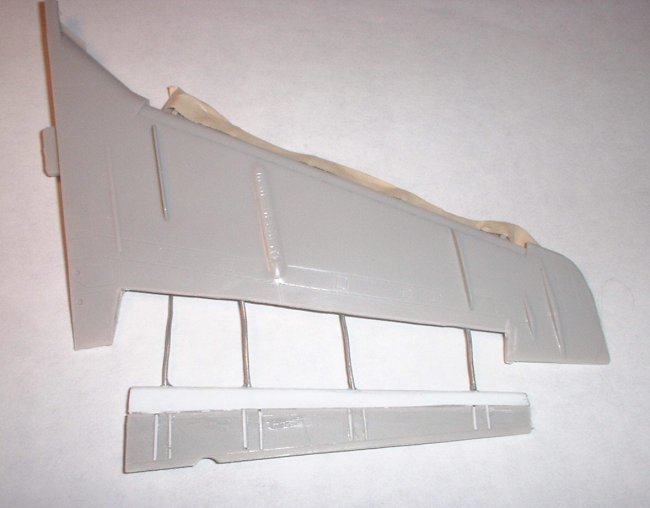
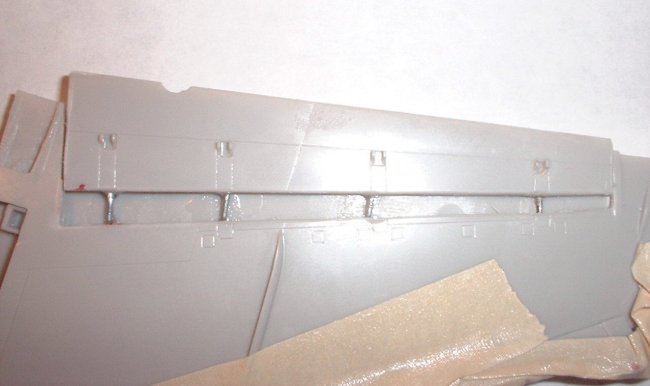
| Also needed on the upper flap is the removal of the four ridges and
glue on small plastic strips for the guides to the flap actuators. Those
four ridges can be built back up latter with plastic in the proper location as
they extend with the flaps (they cover the jack screws). On the underside
there is a similar fairing that also has a white hinge, I only covered it with
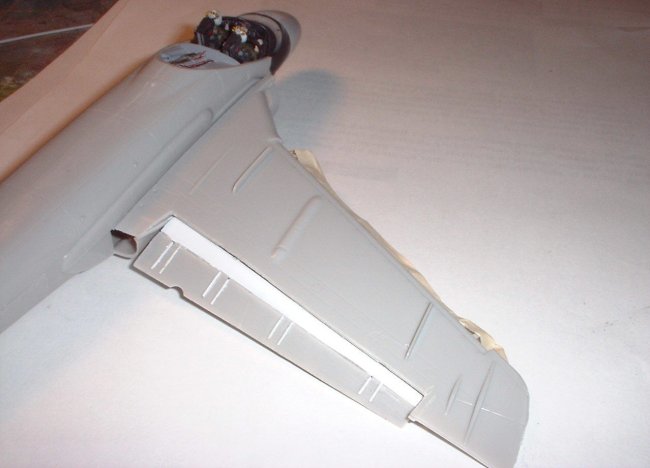
plastic strip because no one will see it when it is on the Diorama. After
the flaps are built up, drill four small holes where the actuators go and insert
florist wire/paper clips or straightened staples. This will provide the
means of attaching the flaps and because it is malleable metal, and you can bend
it to the desired angle very easily. I recommend leaving the flaps off for
painting, I glued one in before I realized this and found the other one was
easier to paint off the plane. |
|
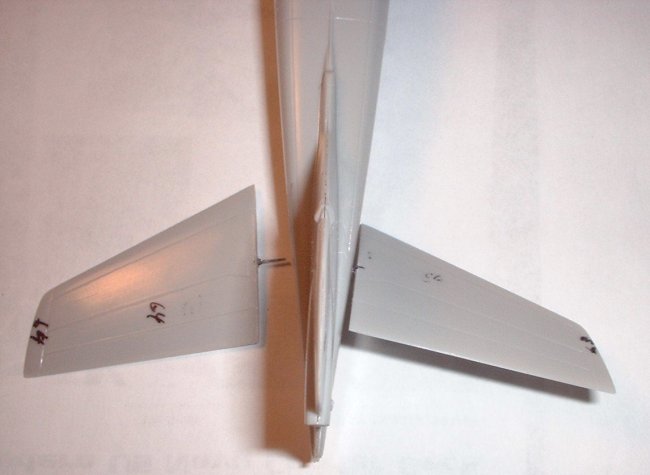
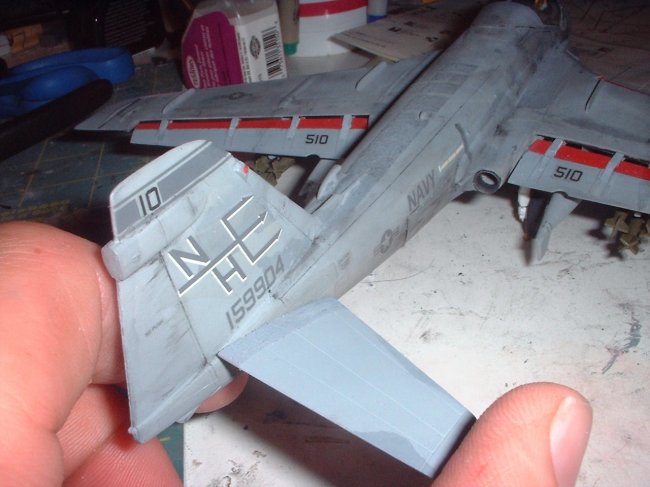
Also needed for a cat shot diorama is to show the horizontal
stabilizers/tail planes deflected for take off. To do that I filled the
slat/hole and cut off the tab on the parts, and then drilled a hole in each side
and inserted a piece of Florist wire to provide a hinge in the center.
|
|
|
|
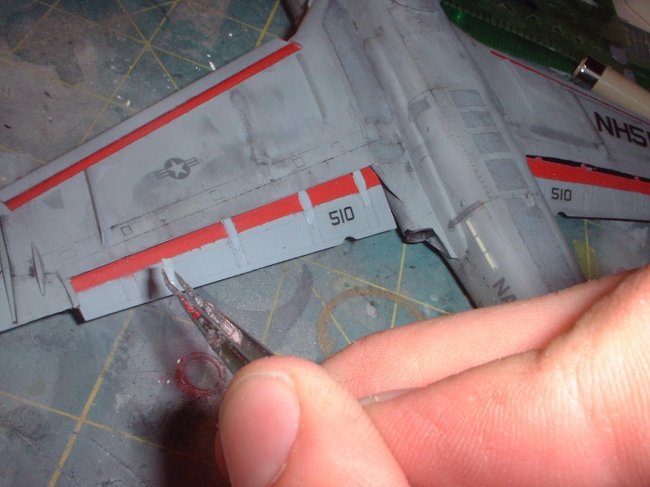
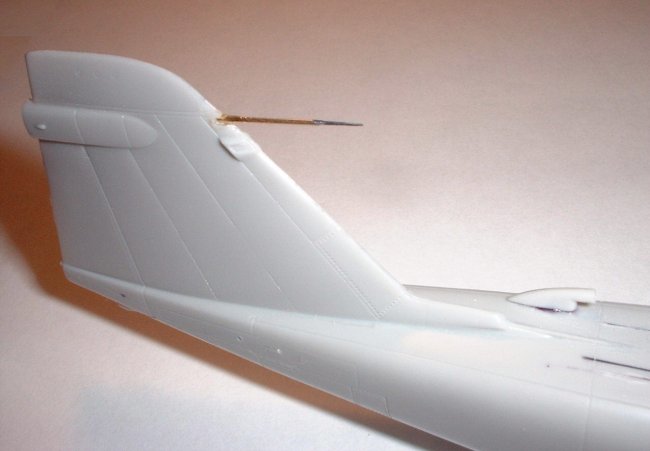
Another modification I made was to replace the kit pitot tube with a needle that
was filed down at end to thin it to the proper diameter. Although this
looks great I broke it off several times and had some glue build up in the
process of re-attaching it again and again (I should have left it off). |
|
|
|
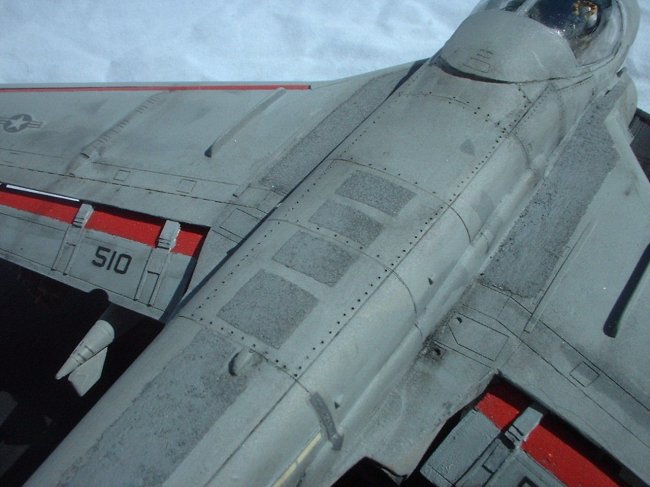
Other than that the kit was built up normally and went together very nicely with
a good fit on everything. Next time I'll discuss the painting of
this model.
Everett
 |
 |
 |
 |
|
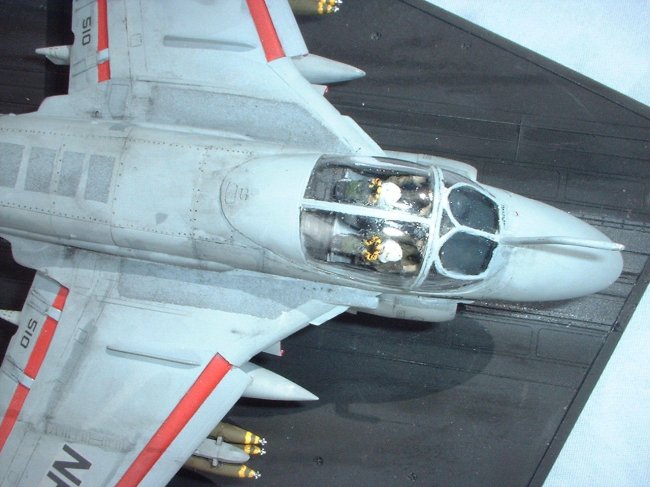
1/72nd Fujimi A-6E
With a Verlindin Resin Catapult
set diorama Part 1
|
1/72nd Fujimi A-6E
With a Verlindin Resin Catapult
set diorama Part 3
|
1/72nd Fujimi A-6E
With a Verlindin Resin Catapult
set diorama Part 4
|
1/72nd Fujimi A-6E
With a Verlindin Resin Catapult
set diorama Part 5
|
|
|