|
|
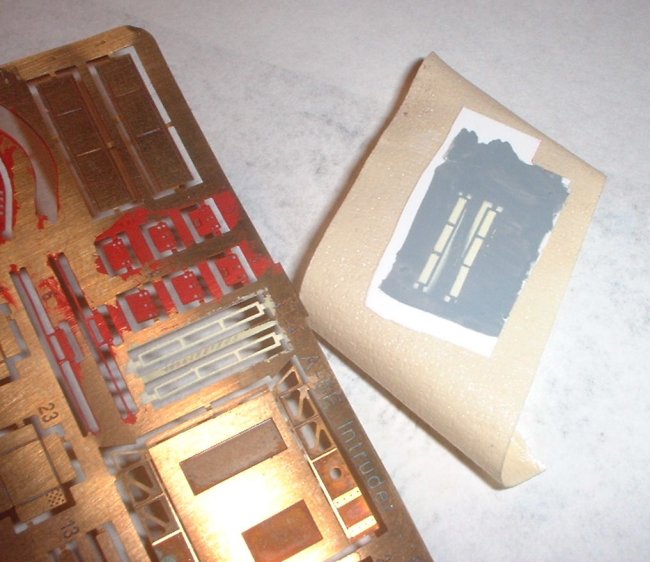
| Having used decals and a Photoetch
part to show the formation
light strips or "Slime Lights" on my 1/72nd EA-6B I was
unsatisfied with the result. This time I found a better way, I
used the Eduard Photoetch light strips as masks instead of
directly gluing them on. I took a piece of super thin 0.05
plastic card that I already had painted grey and taped the PE
parts to it (Fret and all), then I mixed up the right color
(white with a small bit of yellow) and air brushed lightly. The
first time I did it the yellow paint over sprayed a little,
because the mask was not tight enough so I started over and
really taped down the part as tightly as I could. It was also a
matter of lightly applying the paint in gently strokes, the
first time was to much paint. After I was done I cut them out
using a straight edge and glued them to the model.
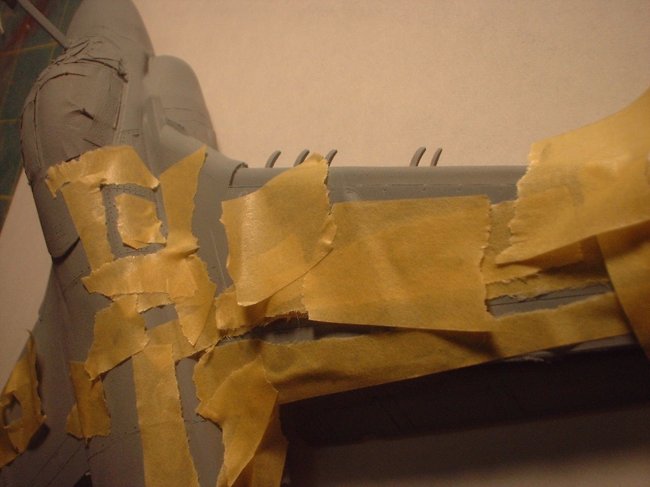
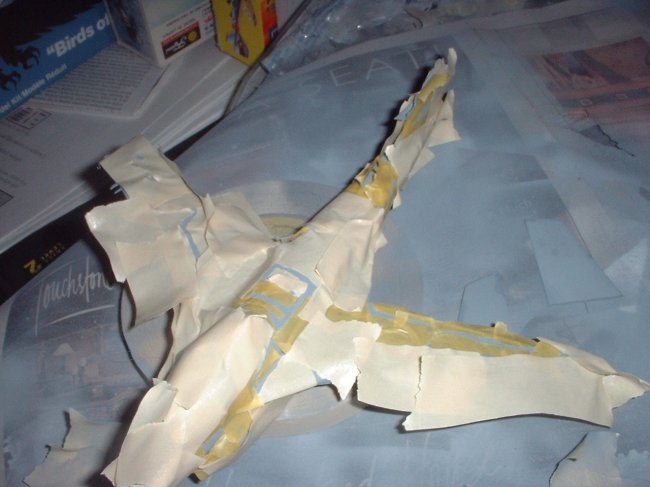
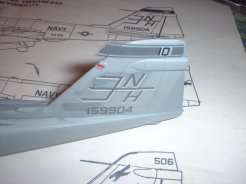
I also masked and painted the wingtip
area, and later drew on the panel lines with my fine tip marker.
|
|
|
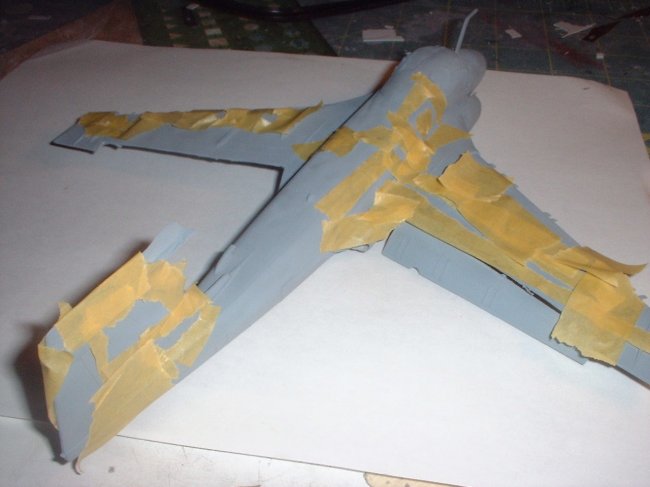
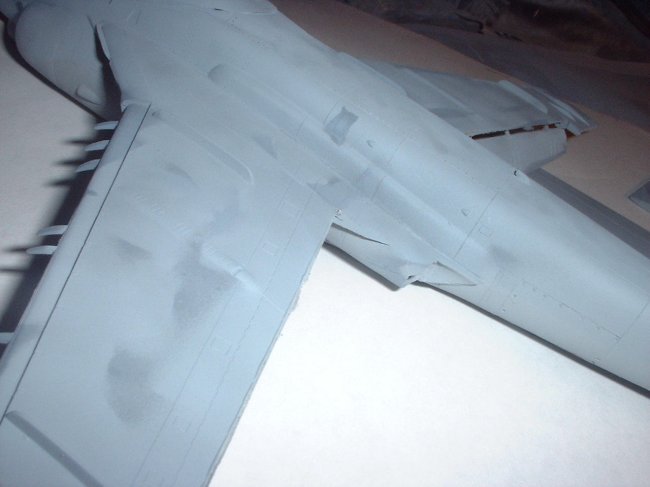
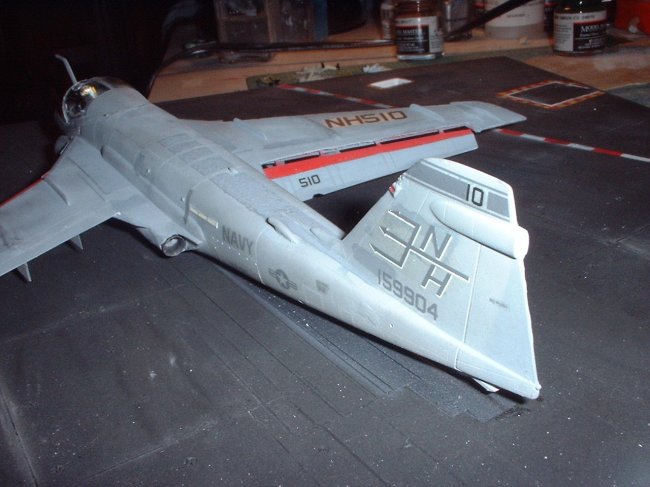
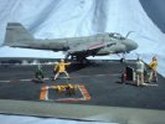
| Painting has always been a problem for me and on this
kit I finally got it right. I found that what I had been doing wrong was
not using enough thinner and laying the paint down too thick (I suspected this
all along), and like many things in life I had needed enough practice to get it
right. For the paint on the Intruder I used Testor's Light and Dark Ghost
Grey on the lower and upper surfaces respectfully. I then chose to mask
off several areas in varying patterns (some along panel lines and hatches) and
sprayed lighter and darker shades of Grey. I did this to simulate the
splotching that Naval aircraft get on ship because of spot painting to prevent
corrosion. |
|
|
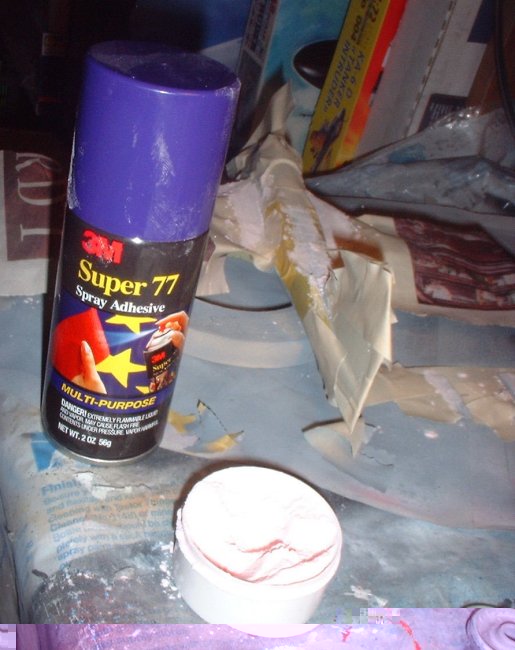
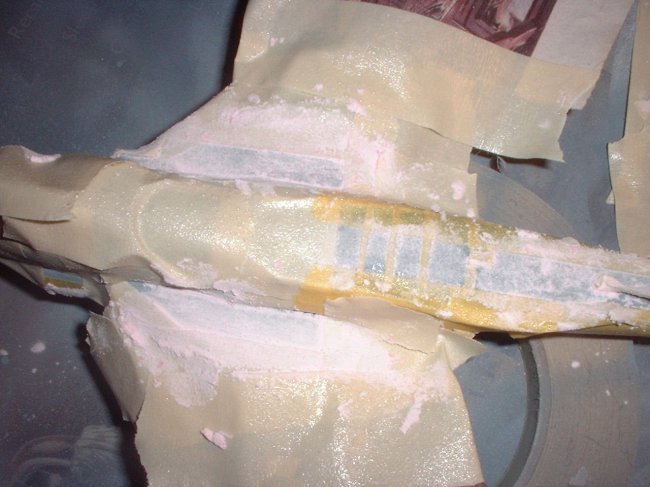
| The wing walk areas were done
using a spray adheisive trick of mine. |
|
|
|
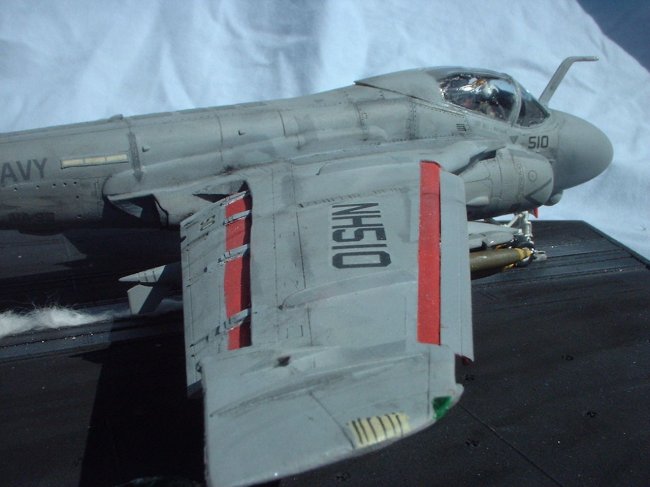
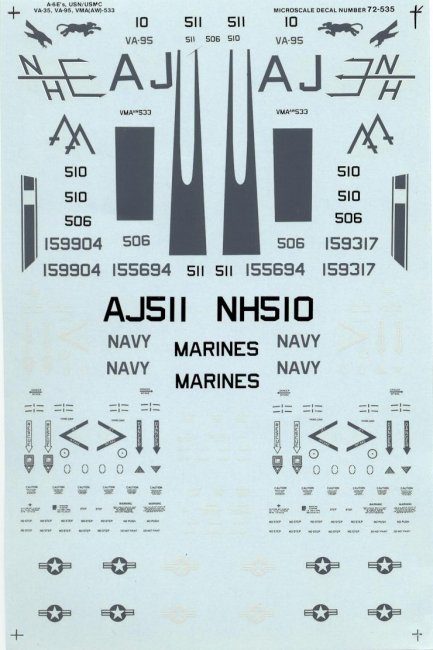
| Decaling itself went pretty well, I used Superscale
decals for VA-95 Green Lizards (again in honor of Scott Murphy's squadron) and
although they were a little big in scale in spots they look good in the
end. |
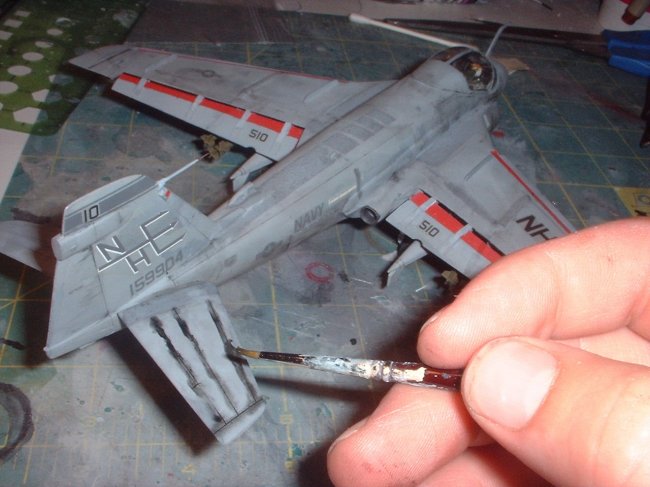
| Everything was sealed with Testors Flat Acrylic. Later after decaling I added more weathering with chalk pastels
washed in and smeared. I went a little heavy on weathering because this is
one plane (and most Naval aircraft) where it is actually accurate, these planes
got really dirty. |
|
|
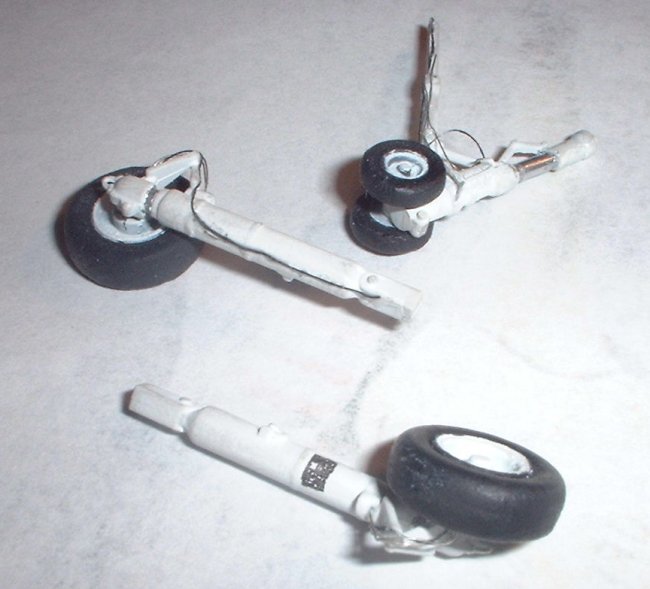
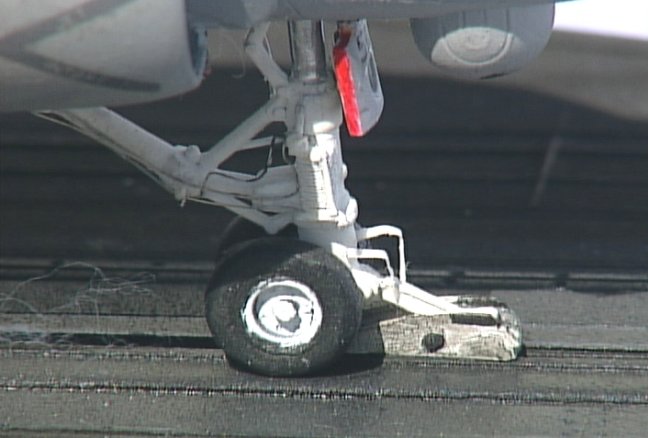
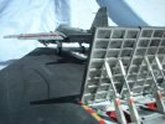
| I added detail to the landing gear struts and the nose
gear door using electrical wire and strips of plastic. One thing needed
was to lower the launch bar to engage the catapult shuttle. To do this I
cut the bar off and inserted florist wire in both the bar and the nose gear and
set it to the proper height. |
|
Everett
 |
 |
 |
 |
|
1/72nd Fujimi A-6E
With a Verlindin Resin Catapult
set diorama Part 1
|
1/72nd Fujimi A-6E
With a Verlindin Resin Catapult
set diorama Part 2
|
1/72nd Fujimi A-6E
With a Verlindin Resin Catapult
set diorama Part 4
|
1/72nd Fujimi A-6E
With a Verlindin Resin Catapult
set diorama Part 5
|
|
|